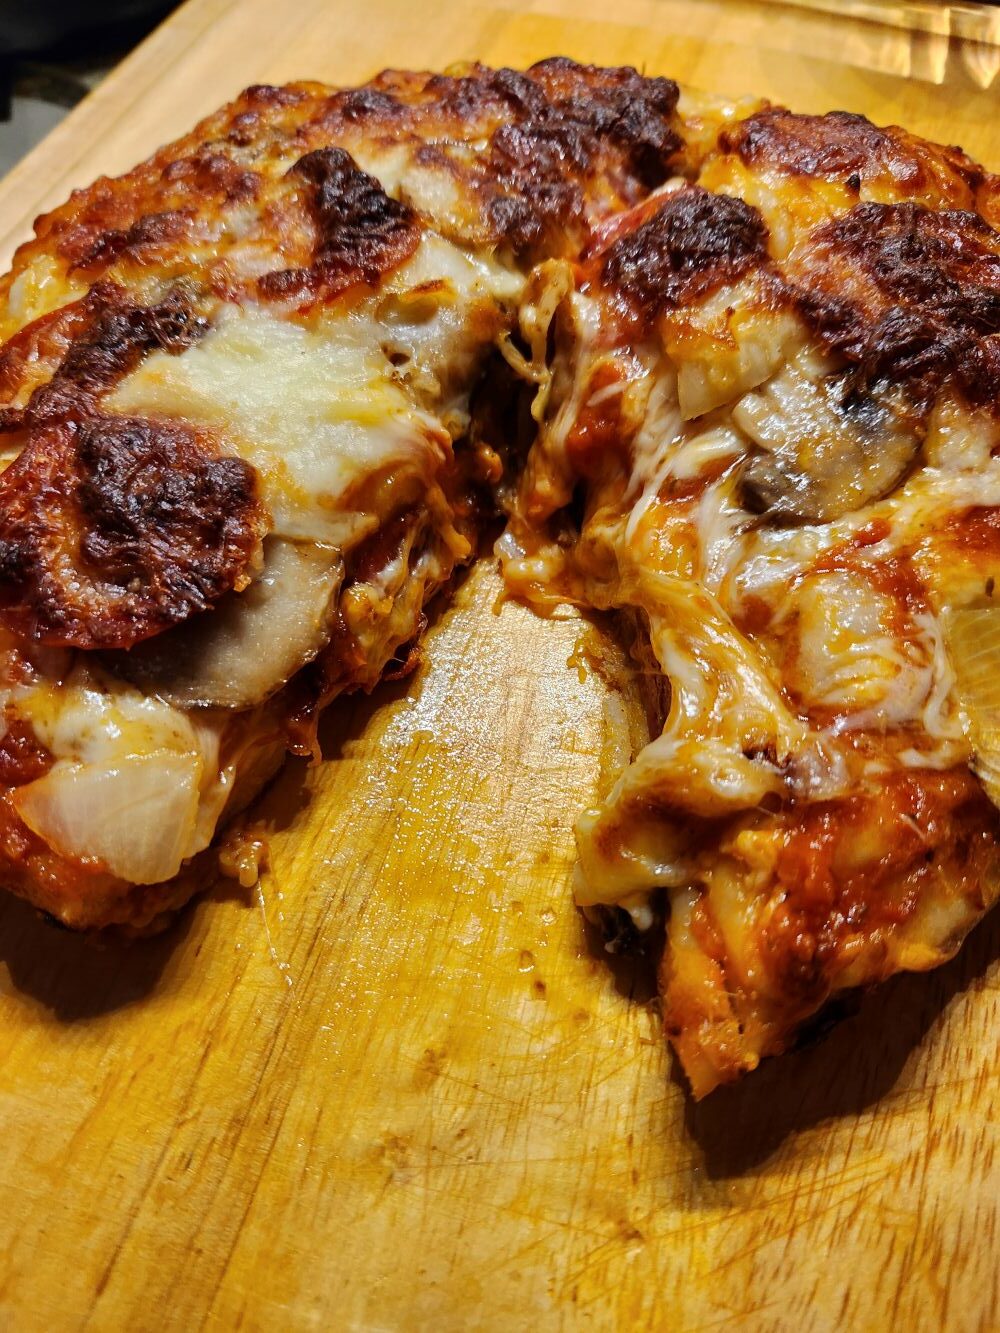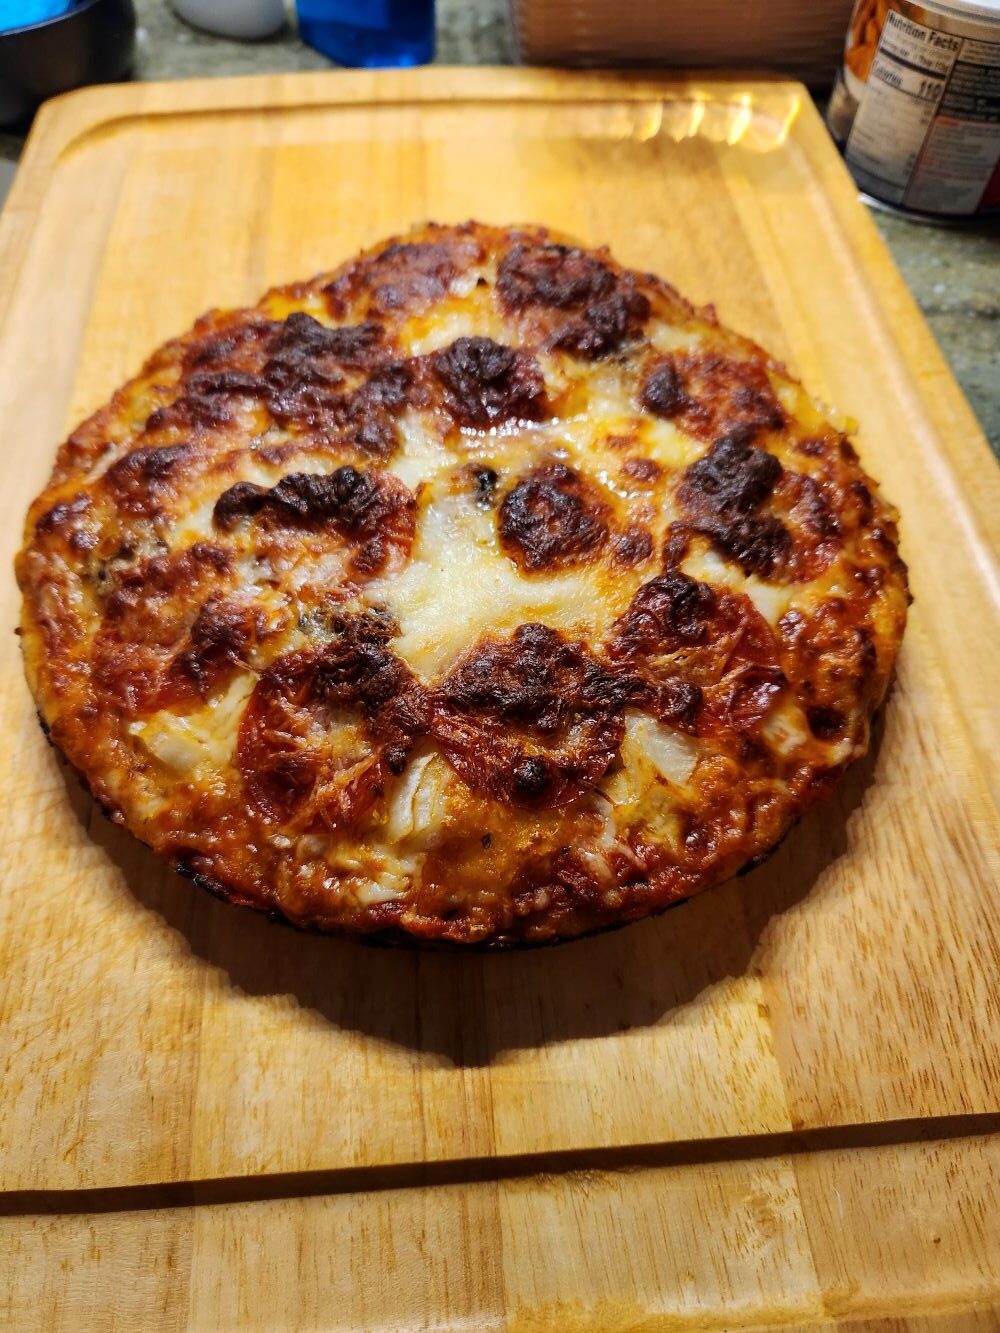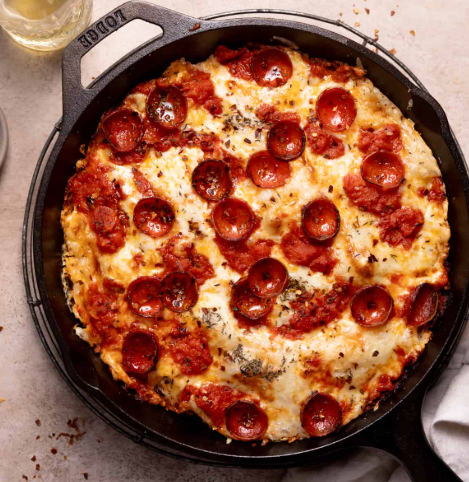
Skillet Deep Dish Pizza (Pepperoni of course)

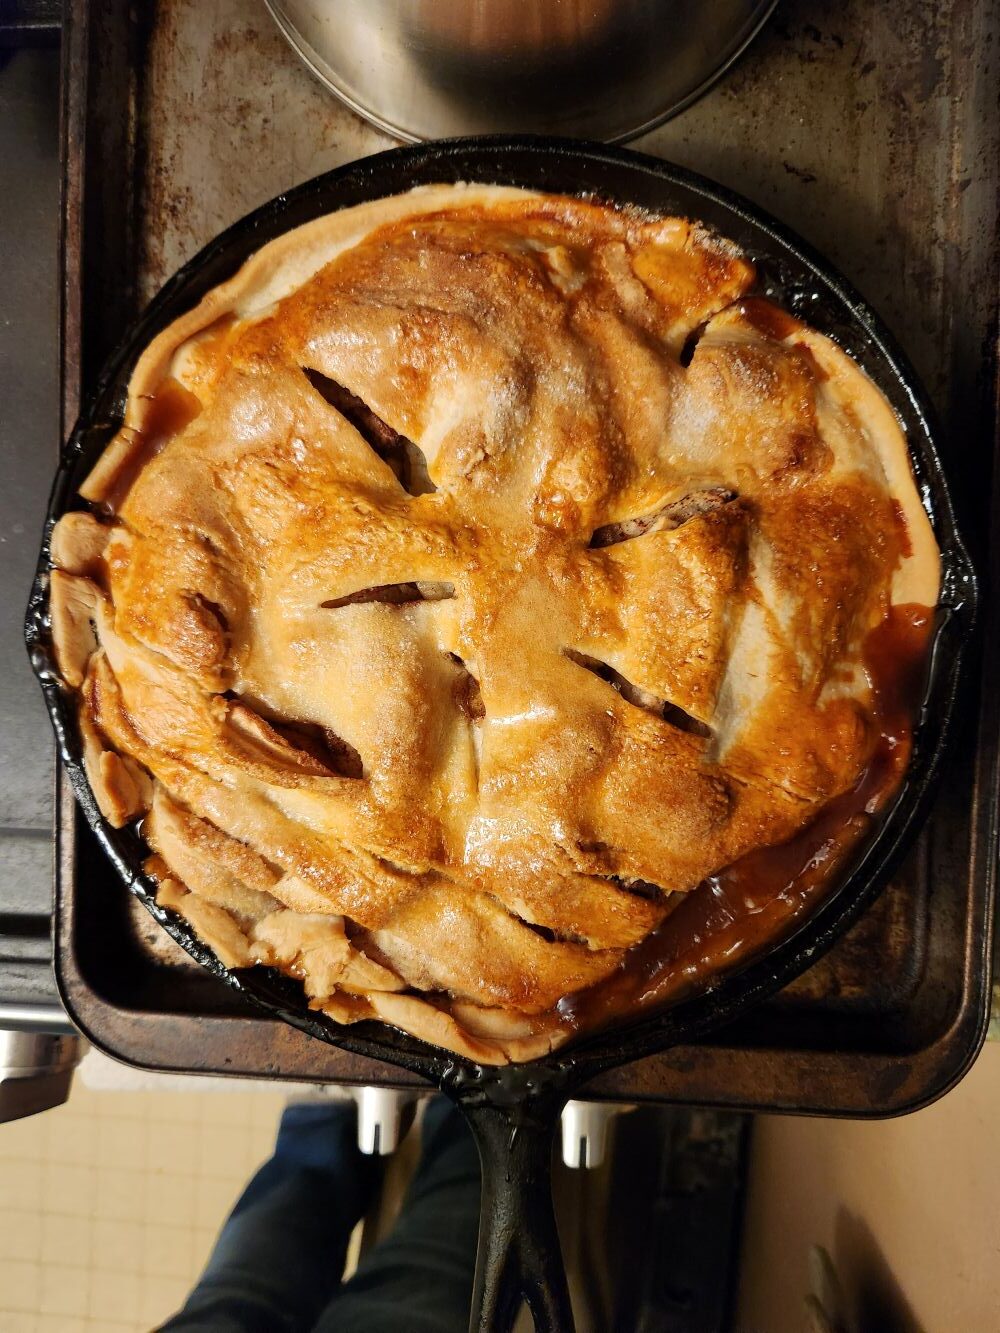
Skillet apple Pie
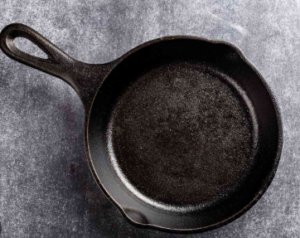
Cast Iron Care: What Every Skillet Lover Should Know
If you’ve followed my recipes for more than five minutes, you already know I’m a cast‑iron girl through and through. Skillet pizzas, cornbread, seared chicken, cobblers — if it can be cooked, it’s probably been in my pan.
And because I use mine so much, I get a lot of questions about how to care for cast iron. So let’s talk about what actually matters, what’s just old folklore, and the one thing you should never do… which I learned the hard way. (Twice, actually — but we’ll get to that.)
🥘 Myth: Cast Iron Is Delicate
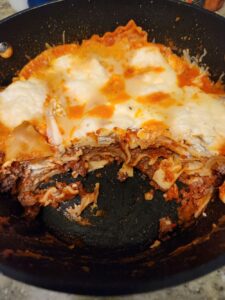
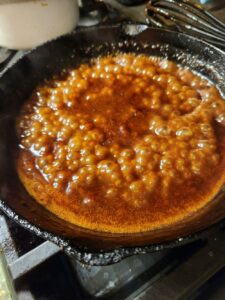
Skillet Lasagna
Reality: It’s basically indestructible.
Cast iron is iron — heavy, tough, and built to outlive us all. I have pieces that have survived generations, yard sales, rust, and one dramatic move where a skillet somehow ended up in a snowbank.
And speaking of snowbanks… once upon a time, a well‑meaning roommate overheated oil, panicked when it caught fire, and launched my cast‑iron pan — still flaming — straight into a drift outside. The pan survived. My blood pressure? Less so.
If that doesn’t prove cast iron’s durability, nothing will.
🧼 Myth: You Can’t Use Soap
Reality: You absolutely can.
A little mild soap won’t hurt your seasoning. That polymerized layer is bonded to the metal — it’s not going to wash off with a drop of dish soap.
If you’re worried about lingering flavors, a quick baking‑soda scrub (2 parts baking soda, 1 part water) neutralizes odors without harming the surface.
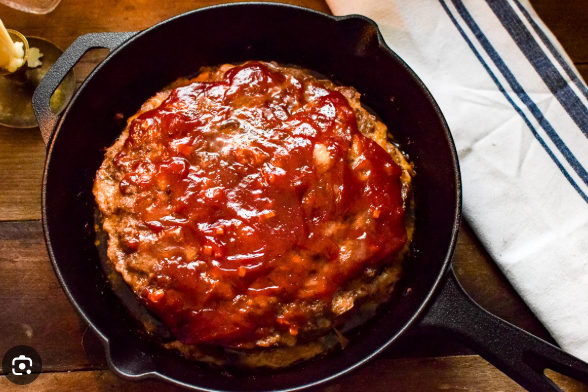
Skillet Meat Loaf ( My absolute favorite)
🍅 Myth: Acidic Foods Will Ruin It
Reality: Short cooks are fine.
A quick pan sauce with wine? Totally okay. A tomato‑heavy braise simmering for hours? Maybe choose another pot. But everyday cooking won’t hurt a well‑seasoned skillet.
🔥 How to Season Your Skillet (The Simple Way)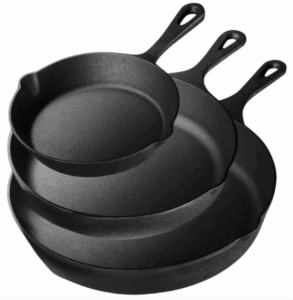
- Wash with hot water (and soap if needed).
- Dry completely — water is the real enemy.
- Rub on a tiny amount of neutral oil.
- Wipe it out until it looks like you wiped it all off.
- Heat it until it just begins to smoke.
- Cool. Repeat if you want a deeper layer.
The more you cook, clean, dry, and lightly oil it, the better it gets.
🧽 How to Clean Cast Iron After Cooking
- Remove food bits (soap is fine). (or scrub with salt)
- If the flavor was strong, give it a baking‑soda scrub.
- Rinse and dry thoroughly.
- Add a whisper of oil, wipe it out, and warm it for a minute.
- Store with a paper towel between pans if stacking.
❌ The One Thing You Should Never Do
Put it in the dishwasher.
Ask me how I know.
That same helpful roommate once tossed one of my favorite skillets into the dishwasher thinking they were doing me a favor. It came out gray, dull, and rough — like it had aged 40 years in one cycle. I’ve re‑seasoned it multiple times, and while it’s usable, it has never quite returned to its pre‑dishwasher glory.
Between the flaming‑snowbank incident and the dishwasher debacle, I’ve learned one thing:
Cast iron can survive almost anything… but your roommates might not.

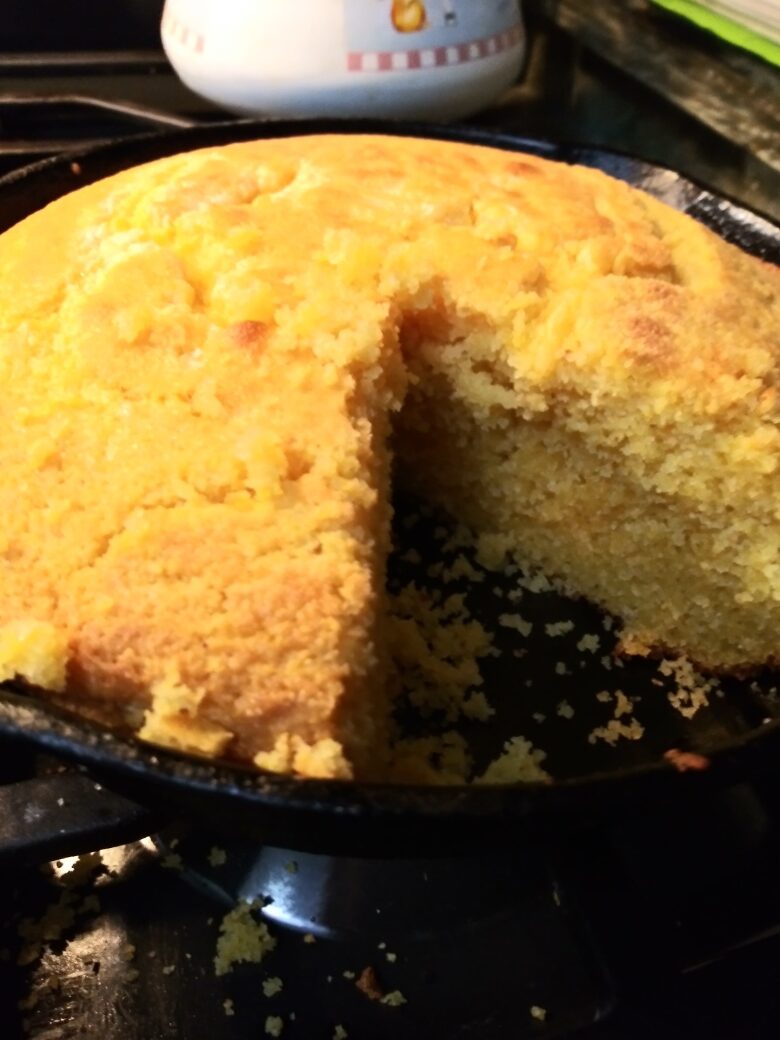
Skillet Corn Bread
❤️ Final Thoughts
Cast iron isn’t fragile. It’s a workhorse. Use it for sweet, savory, and everything in between. Clean it, dry it, oil it lightly, and keep it out of the dishwasher. Treat it well, and your grandchildren will still be flipping pancakes in it someday.

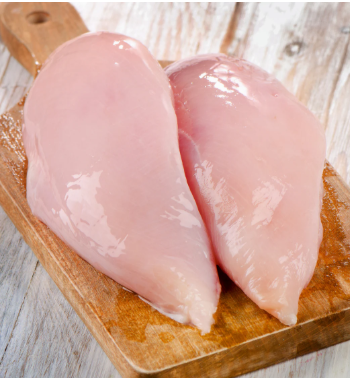
Skillet Roast Chicken Breasts
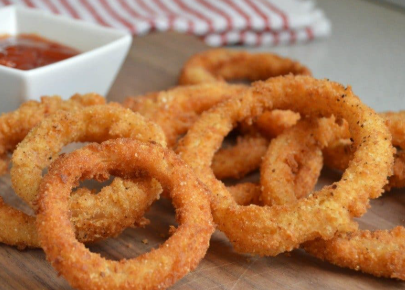
 Onion Rings & Other Adventures
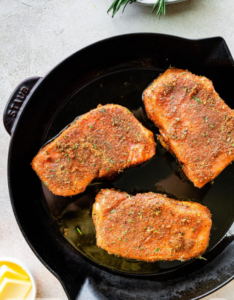
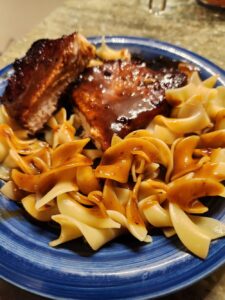
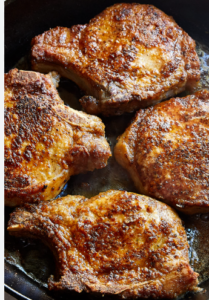 My Complicated History with Pork Chops