Shiny Side Up? Shiny Side Down? The Great Aluminum Foil Mystery, Solved
There’s an old saying about keeping the sunny side up and the dirty side down. Lovely advice for life — less helpful when you’re standing in the grocery aisle staring at aluminum foil, wondering which side is supposed to face the food.
And yes, I’ve wondered. More than once.
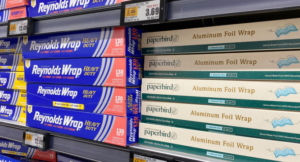
I still remember the first time that distinctive yellow‑and‑blue Reynolds Wrap Non‑Stick box caught my eye. It was noticeably pricier than the plain roll — especially if you weren’t splurging on Heavy Duty — but curiosity won. One roll later, I was a convert. Some chefs swear by the non‑stick variety exclusively, and honestly, I get it. It’s a little luxury that solves a lot of kitchen annoyances.
But because it is expensive, I keep both kinds on hand. If I’m tenting a turkey, the foil is just draped loosely over the top — no need for the fancy stuff. But if I’m lining a pan for easy cleanup and the food is going directly on the foil? Non‑stick, every time. It earns its keep.
And that brings us back to the question that’s been itching at the back of my brain:
Does shiny side up or shiny side down actually matter?
Turns out… not even a little.
Why Foil Has a Shiny Side (and Why It Doesn’t Matter)
 The shiny/dull thing isn’t a design choice — it’s a manufacturing quirk. And because I can’t resist channeling the popular TV show How It’s Made, let’s take a quick trip down the assembly line and unravel this mystery.
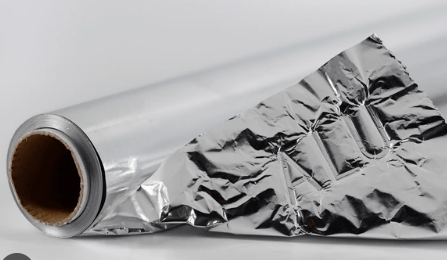
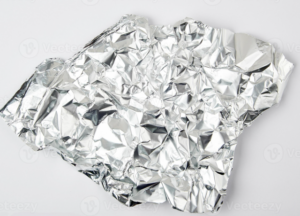
In the final stage of production, called cold‑rolling, two sheets of aluminum are rolled together.
- The side touching the rollers becomes shiny.
- The side sandwiched between the sheets becomes dull.
That’s it. No secret coating. No special heat properties. No culinary conspiracy.
According to food scientist Lara Tiro, the two sides are identical in material and performance. Reynolds themselves say you can use either side — whichever makes you feel like a kitchen wizard.
So if you’ve been carefully orienting your foil like you’re aligning solar panels… you can relax now.
The One Exception: Non‑Stick Foil
Non‑stick foil is the diva of the foil world — and I say that with love.
It does have a coating, but only on the dull side.
That’s the side your food should touch.
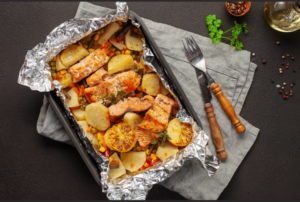
If you’ve ever baked fish, roasted potatoes, or made chicken nuggets that welded themselves to regular foil, non‑stick feels like a small miracle. It’s pricier, yes, but it’s also the difference between “slides right off” and “why is my dinner glued to the pan?”
Can You Reuse Foil? Sometimes.
Foil can be reused if it’s still clean and intact. But toss it if it has:
- Grease soaked in
- Heavy acidic residue (tomato sauce, citrus, vinaigrettes)
- Moisture that could harbor bacteria
- Rips or tears
A gently used sheet from covering leftovers? Absolutely reusable. A sheet that survived a lasagna? Let it go.
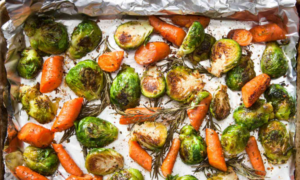
Where Foil Really Shines: The Grill
If aluminum foil has a natural habitat, it’s the grill. This is where it stops being a humble kitchen helper and becomes a full‑blown problem‑solver. Foil packets keep vegetables tender, fish from falling through the grates, and marinades exactly where you want them. It’s also the easiest way to keep your grill clean — a small miracle when you’re cooking something saucy or sticky.

Regular foil works beautifully for most grilling jobs, but this is another place where non‑stick foil earns its keep. Anything delicate — fish fillets, sliced zucchini, marinated chicken — releases cleanly instead of welding itself to the metal like it’s auditioning for a permanent position.
When Not to Use Foil
Even the kitchen MVP has its limits:
- Brining meats: salt can react with aluminum
- Browning: foil traps moisture and prevents crisping
- Storing leftovers: foil isn’t airtight
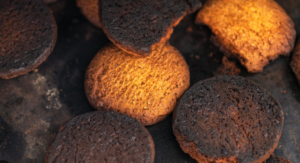
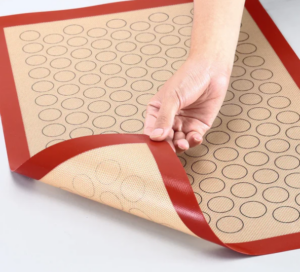
- Baking cookies: bottoms brown too fast — use parchment or silicone
So… Shiny Side Up or Down?
Use whichever side makes you happy.
Use non‑stick when you want your food to behave.
And keep the sunny side up — unless you’re a sheet of foil, in which case both sides are just doing their best.

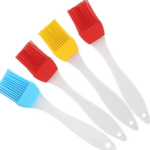
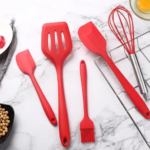 aerate eggs for fluffier cakes and pastries. I have a dozen (at least) of different sizes. Meanwhile, silicone spatulas are perfect for scraping every bit of that delicious batter from bowls or folding in delicate mixtures like foamy egg whites into decadent chocolate for a mousse creation. Find them at Welcoming Haven