Discovering a New German Favorite
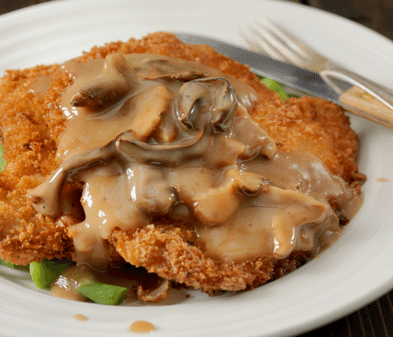
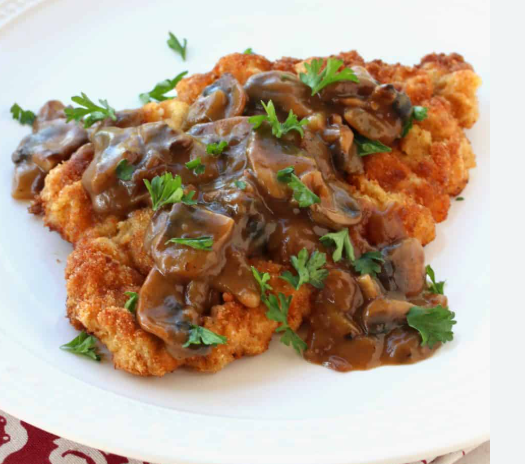
Jägerschnitzel is a classic German dish made with pork, bacon, and a rich mushroom gravy. The pork chops are pan‑fried until crisp and golden on the outside but unbelievably tender inside — you could practically cut them with a fork.
The recipe claims to be ready in 30 minutes. Maybe I’m slow, but it definitely took me longer than that, mostly because of the bacon and the setup. Still, it was worth every minute.
I came across this recipe from House of Nash Eats. It’s one of those sites that requires your email, and now they send me recipes every day. I’ve thought about unsubscribing just to clean up my inbox, but then they send along a gem like this one and I decide to stay a little longer.
 The Universe Sends a Sign
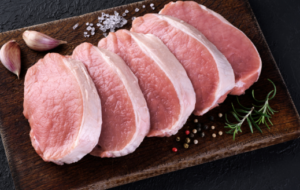
As if the universe agreed with my dinner plans, Hannaford had thin‑cut boneless pork loin chops on sale. No trimming needed — they were ready to go. What’s a home chef to do? Clearly, the universe had spoken.
Like all schnitzel recipes, this one starts with a breading station: three shallow bowls — one for flour, one for eggs, and one for breadcrumbs. This recipe calls for Panko breadcrumbs, not my favorite, but I always try a recipe as written the first time. So here goes.
Jägerschnitzel Recipe
Ingredients
Schnitzel
- 1 to 1½ pounds boneless pork loin chops (pounded to ¼ inch thin)
- ¾ cup all‑purpose flour
- ½ teaspoon salt
- ½ teaspoon garlic powder
- ½ teaspoon smoked paprika
- ¼ teaspoon black pepper
- 3 eggs, beaten
- 2 cups Panko breadcrumbs
- ½ teaspoon garlic powder
- ½ teaspoon salt
- ¼ teaspoon black pepper
- ½ cup vegetable oil for frying
Mushroom Gravy
- 6 slices bacon, chopped
- 1 medium onion, chopped
- 16 ounces sliced mushrooms
- 3 tablespoons all‑purpose flour
- 2½ cups beef broth
- 1–2 teaspoons balsamic vinegar (optional)
- ¼ teaspoon black pepper
- ¼ cup heavy cream (or half‑and‑half or sour cream)
- Chopped fresh parsley for garnish
Instructions
Make the Schnitzel
- Prepare the breading station:

- Dish 1: flour, salt, garlic powder, smoked paprika, black pepper
- Dish 2: beaten eggs
- Dish 3: Panko, garlic powder, salt, pepper
- Trim fat from pork chops so they don’t curl. Pound to ¼ inch thick between plastic wrap using the smooth side of a meat mallet.
- Dredge each cutlet in flour, shake off excess, dip in egg, then coat in breadcrumbs. Transfer to a baking sheet and repeat.
- Heat oil in a large pan to about 360°F. Cook one schnitzel at a time for 2–3 minutes per side until golden brown. Transfer to a wire rack over a baking sheet and keep warm in a 200°F oven.
Make the Mushroom Gravy
- Cook bacon in a large pan over medium heat until crispy. Remove with a slotted spoon and set aside. Keep 2 tablespoons of bacon grease in the pan.
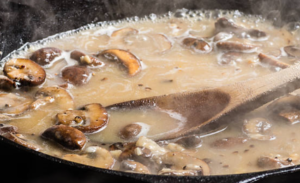
- Sauté onions for 3 minutes. Add mushrooms and cook 5–7 minutes until tender. Sprinkle flour over the mixture and cook 1 minute, stirring to coat.
- Gradually add beef broth while stirring. Reduce heat and simmer until thickened, about 5 minutes.
- Stir in cream and reserved bacon. Remove from heat.
- Plate schnitzel, top with mushroom gravy, and sprinkle with parsley.
Notes from My Kitchen
- Let the pork chops sit a few minutes after breading — it helps the coating stay on.
- I was skeptical about the Panko, but it really works in this recipe.
- My gravy came out thinner than I like, so I added a flour‑and‑water slurry. Next time I’ll add a bit more flour in Step 2 and skip the slurry.
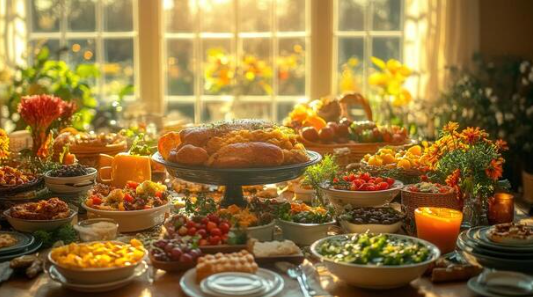
A Hot Kitchen and a Bavarian Feast
Of course, I picked the hottest day of the summer to try this recipe — and I made hot German potato salad as a side. Between boiling potatoes, frying bacon, and the oven warming the kitchen, I set a new personal heat record. I was melting by the time I was done.
My advice? Make this dish in the fall. And have a nice cold lager ready. Celebrate your own little Bavarian Oktoberfest.

Guten Appetit!


 I love sharing recipes and little bits of cooking lore.
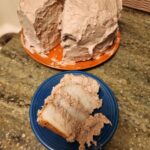
 The Toll House Cookie: A Massachusetts Original


 Ok, I admit it. I’ve crossed over. I am now officially one of the “elderly,” and as one of the Old People, I tend to be a little forgetful. But I still make lists — real lists — written on actual paper with a pen or pencil. I use my phone for plenty of things, but grocery lists are sacred. I want the satisfaction of crossing things off as they go into the cart. It’s a ritual.
 to finish the meal. I had a cat on my lap, so I figured the urge to bake would pass. But no. An hour later, I still wanted