 Life Before the Condo Rules
New Englanders are a hearty lot. Around here, there’s no such thing as “Grilling Season.” We grill in snowstorms, nor’easters, and the occasional blizzard just to feel alive. I was no different. I cooked everything on my Weber — steaks, turkeys, potatoes, corn, kabobs, chicken, fish. Honestly, I used my grill more than my stove.
Then I bought my condo.
It has a lovely west‑facing deck, and I pictured myself out there year‑round, happily grilling under shelter like a civilized cavewoman. What I didn’t picture was the fire code. Not only could I not grill on the deck, I couldn’t even store a grill there. The only allowed option was an electric grill and… well… if I’m going to cook on a glorified space heater, I might as well use my stove.
So began my quest: how do you cook a steak indoors that still satisfies the primal red‑meat urge?
My Cast Iron Era: The Classic Pan Sear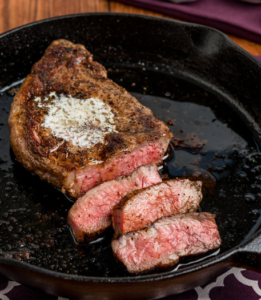
For years, my go‑to method was the classic pan sear in my beloved cast iron skillet. If you’ve never done it, here’s the quick version:
How a Traditional Pan Sear Works
- Heat a cast iron skillet until it’s smoking hot.
- While it heats, coat your steak lightly in vegetable oil, salt, and pepper.
- Lay the steak in the pan — you’ll get that glorious sizzle and a puff of smoke that could set off every alarm in the building.
- Sear for a couple of minutes on the first side to build a crust, then flip and repeat.
- Remove from heat and let it rest while you prep your sides.
It’s fast, it’s flavorful, and it gives a great crust. But it also fills the kitchen with smoke, and the inside of the steak can go from rare to overcooked in a heartbeat.
Lately, I wanted something better — something more steakhouse‑level without steakhouse prices.
And that’s when I found it.
Enter: The Reverse Sear
I’m only one person, and after years of dieting, I can’t eat a whole steak in one sitting. So when Hannaford’s had one of their rare steak sales, I grabbed a nice sirloin for $13. It was small, so I got three good cuts out of it — just $4.33 per meal. That’s a win.
Now I just needed the perfect cooking method.
Reverse sear won by a landslide. Tender, evenly cooked, beautifully crusted — every time. I’m hooked.
Here’s how to do it.
How to Reverse Sear a Steak (No Grill Required)
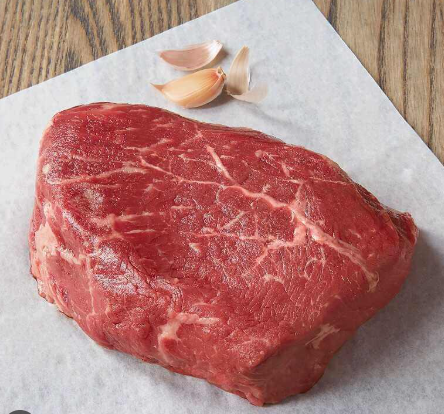
Step 1: Prep Your Steak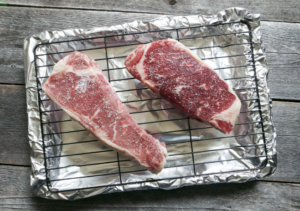
- Start with a thick cut — at least 1.5 inches.
- Pat it completely dry.
- Season generously with kosher salt and pepper.
- Add garlic powder or any spices you love.
- Place on a wire rack (I use my air fryer basket).
Step 2: Slow Cook
- Preheat your oven to 250°–275°F.
- Place the steak on the rack over a baking sheet.
- Bake for 30–50 minutes, until the internal temp reaches 115°F for rare.
- My smaller steaks usually hit this around the 30‑minute mark.
Step 3: High‑Heat Sear
- Heat your cast iron skillet over high heat until it just starts to smoke.
- Add a high‑smoke‑point oil (canola, vegetable, avocado).
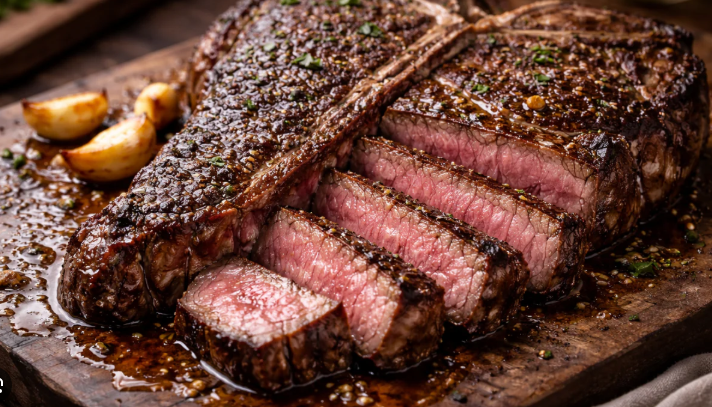
- Sear the steak 60–90 seconds per side until a deep brown crust forms.
Step 4: Rest and Serve
Because the steak cooked low and slow, it barely needs resting. A minute or two is plenty.
Notes & Tips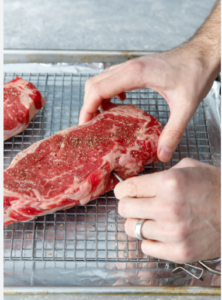
- Many recipes suggest salting the steak and leaving it uncovered in the fridge for up to 24 hours. I haven’t tried it, but it’s supposed to improve the crust. If you test it, report back.
- If you don’t mind smoke, add a pat of butter during the sear for extra flavor — just know it will burn.
- A probe thermometer is essential to avoid overcooking before the sear.
- A dry, heavy skillet (cast iron is best) gives the best crust. Make sure it’s screaming hot.
- Add aromatics (butter, garlic, herbs) during the last minute of the sear and baste for extra flavor.
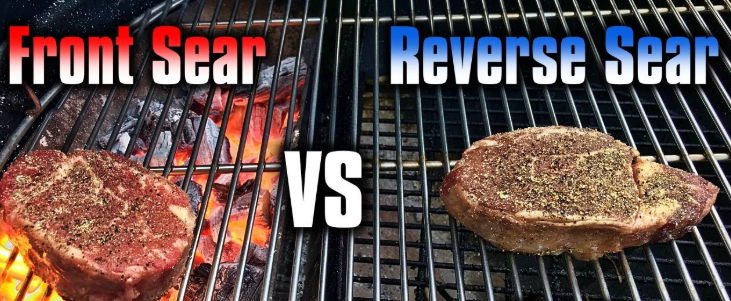
Regular Sear vs. Reverse Sear
You be the judge. I know which one I prefer — and I’d love to hear which method wins in your kitchen.