Cast Iron Pan–Roasted Chicken Breasts


Another Cast Iron Skillet Recipe
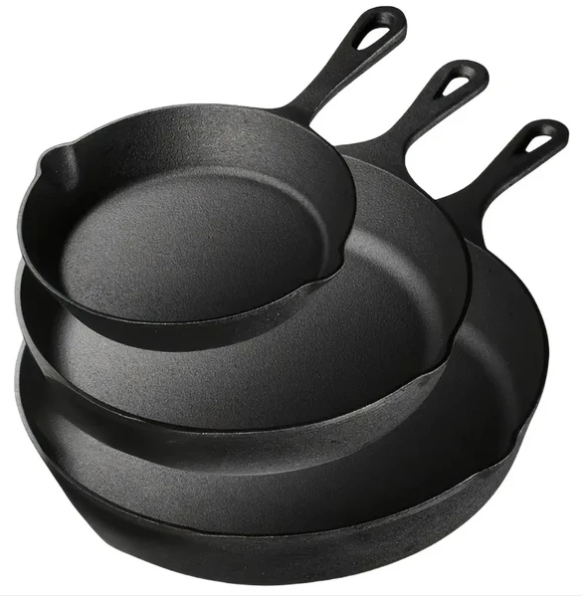
I can’t believe I have another cast iron skillet recipe to share—and this one is so simple it’s almost laughable. Honestly, I don’t know why I never thought of it before.

Chicken is a staple in my house. It’s usually cheaper than beef and always easy to find. I keep chicken breasts or tenders wrapped and frozen so I can thaw them for a quick meal. Roast chicken, schnitzel, chicken and broccoli… the list goes on.
Recently I read a cooking article claiming that roasting chicken breasts in a cast iron pan gives you juicier, more tender results than using a baking dish. I’ll admit, I raised an eyebrow. But I do love my cast iron pans, so of course I had to try it. And I bet you know where this is going—the expert was right. Cleanup was a breeze, too.

They offered all kinds of variations, but for my test run I kept it simple. No cheese, no breadcrumbs—just a naked chicken breast with a little salt and pepper.


Cast Iron Pan–Roasted Chicken Breasts

Ingredients
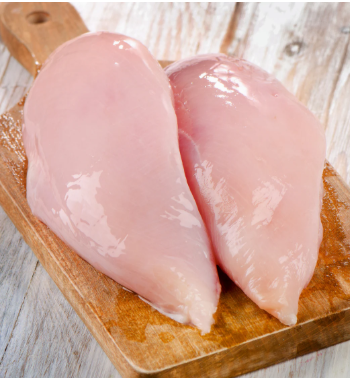
  • 2 bone‑in chicken breasts (I only had boneless and they worked perfectly)
  • Salt and pepper
  • 1 tablespoon butter
  • 1 tablespoon oil

Instructions

  1. Preheat oven to 425°.
  2. Preheat your cast iron pan on the stovetop for a few minutes (a 10‑inch pan fits two breasts).
  3. Generously salt and pepper the skin side of the chicken breasts.
  4. Add butter and oil to the pan at the same time.
  5. When the butter and oil are melted and hot, place the chicken in the pan, skin side down.
  6. Let it sear for a few minutes.
  7. Season the other side with salt and pepper.
  8. Flip the chicken and let the second side sear for a minute or two.
  9. Transfer the pan to the oven and roast for 20–30 minutes, or until the chicken reaches an internal temperature of 165° (use an instant‑read thermometer).
  10. Let the chicken rest for 5 minutes before slicing.
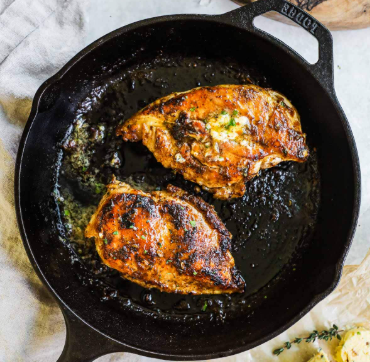

I served mine over boil‑in‑bag rice cooked in water flavored with chicken broth. Add the sliced chicken, a squeeze of lemon juice, and voilà—a meal to remember. The chicken was juicy and flavorful, the salt and pepper formed a beautiful crust, and my well‑seasoned cast iron pan wiped clean without a fuss.
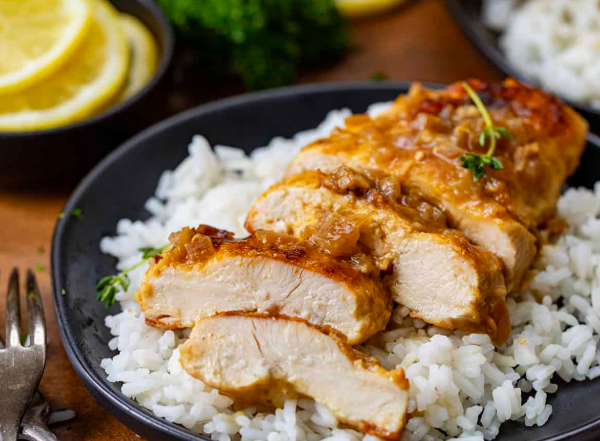
This one is definitely joining my dinner rotation.
 

Quick and Easy Deep-Dish Skillet Pizza


Everyone knows how much I love skillet cooking, especially when it involves my trusty cast‑iron pans. I’ve shared plenty of skillet recipes over the years and I still make every single one. So let’s dive into this one, shall we?

This recipe isn’t mine. I stumbled across it quite by accident, and I’m so glad I did. It’s the creation of Kelly Senyei, who shared it on her site Just a Taste. If you want to see her original post, notes, or comments, you can find them there.

Why This Pizza?

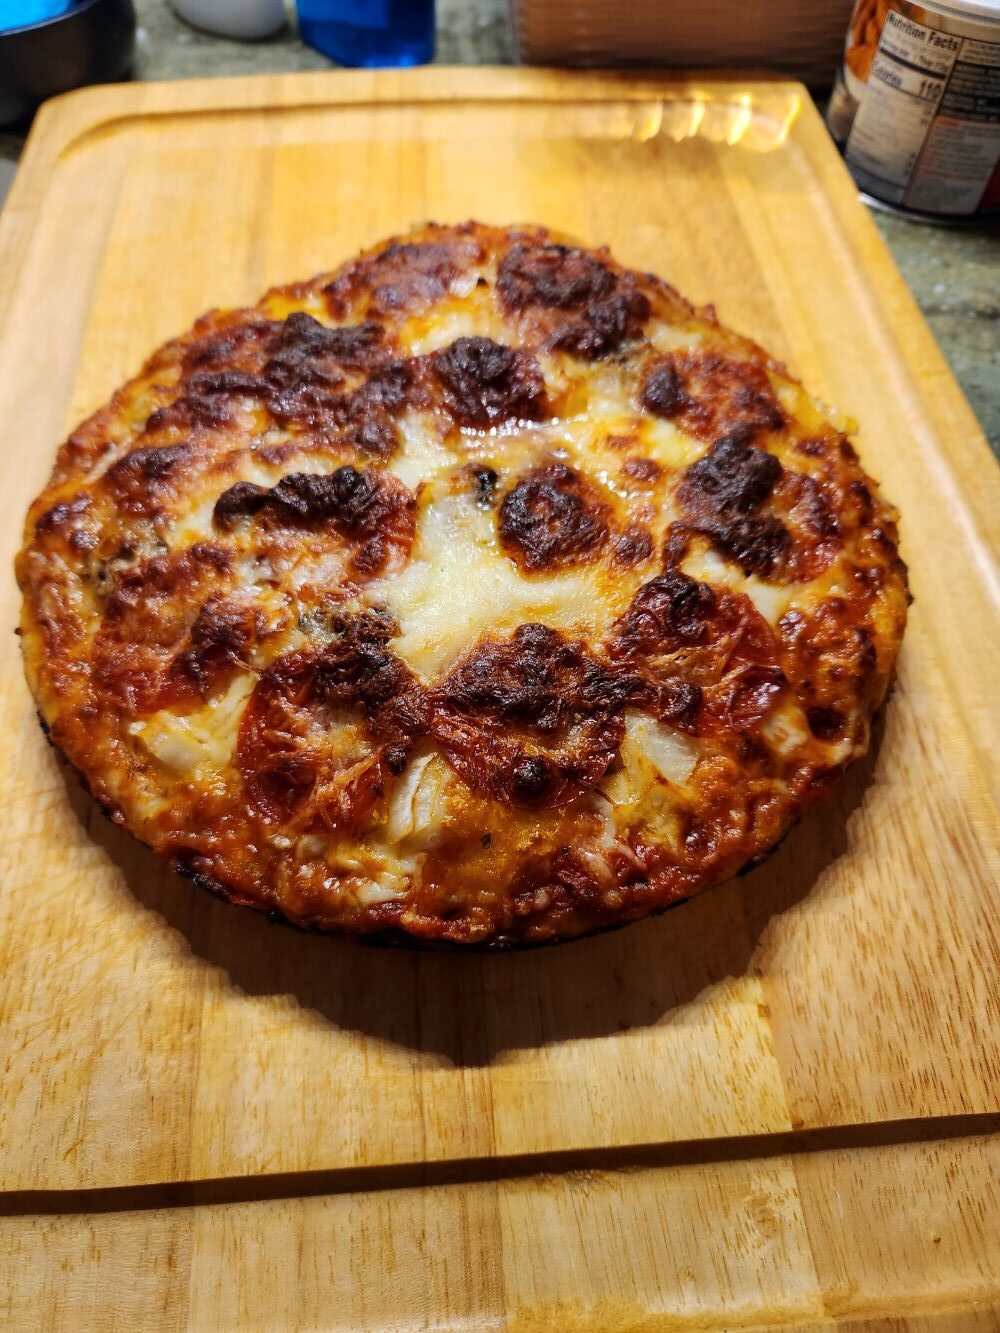
I’m not a huge pizza fanatic. I enjoy a slice now and then, but honestly, there are plenty of other things—like a good cheeseburger—that I’d pick first. Still, out of nowhere, I found myself craving a gooey, onion‑mushroom‑pepperoni pizza loaded with cheese.

What I didn’t want was to spend $20 on delivery.

I started by searching for tips on preparing mushrooms for pizza (do you cook them first? use canned? toss them on raw?).

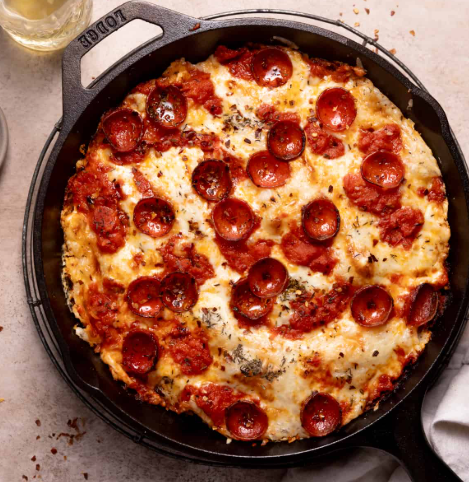
Somewhere in that rabbit hole, I found Kelly’s skillet pizza recipe. Her version makes a deep‑dish pie with a wonderfully crispy crust, and she includes plenty of shortcuts that make it perfect for a weeknight dinner.

When she says ready in 15 minutes, she means it. I didn’t believe it at first—how could a crust cook that fast? But I was wrong. It works, and it’s delicious.

The only change I’d make next time is to use half the dough. I like deep dish, but this one came out a little thicker than I prefer.

So here we go—enjoy!


Kelly’s Thick‑Crust Skillet Pizza

Ingredients

  • 1 pound homemade or store‑bought pizza dough, at room temperature
  • Extra‑virgin olive oil, for coating the pan
  • 3/4 cup marinara sauce (homemade or store‑bought)
  • 1 1/2 cups shredded mozzarella cheese
  • Assorted pizza toppings

Instructions

  1. Preheat the oven to 500°F, placing a rack in the center.
  2. Coat the bottom and sides of a 10‑ or 12‑inch cast‑iron skillet with 2 tablespoons olive oil. Add the dough, turning to coat, then press it out to the edges. (You can also roll it out first, then place it in the pan.)
  3. Spread the sauce evenly over the dough. No need to leave a border. Sprinkle with cheese and add your toppings.
  4. Bake until the crust is dark golden and slightly crispy—10 to 15 minutes.
  5. Let the pizza cool in the pan for 5 minutes before removing, slicing, and serving.

Deb’s Notes

I was in a hurry, so I grabbed store‑bought dough. I let it sit on the counter while I put away groceries so it could warm up. Mine was garlic‑flavored, but my store had all kinds—beer dough, basil, sourdough, you name it.

The recipe calls for 1 pound of dough. My package was 1 lb. 4 oz., and with my tiny kitchen scale I couldn’t divide it accurately. That extra dough probably explains why my crust came out a bit thicker than I like, but it still spread beautifully in the cast‑iron pan once it warmed up.

I also used store‑bought pizza sauce because this was not a “from‑scratch” kind of day.

About the toppings…

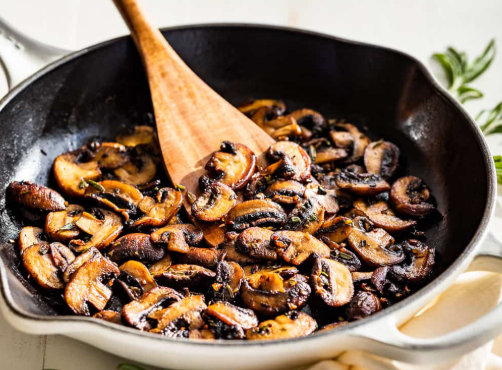
Mushrooms absolutely need to be cooked first. I had a small container of sliced fresh mushrooms, so I sautéed them in a little oil with a good dash of garlic—2 to 3 minutes per side over medium heat. Then onto the pizza they went.

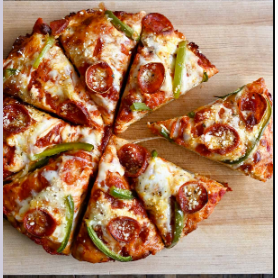
I added onions and pepperoni, topped everything with shredded mozzarella, and into the oven it went.

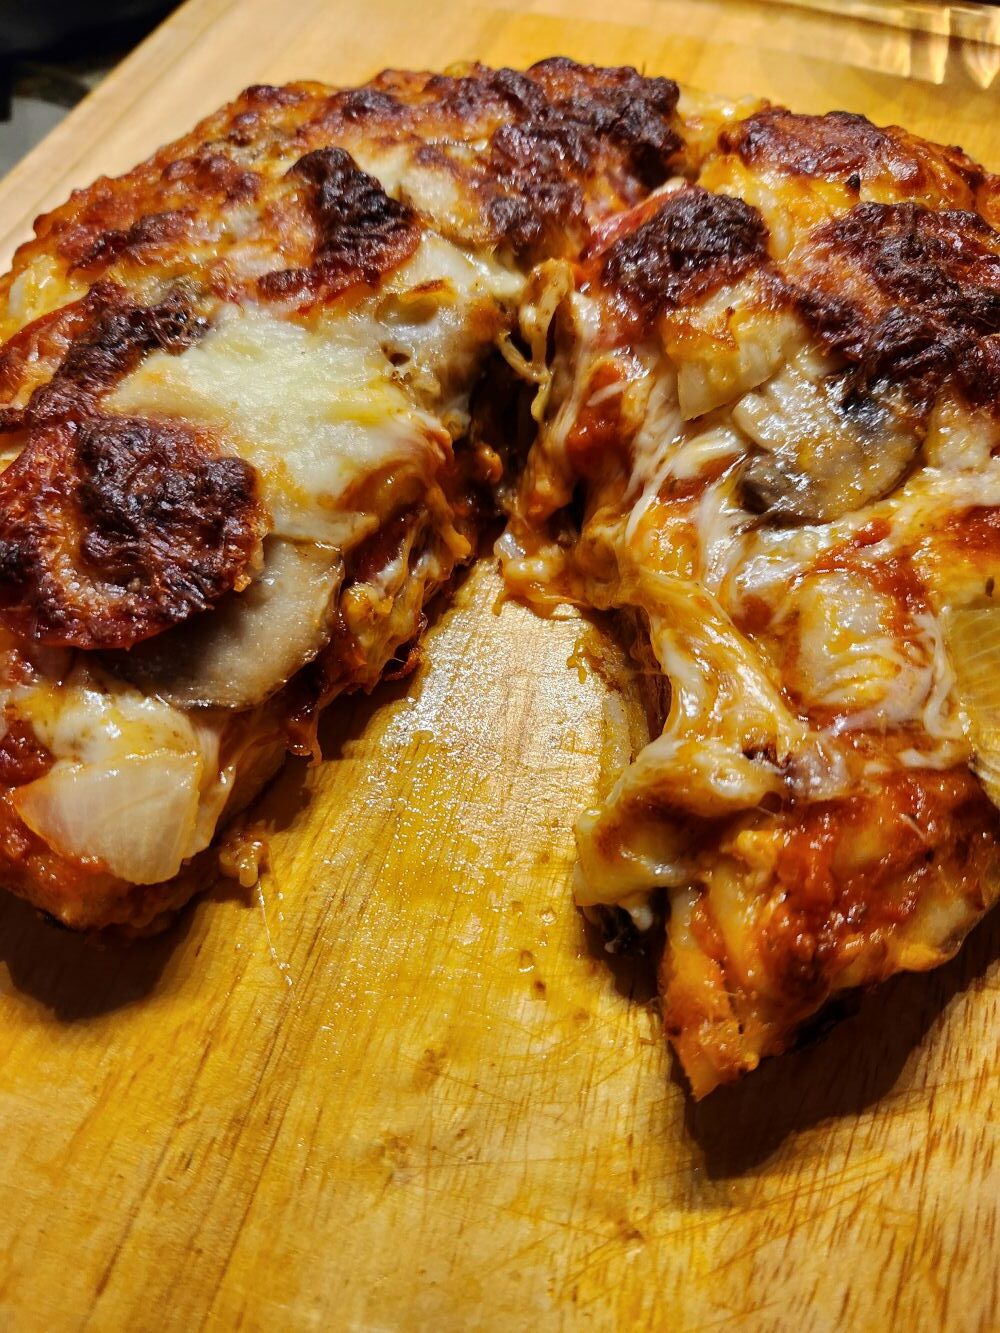
Fifteen minutes later, I had a gorgeous, crispy pizza. I let it rest for 5 minutes, then used a spatula to lift it out of the pan. It was outstanding.

If you’re a purist and want to make your dough and sauce from scratch, Kelly has recipes for both on her blog. I highly recommend checking them out to fine‑tune your perfect pizza.

Enjoy!