 And a Four‑Year Mystery Is Finally Solved
Banner and Balboa, those silly kitties, have a talent — not just for finding things, but for finding the exact things I don’t want them to find. Rubber bands, paper clips, bottle caps, the occasional bug… and yes, even my car keys. (If you missed Banner’s infamous key‑hiding caper, you can read the full story here: Tale of the Lost Keys — October 3, 2021.)
Their preferred playground is the middle of my tiny kitchen floor. Runner‑up: the bathtub. At least in the bathroom they’re out from underfoot.
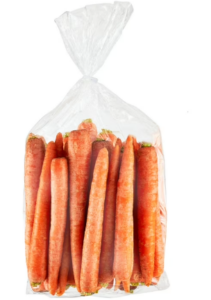
Anyway, there has been a mystery in my house for more than four years. It only ever annoyed me when I wanted to use my food processor — and only when I wanted to grate carrots — so you can see why it wasn’t exactly top of mind.
 The Food Processor Era Begins
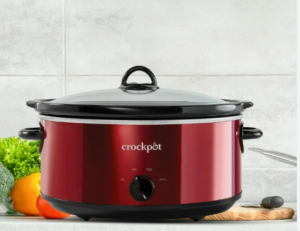
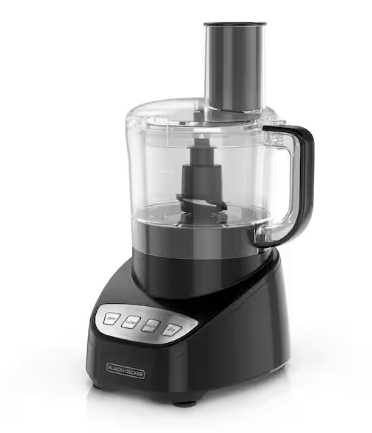
I bought that food processor in a moment of weakness. A literal one. I had just shredded a five‑pound bag of carrots by hand for a carrot cake, and my arm was about to fall off. My thought was “There has to be an easier way.” I watch the Food Network. I watch the cooking shows. You drop ingredients in, press a button, and voilà — shreds, purées, grinds, blends. It was time to modernize.
I brought it home, plugged it in, dropped in a carrot or two, and it worked beautifully. Perfect shreds. Coleslaw here I come. I gave it a place of honor on the counter.
The Carrot Catastrophe
Now, I’m not always the most mechanical of people, and the next time I tried to shred carrots… mush. Tiny bits. Sand. What was going on?
I ran to my computer and watched YouTube videos. Looked simple. Tried again. Same result. Back to the old‑fashioned hand grater I went, but the food processor was still great for bread crumbs, crushing crackers, and grinding honey grahams for pie crusts.
Over the years I kept reviewing how‑to videos and giving carrots another try. No success.
Then one day, I had an epiphany. I Googled the parts of a food processor.
And there it was. The answer to my question. The missing part. The center shaft.

I only had the shaft with the blade. So when I put carrots in, they got shredded by the disc and then immediately chopped to bits by the blade underneath. I couldn’t remove the blade without having the center shaft to put in its place.
 Head‑slap. Duh.
Enter: The Culprit
Okay all you culinary experts, stop laughing. I can explain.
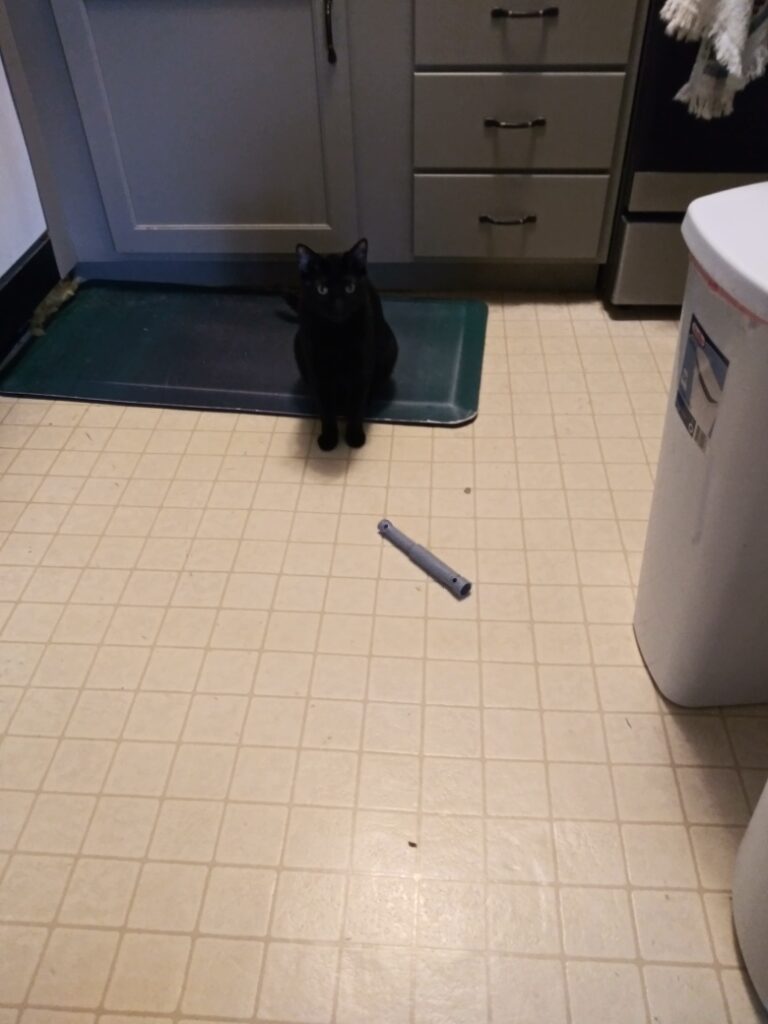
Not long after I got Balboa, I found the little culprit in the kitchen playing with a plastic thing. I had no idea what it was — I thought it was something he found under the sink. He used to go in and out of there all the time, and I figured it was leftover from when the workers replaced the countertops.
Now that I realize what I’m missing, I recognize the thing as the shaft from the food processor.
Needless to say, it’s long gone. It was tossed even before the Great Kitchen Declutter.
The Wallet‑Smacking Finale
The worst part? That tiny plastic thingy costs almost as much as a new food processor to replace. Can you believe that.
One small moment of stupidity… one big bang on the wallet. But at least I finally know why I couldn’t shred carrots with my food processor.
When that part gets here, I may have to make a carrot cake to celebrate.

Share this:
- Share on Tumblr (Opens in new window) Tumblr
- Print (Opens in new window) Print
- Share on X (Opens in new window) X
- Share on Facebook (Opens in new window) Facebook
- Share on Pinterest (Opens in new window) Pinterest
- Share on Reddit (Opens in new window) Reddit
- Share on LinkedIn (Opens in new window) LinkedIn
 The Universe Sends a Sign


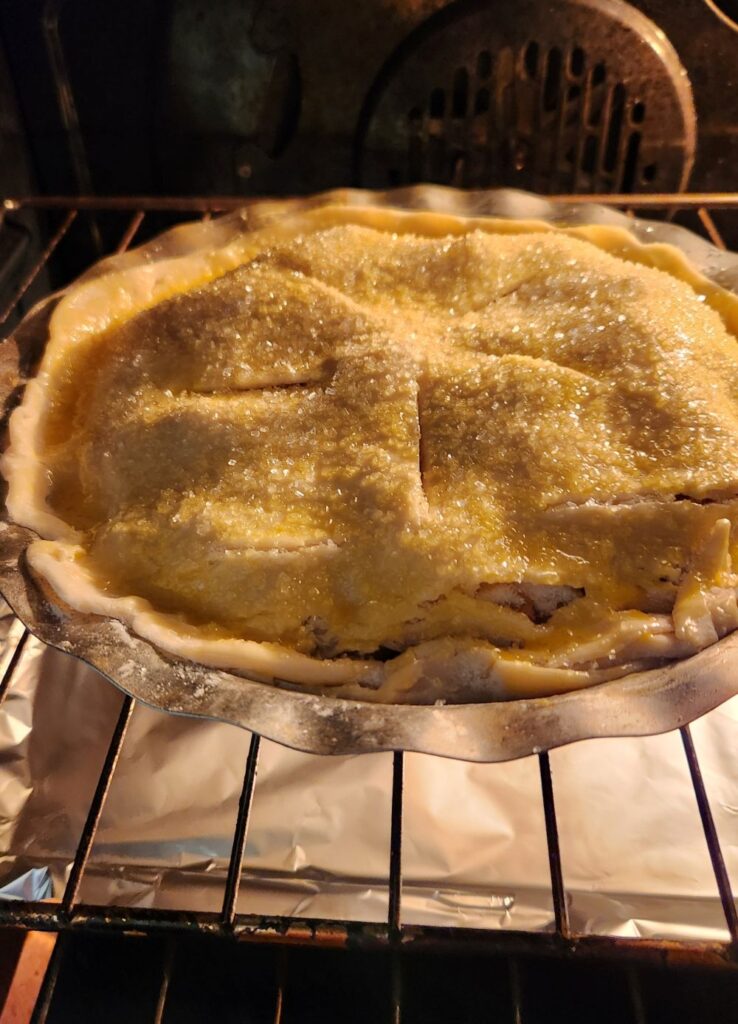
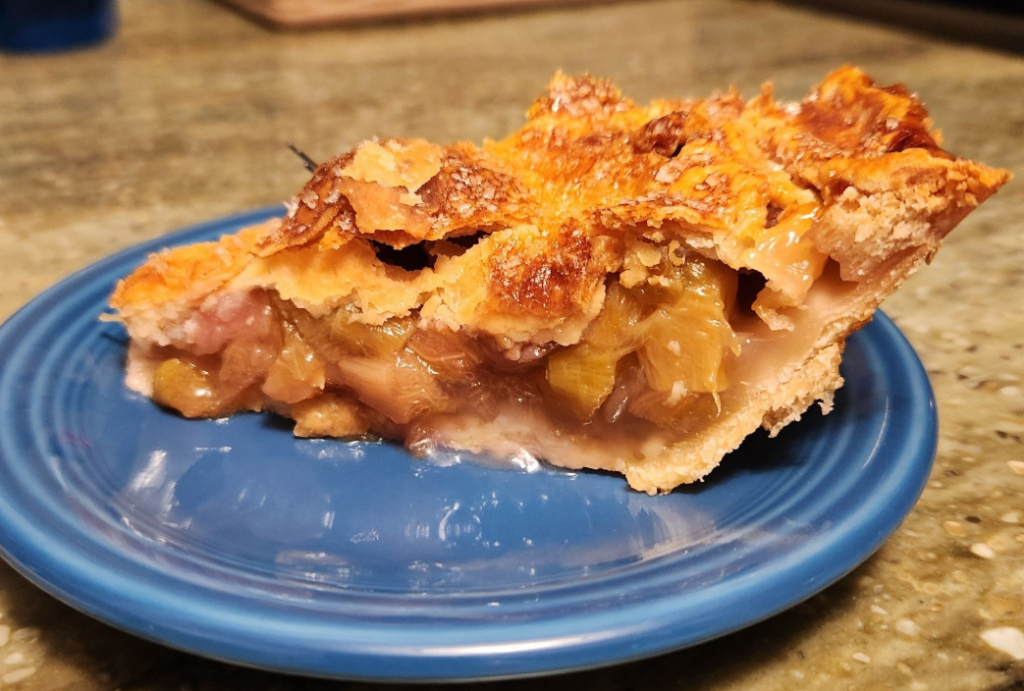
 sharp green‑red crunch and the promise of something tart and sweet bubbling on the stove.
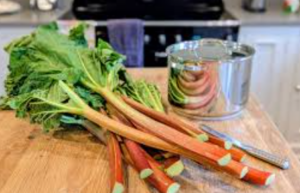
 ☠️ Are the leaves really poisonous?
 🌱 A Few Fun Rhubarb
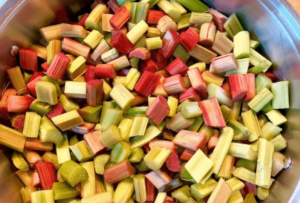

 Recently I had some ricotta left over and wanted to try my hand at stuffed shells, but believe it or not, I couldn’t find any big shells to stuff. And if you think I’m going to stand there trying to fill those tiny little shells, you are so wrong. Crazy I’m not — only slightly demented.
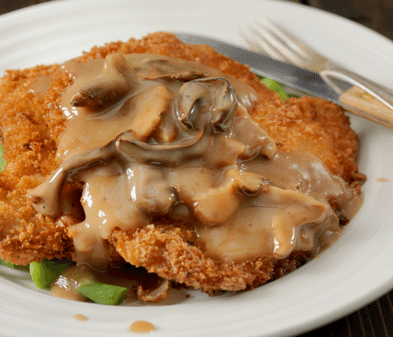
 hamburger.
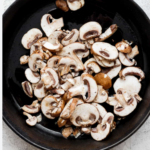 moisture, sauté them first. A tablespoon of oil, a sprinkle of garlic powder, and 5–7 minutes over medium heat will give you perfect, flavorful mushrooms.