The Cruffin Man, Pop ‘n Fresh’s Cousin
Do you know the Cruffin Man,
The Cruffin Man, the Cruffin Man?
Oh, do you know the Cruffin Man
Who lives on Drury Lane?
The cruffin has been floating around culinary circles since at least 2013, when Kate Reid of Melbourne, Australia, started making waves with her version. So I suppose we can safely blame the Aussies for adding one more calorie‑packed breakfast treat to our diets.
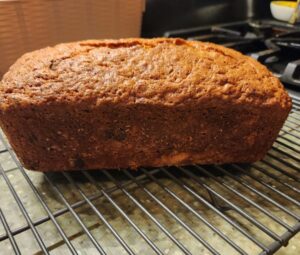
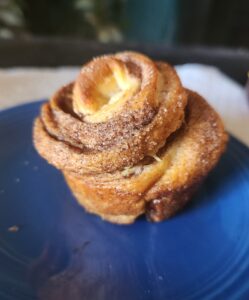
The word cruffin is exactly what it sounds like — a croissant–muffin hybrid. Traditionally, it’s made by baking laminated dough in a muffin tin. Sounds fancy, but there’s a wonderful shortcut thanks to our old friend, the Pillsbury Dough Boy.
One of the best things Pillsbury ever did, in my opinion, was to take their crescent roll dough and turn it into sheets. No more trying to patch little triangles together to make one larger piece. Now you just pop the tube and roll it out.
I’m a latecomer to the cruffin game. I hadn’t even heard of them until a couple of months ago. Intrigued, I dug around and found a simple, no‑baking‑skills‑required recipe. The original makes 12, but you absolutely don’t have to go that big. You can make just four very easily — perfect for a single person. I’ll give you those tips after the recipe.
Pillsbury Cruffins
Ingredients
- ¾ cup granulated sugar
- 1 tablespoon ground cinnamon
- 3 cans (8 oz each) refrigerated Pillsbury Original Crescent Dough Sheet
- 6 tablespoons butter, softened
Instructions
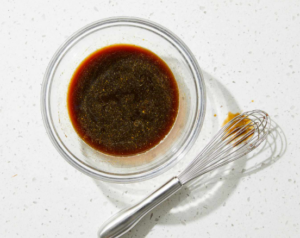
- Heat oven to 375°F. Grease 12 regular‑size muffin cups with shortening or spray with cooking spray. Place a large piece of heavy‑duty foil on the lower oven rack to catch any butter‑sugar drips. In a small bowl, mix sugar and cinnamon; set aside.
- Unroll 1 dough sheet on a lightly floured work surface. Using your fingers, pat the dough to even out the edges and flatten it into a 13×8‑inch rectangle.
- Spread 2 tablespoons softened butter evenly over the dough. Sprinkle 2 tablespoons of the cinnamon‑sugar mixture over the butter and gently press it in.

- Starting with the long side, roll the dough up tightly. Pinch the seam to seal so you have one long log.
- With a sharp knife, cut the log in half crosswise to form 2 shorter logs. Then cut each short log in half lengthwise to make 4 pieces.
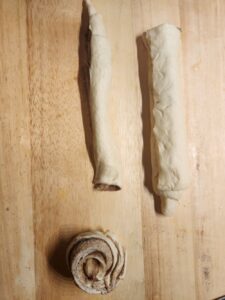
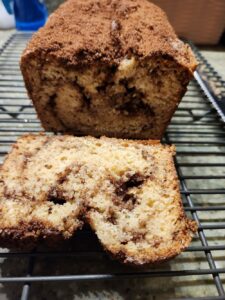
- To shape each cruffin: hold the dough piece with the cut sides facing up. Starting at one end, wrap it into a spiral.
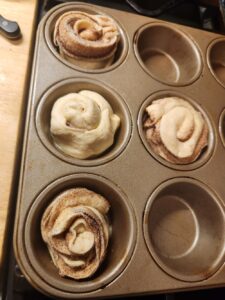
- Tuck the tail underneath and place in a muffin cup. Repeat with the remaining 2 dough sheets. Set aside the remaining cinnamon‑sugar mixture for rolling after baking.
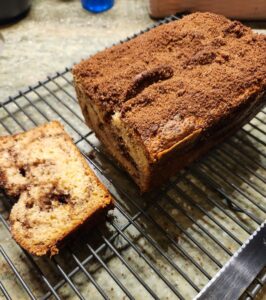
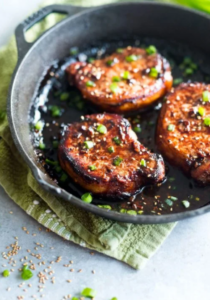
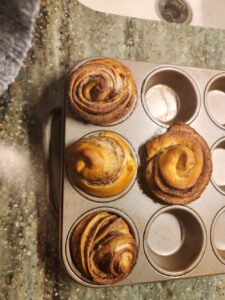
- Bake 18–21 minutes or until golden brown. Using a fork or small icing spatula, immediately remove the cruffins from the muffin cups and roll them in the remaining cinnamon‑sugar mixture. Place on a cooling rack. Serve warm.
Notes
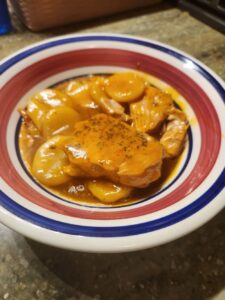
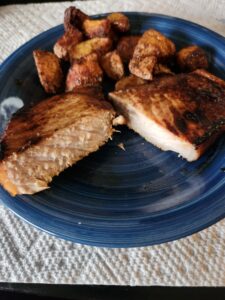
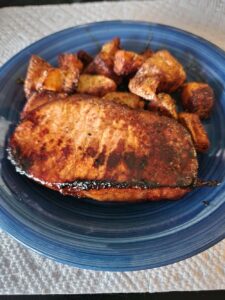
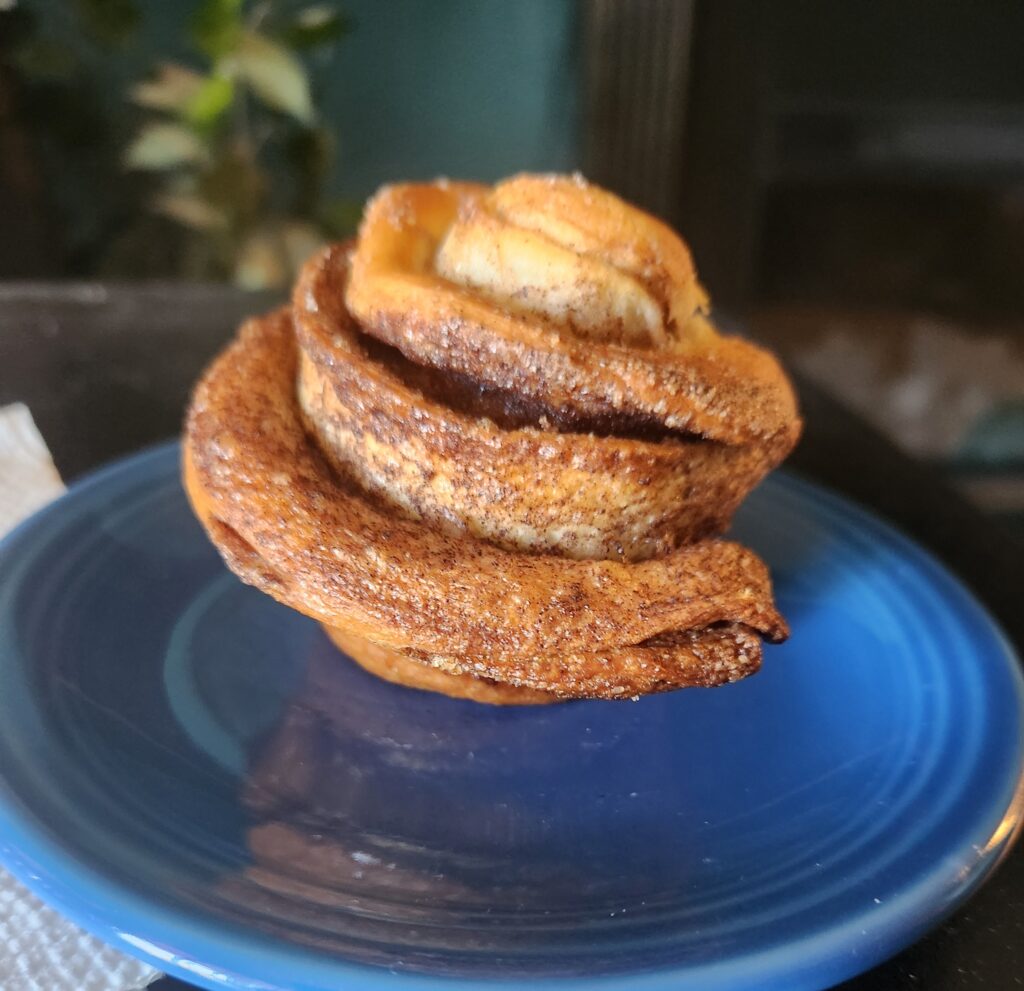
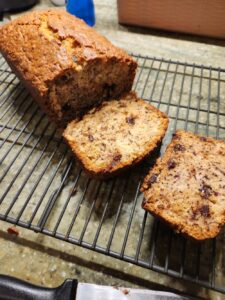
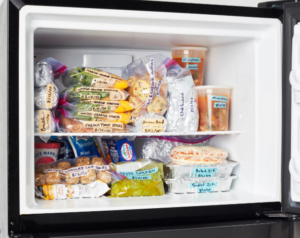
As you can see in the above picture I rolled 2 of the cruffins backward (or inside out by mistake) they still baked up beautifully. This resipe is very forgiving
- Granulated sugar gives the classic cinnamon‑sugar flavor, but brown sugar works too.
- Mix powdered sugar with a splash of milk to drizzle over the warm cruffins.
- If you’re cooking for one (like me), you don’t need all 12. Use one dough sheet to make four cruffins and grease only four muffin cups.
And that’s the joy of these little cruffins — a fancy bakery moment without any of the fuss. They’re quick, they’re fun, and they make an ordinary morning feel just a little more special. If you give them a try, let me know how your spirals turn out. I’ll be over here humming the Cruffin Man song and brushing cinnamon sugar off my counter.
 Life Before the Condo Rules

 I’ve got over 2,100 published posts on Around Dusty Roads. I’ve either had a lot to say… or I just really love the written word. Probably a little of both.
 I’m not talking about artisan sourdough or anything that needs a starter. I mean the little things —