A Budget-Friendly Find at Hannaford
Hannaford had pork chops on sale this week. They also had sirloin steak on sale — and it looked beautiful — but even with the discount, one steak would have blown my entire food budget. Meanwhile, I could get eight center‑cut pork chops for seven dollars. As much as I love a good steak, the better value was pretty obvious.
 My Complicated History with Pork Chops
Here’s the thing: I’m not usually a pork chop person. I like pork, I love ham, but I’ve only had one pork chop recipe in my life that I’d rate five stars — a slow‑cooker recipe. Growing up, we ate pork chops often, always pan‑fried with lots of salt and pepper, and they always seemed tough. So I’ve never gone out of my way to cook them.
Could Cast Iron Save the Day?
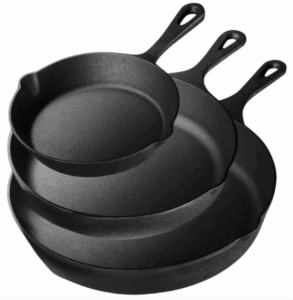
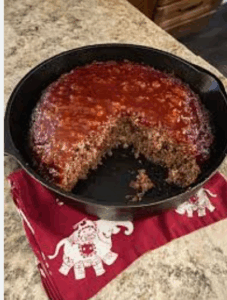
But then I remembered how beautifully the cast iron chicken breast recipe turned out. That got me wondering… could I use the same method for pork chops?
I had a simple three‑ingredient recipe saved — the kind you bake in a foil‑covered dish — and I thought I might be able to adapt it to cast iron. And once I started, I decided it needed a gravy too. Egg noodles were already on the menu, so why not go all in.
A Major Success
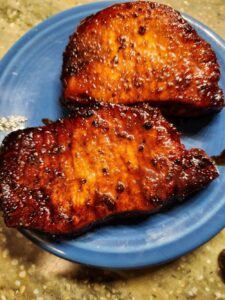
Let me tell you: this was a winner.
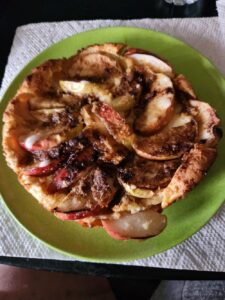
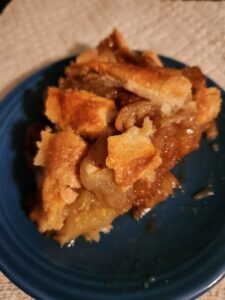
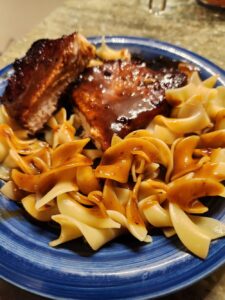
The whole meal came together fast. The noodles cooked while the chops finished in the oven, and the gravy took maybe five minutes — probably less, but I didn’t time it because I was too busy tasting it. The chops came out tender and moist, with that brown‑sugar‑Italian‑herb glaze that tastes like you fussed way more than you did.
And the gravy… oh my. So yummy.
Cleanup was a breeze too. The cast iron pan wiped right out — no sticking at all, even with the brown sugar.
I have a whole new outlook on pork chops now.
Cast Iron Italian‑Rub Pork Chops (with Easy Pan Gravy)
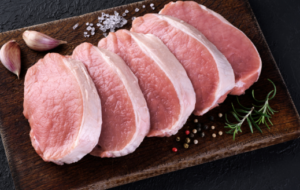
Boneless, center‑cut, about ¾‑inch thick
Ingredients
Pork Chops
- 4 boneless center‑cut pork chops (¾‑inch thick)
- 1 packet dry Italian dressing mix
- 2–3 tbsp brown sugar
- 1–2 tbsp oil (for the pan)
Gravy
- Drippings from the pan
- 1 tbsp butter (optional)
- 1–2 tbsp flour
- ¾–1 cup chicken broth
- Optional: splash of cream or milk
- Pepper to taste
Instructions
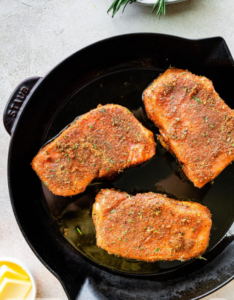
1. Season the Pork
Mix the Italian dressing mix and brown sugar. Pat the pork chops dry and coat them on all sides.
2. Sear in Cast Iron
Heat a cast iron skillet over medium‑high and add a thin film of oil.
Sear the chops 1–1½ minutes per side until lightly browned.
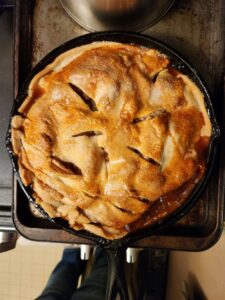
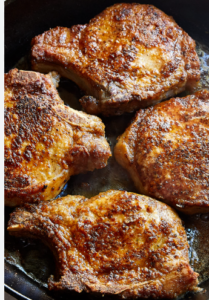
3. Finish in the Oven
Transfer the skillet to a 400°F oven.
Bake 8–12 minutes, depending on thickness.
Remove when the internal temperature reaches 140–145°F and let rest 5 minutes.
Make the Gravy
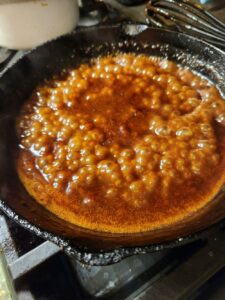
simmering gravy
- Remove the chops to a plate.
- Keep the skillet over medium heat.
- Add 1 tbsp butter if the drippings look sticky or sparse.
- Sprinkle in 1–2 tbsp flour and whisk to form a roux.
- Slowly whisk in ¾–1 cup broth until smooth.
- Scrape up all the browned bits.
- Simmer 2–3 minutes until thickened.
- Adjust seasoning with pepper or a splash of cream.
Serving Notes
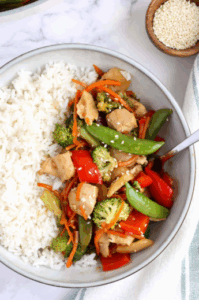
- Spoon the gravy over egg noodles and let it run onto the pork chops.
- Add parsley if you want a little color.
- Leftovers reheat beautifully.
Let Me Know If You Try It
If you give this recipe a try, I’d love to hear how it turned out for you. Did the gravy win you over too? Leave a comment and let me know — I’m always curious how these cast iron experiments work in other kitchens.