Cast Iron Care: A Simple, Honest Guide
Good morning, my friends.
It’s time for a little cast‑iron cooking review. We’ve talked about cast‑iron cookware and how to care for it before, but there are always more questions. I’m no expert, but I am a die‑hard cast‑iron lover. I’d say 90% of my meals are made in a cast‑iron skillet, so I’ve learned that proper care is the difference between a kitchen workhorse and a rusty headache. And trust me — I’ve ruined more than one skillet over the years through neglect or pure stupidity. The good news? With patience and elbow grease, I’ve restored every single one.
So let’s talk about that humble hero of the kitchen: the cast‑iron skillet.
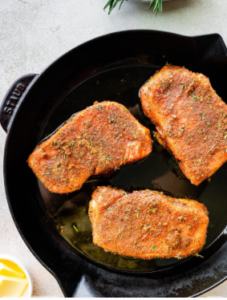
Seasoned Pork chops ready for frying
Choosing Your Skillet
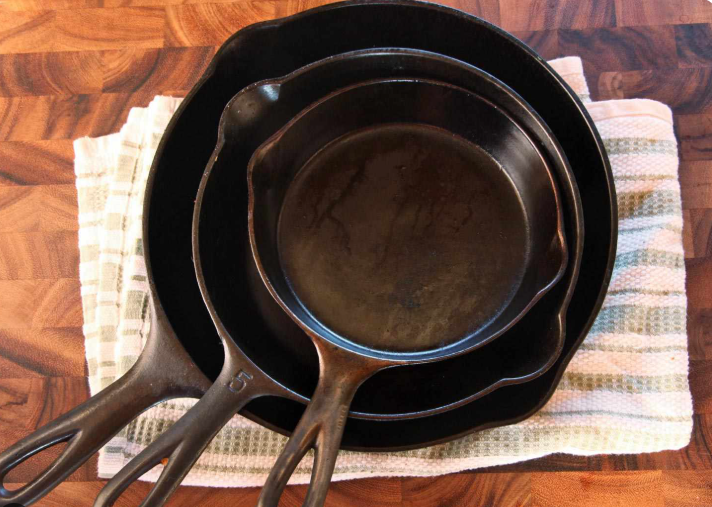
I have a full set — from a tiny 6‑inch up to a hefty 12‑inch — but my favorites are my two 9‑inch skillets. They’re smooth, glossy, nonstick, and easy to clean… but that finish didn’t happen overnight.
If you’ve just bought a shiny silver cast‑iron pan, or someone gifted you one, please don’t cook with it yet. And whatever you do, don’t scrub it to “keep the shine.” That shine is actually bare metal, and it needs seasoning before it becomes usable.
If you’re restoring an old, rusted, dinged‑up pan, you’ll also need to scrub it down to the base surface. It won’t look shiny, but it will smooth out, and the rust will come off.
Seasoning: The Step You Cannot Skip
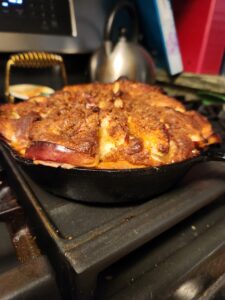
High Rise (puff) apple Pancake
Seasoning is what creates that beautiful nonstick surface. It’s the step most people try to skip — but don’t. If you want a pan that lasts forever, this is where the magic happens.
Gather your tools: Water, soap, a scrub brush, steel wool, and a neutral cooking oil.
Yes, soap. Yes, water. and yes, even steel wool. You’re starting fresh.
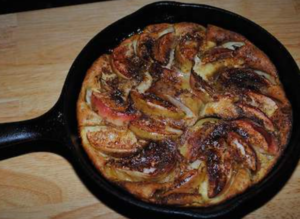
Bickford’s‑style baked apple pancake
Step 1: Clean the Skillet
If you just used it, let it cool, rinse with warm water, and wipe out any food bits.
If you’re restoring an old skillet, get ready to work. This is where the steel wool comes in. Scrub until the rust is gone and the surface feels even.
Step 2: Scrub Thoroughly

Skillet Corn Bread
Use warm, soapy water and your scrub brush to remove stubborn bits. Use steel wool for anything that feels gritty or raised. You want the surface smooth — no sandpaper texture. Rinse well.
Step 3: Dry It Completely
Dry every inch of the skillet — the cooking surface, the sides, the handles, the bottom. Cast iron rusts fast, and moisture is the enemy. I use paper towels and make sure it’s bone‑dry.
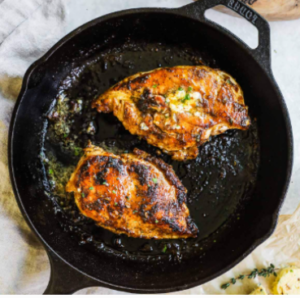
Oven Roasted in cast iron pan chicken breast
Step 4: Oil the Pan
Add a drop or two of neutral oil. Wipe it around the entire pan and wipe off any excess. Too much oil will puddle, get sticky, and send you right back to Step 1.
I put the oil directly on the paper towel so I can control the amount.
 Step 5: Heat It — Two Different Ways
For Maintaining a Seasoned Skillet
Set your oven to 200°F. Place the lightly oiled skillet face down on the center rack with a drip pan underneath. Heat for 30–40 minutes. This sets the oil and removes any lingering moisture.
For Building a New Seasoning Layer
If your pan is brand new or freshly stripped, you need a strong base layer.
Set your oven to 450–500°F. Bake the pan for 1 hour, then let it cool in the oven. You may need to repeat this a few times until the surface turns dark, smooth, and slightly glossy. You’ll see the difference — it becomes slippery, slidey, and wonderfully nonstick.
Cooking With Cast Iron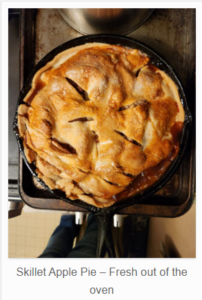
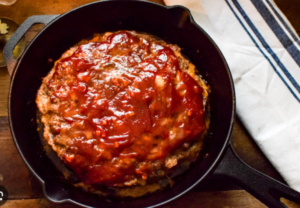
I make everything in my skillets — pies, apple pancakes, roast chicken breasts, meatloaf. I fry, bake, and sauté.
The one thing I don’t make is tomato sauce. Experts say you can, just don’t let it sit in the pan. The acid can damage the seasoning you worked so hard to build. I’ve learned that lesson the hard way.
But for almost everything else? Cast iron is unbeatable. My skillet apple pie is legendary, and I wouldn’t dream of making an apple pancake in anything else.
A Final Thought
Remember, you’re seasoning your skillet every time you cook. Many pans come “pre‑seasoned,” meaning the manufacturer started the process for you. You can cook with them right away, but good maintenance will keep that seasoning building. But always check the packaging to be sure.
Be patient. Once you develop that seasoned base, treat it kindly and your skillet will be your friend forever. Maybe someday your grandkids will still be using it in their own kitchens.
And you know… I haven’t tried baking a cake in a cast‑iron skillet yet — but maybe I should. If pies and cornbread come out this good, a cake might be my next great adventure.

Share this:
- Share on Tumblr (Opens in new window) Tumblr
- Print (Opens in new window) Print
- Share on X (Opens in new window) X
- Share on Facebook (Opens in new window) Facebook
- Share on Pinterest (Opens in new window) Pinterest
- Share on Reddit (Opens in new window) Reddit
- Share on LinkedIn (Opens in new window) LinkedIn