No-Bake Chocolate Peanut Butter Bars

One More Recipe… I Couldn’t Resist

I know, I know — I said I was going to take a little break from cooking posts. Around Dusty Roads is more than a recipe corner, after all. But when something this easy and this delicious crosses my path, how am I supposed to keep it to myself?

So here we are. One more. I promise it’s worth it.

Do you love peanut butter? Do you have a sweet tooth that wakes up the moment you see those peanut butter eggs at Easter or the Christmas tree–shaped Reese’s? If you’re nodding along, this one’s for you. It’s rich, it’s nostalgic, it’s no-bake, and it’s dangerously simple.

While I was digging through Turtle Fudge recipes for Valentine’s Day, I stumbled across this gem: No-Bake Chocolate Peanut Butter Bars. The only real “work” involved is giving your biceps a little workout while mixing — so grab your trusty wooden spoon and channel your inner “Get Ready to Rumble!”


No-Bake Chocolate Peanut Butter Bars

Ingredients

  • ½ cup (8 Tbsp.) salted butter, melted
  • 1 cup graham cracker crumbs (about 8 full sheets)
  • 2 cups confectioners’ sugar
  • 1 cup + 2 tablespoons creamy peanut butter, divided
  • 1 cup semi-sweet chocolate chips

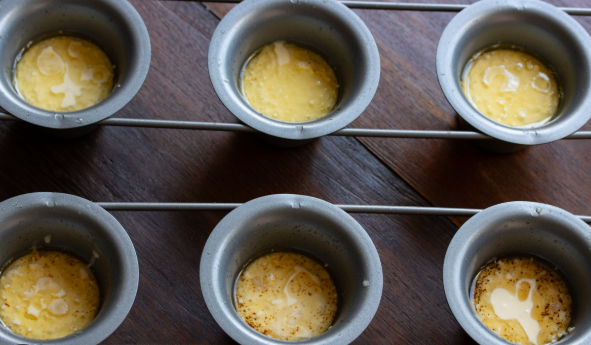
Peanut butter mix should look like this

Instructions

  1. Line an 8- or 9-inch square baking pan with aluminum foil or parchment paper; set aside.
  2. In a medium bowl, mix the melted butter, graham cracker crumbs, and confectioners’ sugar. Stir in 1 cup of peanut butter, then press the mixture evenly into the prepared pan.
  3. Melt the remaining 2 tablespoons of peanut butter with the chocolate chips — microwave or stovetop both work. Stir until smooth, then spread over the peanut butter layer.
  4. Chill in the refrigerator until completely firm, at least 2 hours. Let sit at room temperature for about 10 minutes before cutting.
  5. Store leftovers tightly covered in the fridge for up to a week.

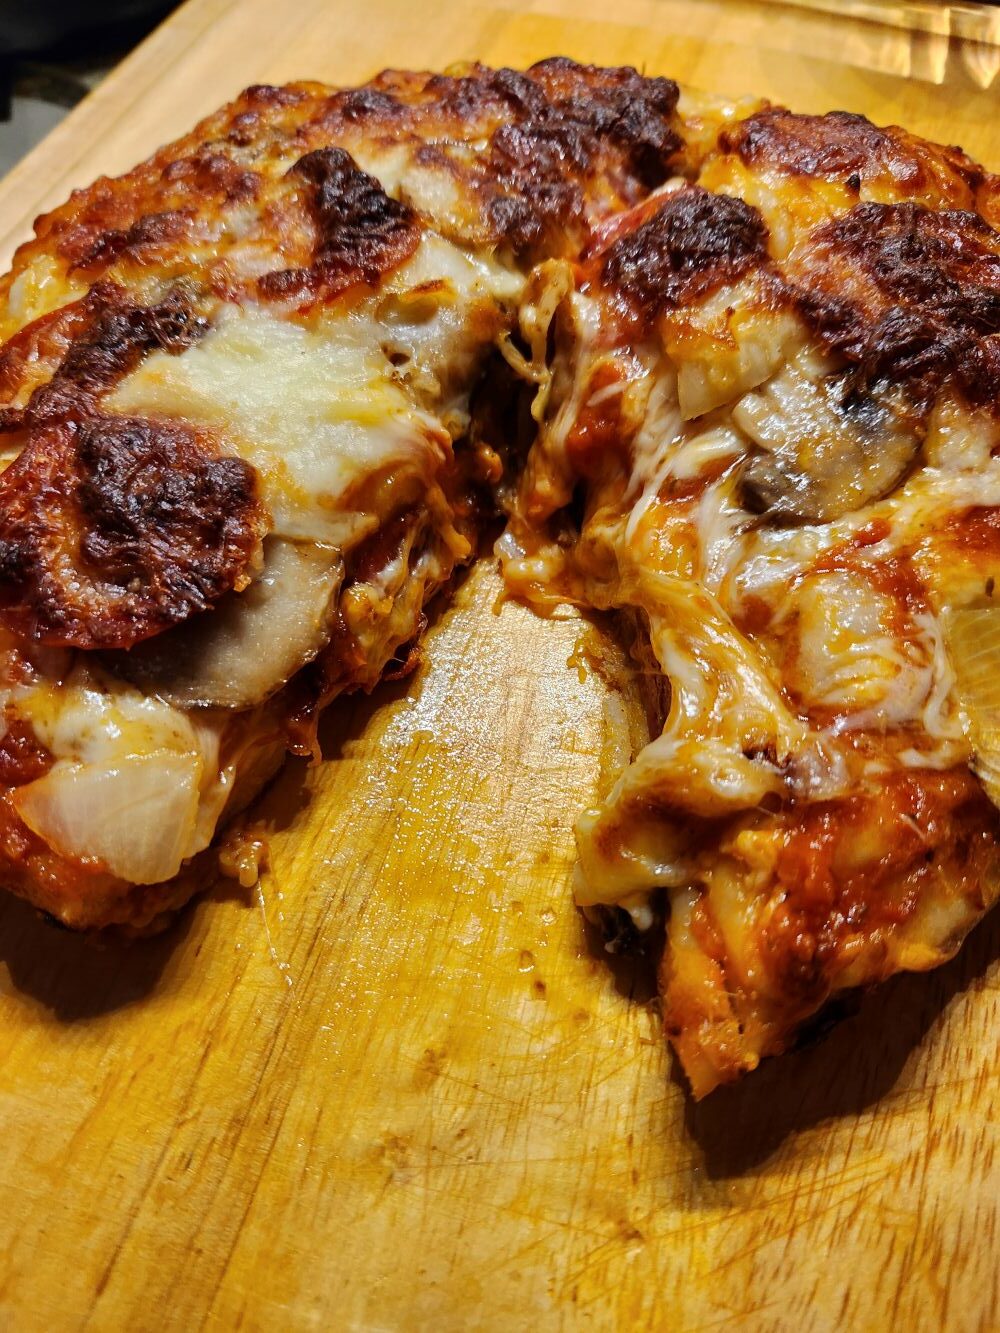
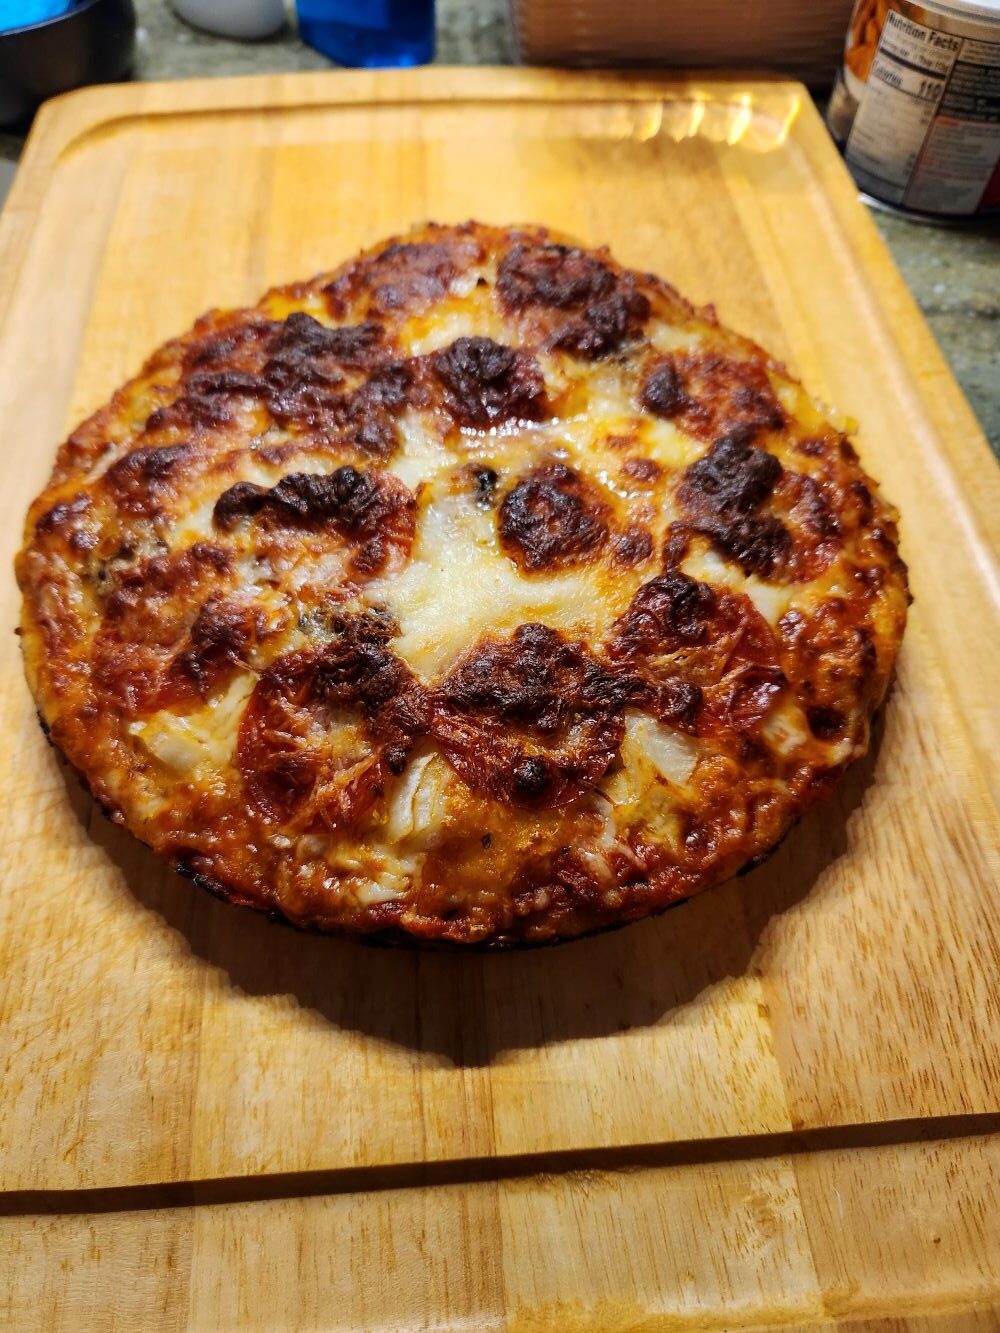
almost as good as the pro’s

You can find the original recipe and extra notes over at Sally’s Baking.


No-bake, no guilt… unless you eat the whole pan. Not that I’d know.

If you give these a try, let me know how they turn out. I love hearing your tweaks, triumphs, and taste‑tester reviews.


Crazy Puffs version 2

If you liked my Crazy Puffs experiment there are tons of variations of the recipe on the internet. All it takes is a quick search for Crazy Puffs. This one caught my eye because instead of using pizza dough, it calls for frozen bread balls. Like I said in my previous post , I haven’t tried this one but it looks much less messy, just drop a frozen dough ball in the muffin tin and let it thaw out. Take a look!

This recipe uses frozen bread dough balls (such as Rhodes or similar) to create a copycat version of Little Caesars Crazy Puffs, featuring a garlic-butter crust, pepperoni, mozzarella, and a marinara-filled center. 

Ingredients

  • 12 frozen dinner rolls (thawed but not fully risen)
  • 1/2 cup pizza sauce or marinara sauce
  • 1 cup mozzarella cheese, shredded (plus extra for topping)
  • 24-30 slices of pepperoni (or turkey pepperoni)
  • 1/4 cup Parmesan cheese, grated
  • Garlic Butter: 1/4 cup melted butter (1/2 stick), 1 tsp garlic powder, 1 tsp Italian seasoning, optional 1 tbsp dried parsley 

Instructions

  1. Thaw and Prepare Dough: Place frozen dough balls into a well-greased muffin tin. Cover with plastic wrap and let them thaw at room temperature for 1–2 hours until soft and puffy.
  2. Preheat and Prep: Preheat your oven to 375°F (190°C).
  3. Create Puffs: Once thawed, use a small, greased glass or your fingers to press down the center of each dough ball, creating a well to form a cup shape.
  4. Add Flavor and Fillings:
    • Brush the insides of the dough cups generously with the garlic butter mixture.
    • Place a small amount of mozzarella cheese in the bottom of each cup.
    • Add a teaspoon of pizza sauce to each.
    • Add 2-3 slices of pepperoni and more mozzarella cheese on top.
    • Sprinkle the tops with Parmesan cheese and extra Italian seasoning.
  5. Bake: Bake for 15-20 minutes, or until the dough is golden brown and the cheese is bubbly.
  6. Finish: Remove from the oven and immediately brush the tops with the remaining garlic butter.
  7. Serve: Let them cool slightly in the pan for 5 minutes before removing to serve. 
Tips for Success
  • Prevent Sticking: Ensure the muffin tin is heavily oiled or sprayed with cooking spray to make removing the cheesy puffs easier.
  • Extra Crispy: For a crispier texture, use a higher temperature of 400°F–425°F for 12-15 minutes.
  • Filling Option: To prevent filling leakage, you can fill the dough balls and pinch them shut, then place them in the muffin tin and brush with garlic butter. 


The Day My Popovers Turned Into Scrambled Eggs


A Recipe I Could Make in My Sleep… Until I Couldn’t

Have you ever messed up a recipe you’ve made so many times you could practically do it blindfolded? I have — and I’m still shaking my head. Popovers are my thing. I love them, I’ve shared my recipe, and they always rise into big, glorious puffs that make me feel like I actually know what I’m doing in the kitchen.

So naturally, I decided to “improve” them. Because why leave perfection alone when you can tinker with it and create chaos instead?

The Brilliant Idea That Wasn’t

The other day I thought I’d try a new twist. Instead of whisking the batter like a normal, functioning adult, I figured my blender might give me a smoother mix. I added the milk and eggs, set the blender jar aside to come to room temperature, and went about my morning like a culinary genius in waiting.

Later, I hit blend, poured the mixture into my popover pan, slid it into the oven, and waited for the magic.

Spoiler: the magic did not happen.

The Big Reveal: Breakfast Betrayal

Thirty minutes later, I opened the oven expecting towering popovers. Instead, I was greeted by… scrambled eggs. Perfectly cooked, fluffy scrambled eggs sitting in each cup like they owned the place.

Meanwhile, the “batter” — and I use that word loosely — sat like a sad little puddle at the bottom of each well. When I cut one open, scrambled eggs spilled out. I stood there mystified. Did I overmix? Forget the salt? Anger the popover gods?

Nope. It was far more basic than that.

I never added the flour.

Not a speck. Not a dusting. Just eggs and milk baked enthusiastically into breakfast. A major fail, even by my standards.

Redemption Round

So now I’m redeeming myself with another batch — this time using a whisk and a hand mixer like a sensible human. No shortcuts. No gadgets. No “brilliant ideas.”


Just me, my popover pan, and a very bruised ego.


Homemade “Crazy Puffs”

Homemade “Crazy Puffs” — My Mini Pizza Experiment

Before we take a little break from cooking posts (travel stories, kitty antics, and other fun things are calling), I wanted to squeeze in two more easy recipes. Today’s adventure: Crazy Puffs.

Have you ever tried Little Caesars’ Crazy Puffs? I’ve heard of them for ages, but since there’s no Little Caesars near me anymore, I’ve never actually tasted the real thing. Still, I love small portions and bite‑sized snacks, so while I was already playing around with pizza dough, I figured—why not try making my own version at home?

If you’ve never encountered a Crazy Puff, think of it as a bite‑sized pizza snack, about the size of a muffin, filled with classic pizza flavors. They’re designed to be handheld, easy, and fun—perfect for pizza lovers who want something quick and poppable.

So how do we make them at home?
I’ve got two versions. I’ve only tested one so far, but it came out great. The second version will be coming up in another post, and you can decide which one you like better.


Crazy Puffs — Version 1

Ingredients

  • 1 (13.8‑oz) pizza crust, such as Pillsbury
  • 1/3 cup unsalted butter, melted
  • 1 tablespoon finely chopped fresh parsley
  • 2 teaspoons dried Italian seasoning
  • 2 teaspoons garlic salt
  • 1/4 teaspoon ground black pepper
  • 1 1/2 cups jarred pizza sauce
  • 1 1/2 cups pepperoni slices
  • 4 cups pre‑shredded mozzarella cheese
  • 1/4 cup grated Parmesan cheese

Directions

  1. Preheat oven to 375°F. Place a baking sheet on the bottom rack. (that’s incase of drips)  Coat a shallow 12‑cup muffin tin with cooking spray.
  2. Roll the pizza dough across the muffin tin, stretching it so it covers the entire surface. Using a pizza cutter, cut the dough into 12 squares. Discard any excess.
  3. Press each dough square into a muffin cup, bringing the dough halfway up the sides.
  4. In a small bowl, mix the melted butter, parsley, Italian seasoning, garlic salt, and black pepper. Brush the seasoned butter onto each dough cup.
  5. Add 1 teaspoon pizza sauce to each cup. Layer 2 slices of pepperoni, then 1 tablespoon mozzarella. Add 2 more slices of pepperoni, then 2 tablespoons mozzarella, pressing the cheese down so it stays inside the cup. Stir the Parmesan into the remaining butter mixture and drizzle a little over each puff.
  6. Bake for 15 minutes, or until the cheese is melted. Switch the oven to broil and broil for about 1 minute, just until the tops turn golden. Let cool for 2 minutes before serving.


I’ll share the second version soon. It has a couple of key differences and might even be easier—or at least less messy. You can be the judge.


Quick and Easy Deep-Dish Skillet Pizza


Everyone knows how much I love skillet cooking, especially when it involves my trusty cast‑iron pans. I’ve shared plenty of skillet recipes over the years and I still make every single one. So let’s dive into this one, shall we?

This recipe isn’t mine. I stumbled across it quite by accident, and I’m so glad I did. It’s the creation of Kelly Senyei, who shared it on her site Just a Taste. If you want to see her original post, notes, or comments, you can find them there.

Why This Pizza?

I’m not a huge pizza fanatic. I enjoy a slice now and then, but honestly, there are plenty of other things—like a good cheeseburger—that I’d pick first. Still, out of nowhere, I found myself craving a gooey, onion‑mushroom‑pepperoni pizza loaded with cheese.

What I didn’t want was to spend $20 on delivery.

I started by searching for tips on preparing mushrooms for pizza (do you cook them first? use canned? toss them on raw?).

Somewhere in that rabbit hole, I found Kelly’s skillet pizza recipe. Her version makes a deep‑dish pie with a wonderfully crispy crust, and she includes plenty of shortcuts that make it perfect for a weeknight dinner.

When she says ready in 15 minutes, she means it. I didn’t believe it at first—how could a crust cook that fast? But I was wrong. It works, and it’s delicious.

The only change I’d make next time is to use half the dough. I like deep dish, but this one came out a little thicker than I prefer.

So here we go—enjoy!


Kelly’s Thick‑Crust Skillet Pizza

Ingredients

  • 1 pound homemade or store‑bought pizza dough, at room temperature
  • Extra‑virgin olive oil, for coating the pan
  • 3/4 cup marinara sauce (homemade or store‑bought)
  • 1 1/2 cups shredded mozzarella cheese
  • Assorted pizza toppings

Instructions

  1. Preheat the oven to 500°F, placing a rack in the center.
  2. Coat the bottom and sides of a 10‑ or 12‑inch cast‑iron skillet with 2 tablespoons olive oil. Add the dough, turning to coat, then press it out to the edges. (You can also roll it out first, then place it in the pan.)
  3. Spread the sauce evenly over the dough. No need to leave a border. Sprinkle with cheese and add your toppings.
  4. Bake until the crust is dark golden and slightly crispy—10 to 15 minutes.
  5. Let the pizza cool in the pan for 5 minutes before removing, slicing, and serving.

Deb’s Notes

I was in a hurry, so I grabbed store‑bought dough. I let it sit on the counter while I put away groceries so it could warm up. Mine was garlic‑flavored, but my store had all kinds—beer dough, basil, sourdough, you name it.

The recipe calls for 1 pound of dough. My package was 1 lb. 4 oz., and with my tiny kitchen scale I couldn’t divide it accurately. That extra dough probably explains why my crust came out a bit thicker than I like, but it still spread beautifully in the cast‑iron pan once it warmed up.

I also used store‑bought pizza sauce because this was not a “from‑scratch” kind of day.

About the toppings…

Mushrooms absolutely need to be cooked first. I had a small container of sliced fresh mushrooms, so I sautéed them in a little oil with a good dash of garlic—2 to 3 minutes per side over medium heat. Then onto the pizza they went.

I added onions and pepperoni, topped everything with shredded mozzarella, and into the oven it went.

Fifteen minutes later, I had a gorgeous, crispy pizza. I let it rest for 5 minutes, then used a spatula to lift it out of the pan. It was outstanding.

If you’re a purist and want to make your dough and sauce from scratch, Kelly has recipes for both on her blog. I highly recommend checking them out to fine‑tune your perfect pizza.

Enjoy!