Wild Rhubarb Patch
🌿 Rhubarb: The Tart, Wild, Wonderful Spring Ritual
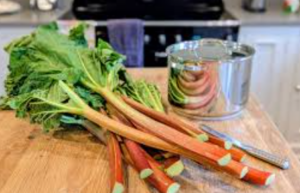
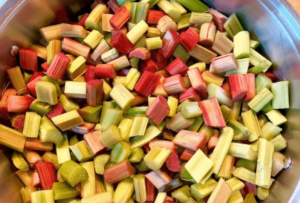
I grew up with a wild rhubarb patch — the kind that came back every year without being asked, without being watered, without being pampered. We’d wander out, snap off a few sturdy stalks, and head back inside to make sauce or pie. No ceremony, no measuring, just that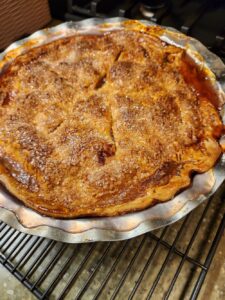 sharp green‑red crunch and the promise of something tart and sweet bubbling on the stove.
Once I became an adult, though, I don’t remember making many rhubarb pies at all… or many pies, period. That was my mom’s skill set, not mine. But I did make the sweet‑tart rhubarb sauce — the kind you drizzle over warm biscuits for breakfast or dollop onto vanilla ice cream. It was simple, bright, and tasted like spring in a spoon.
But the funny thing about getting older is how the staples of your youth start tugging at you. Out of nowhere, you miss the things you didn’t even realize were woven into your childhood. And just the thought of those rhubarb pies — the tart filling, the soft pink juices, the smell drifting through the house — started my mouth watering.
So I did it.
I made a rhubarb pie.
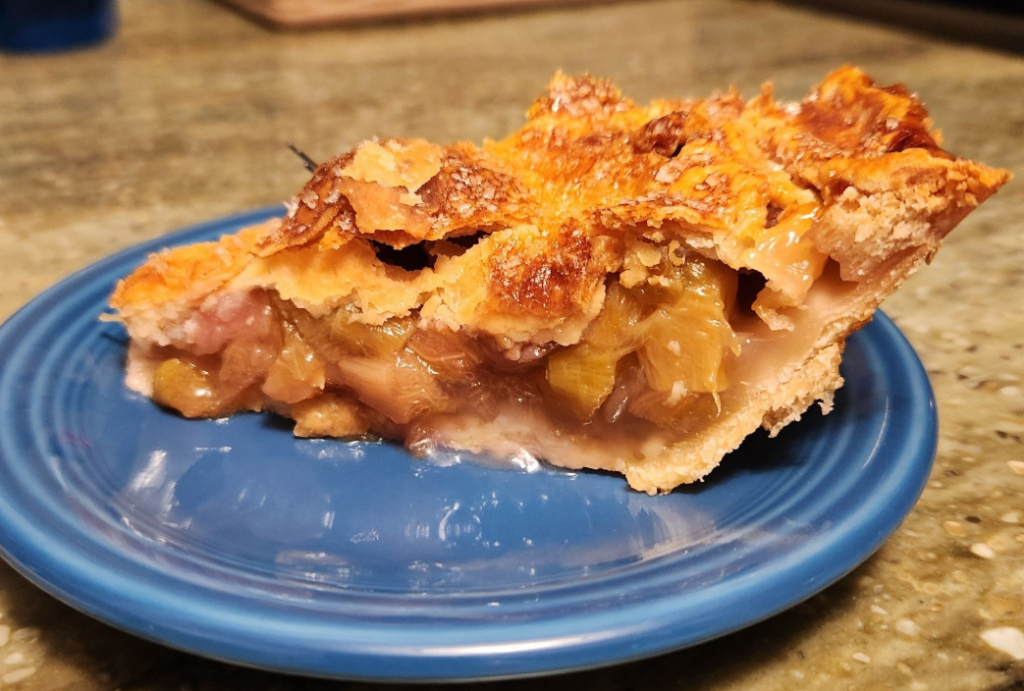
After all, I’ve mastered apple… why not rhubarb? And you know what? It worked. It was everything I remembered: tart, rosy, fragrant, and just a little wild.
🍓 Is rhubarb a fruit?
Botanically, rhubarb is a vegetable — a cousin of buckwheat and sorrel.
Culinarily, it’s treated like a fruit because it shines in pies, jams, and sauces. In 1947 the U.S. even reclassified it as a fruit for import tariffs because everyone was baking with it.
 ☠️ Are the leaves really poisonous?
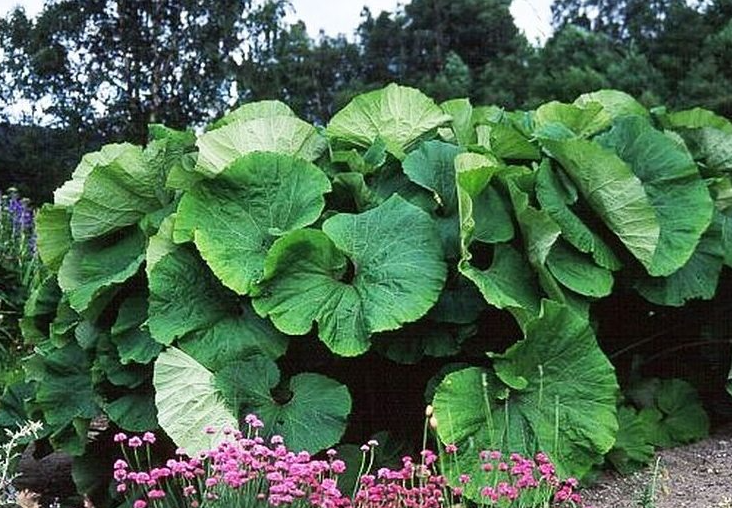
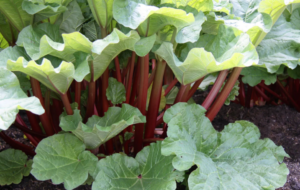
Oh those huge, waving glorious leaves. Tough and green they are the crown of the the red stalks. But are they really poisonous? Yes — the leaves contain high levels of oxalic acid, which can be harmful if eaten.
The stalks, however, are perfectly safe and delicious. Just chop off the leafy tops and compost them. Or if you’re a kid, run around the yard waving those leaves like flags, pretending they were shields or capes. I had no idea they were the “don’t eat this” part of the plant.
Most gardeners simply cut the leaves off and toss them in the compost. The plant knows what it’s doing — it protects itself with a built‑in warning label.
🎨 Color: Rhubarb’s Great Plot Twist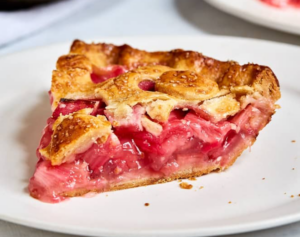
Rhubarb comes in every shade from deep ruby to streaky pink to full‑on green.
And here’s the secret: color has nothing to do with flavor. Green rhubarb can be just as tart and bright as the reddest stalk. Once it cooks down with sugar, the juices turn rosy anyway — sometimes ruby, sometimes golden‑pink, sometimes a warm sunset shade. Real rhubarb pies rarely look like the neon‑red photos online, and that’s part of their charm.
😋 The Taste: Tart, Bright, and Completely Addictive
Rhubarb doesn’t pretend to be sweet. It comes in bold, tart, and unapologetic — the kind of flavor that wakes you up and makes you pay attention. Add sugar and heat, and it softens into something lush and nostalgic, the taste of early spring before anything else is ready to harvest.
 🌱 A Few Fun Rhubarb Facts
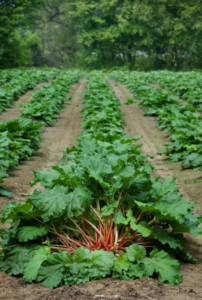
- Rhubarb plants can live 20+ years in the same spot.
- Forced rhubarb (grown in dark sheds) is so tender it’s harvested by candlelight.
- The stalks get more tart as the season goes on — early spring is the sweet spot.
- Some varieties are bred for color, not flavor, which is why your pie might not be red even if the stalks were.
- Rhubarb was once prized as a medicinal plant long before it became a dessert star.
🥧 And now… the pie
Once I decided to finally make one, I kept it simple. There are countless variations online, but this recipe is tested, reliable, and friendly enough that even a novice baker can make a successful treat. If you try it, let me know — I’d love to hear how yours turns out.
Here’s the recipe I used:
Rhubarb Pie
Ingredients
- 2 lbs rhubarb, cut into 1‑inch pieces (about 7 cups)
- 1 ½ cups granulated sugar
- ¼ cup cornstarch
- 1 Tbsp lemon juice
- ¼ tsp kosher salt
- 2 batches pie dough (homemade or refrigerated)
- All‑purpose flour, for rolling
- 1 Tbsp cold butter, cubed
- 1 large egg + ½ tsp water (egg wash)
- Sanding sugar, for sprinkling
Directions
- Mix dry ingredients
Combine sugar, cornstarch, and salt in a large bowl. - Prepare crust
Roll each dough round to 12 inches. Fit one into a 9‑inch pie plate. - Layer filling
Sprinkle ⅓ of the sugar–cornstarch mix over the bottom crust.
Add rhubarb and lemon juice.
Sprinkle remaining sugar mixture on top.
Dot with butter.
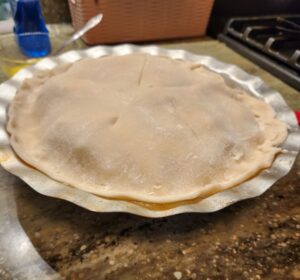
Add top crust; trim and crimp edges. - Vent and chill
Cut 5 slits in the top crust.
Freeze assembled pie for 30 minutes. - Bake
Preheat oven to 375°F.
Brush with egg wash; sprinkle sanding sugar.
Bake on middle rack with a foil‑lined sheet on the lower rack.
Bake about 1 hour, tenting if browning early.
Continue baking until filling bubbles in the center and vents (about 30 minutes more)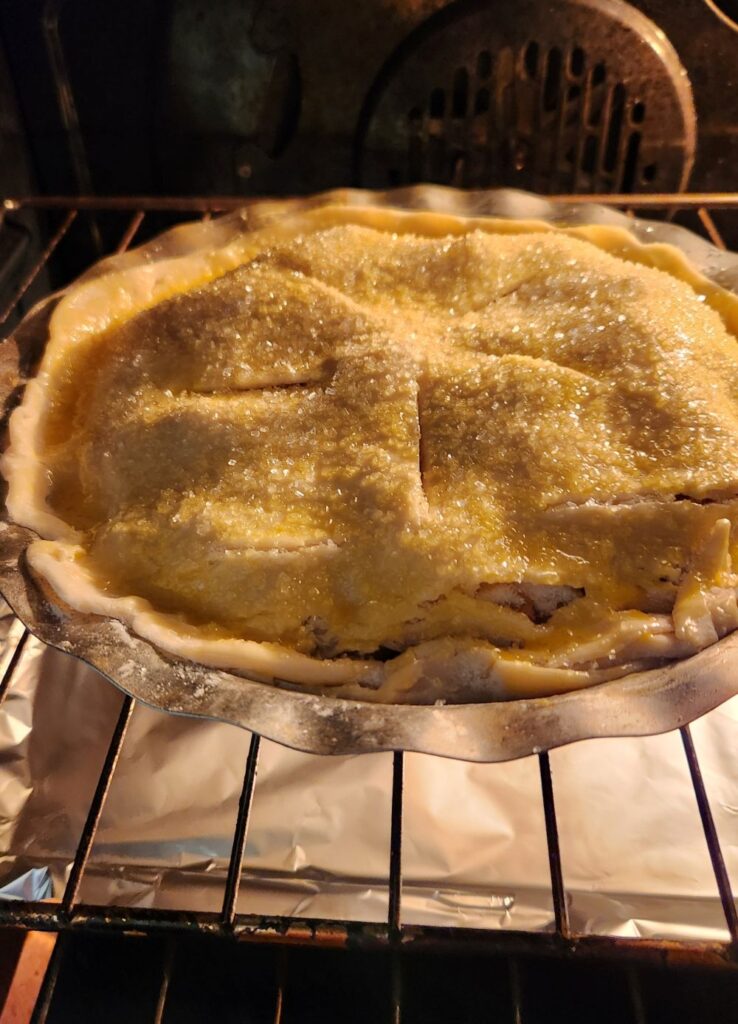
- Cool completely
Cool on a rack 3–4 hours for clean slices.
Notes
- Peeling: Optional; peel only if stalks feel tough or stringy.
- Cutting: Kitchen shears or a sharp knife both work.
- Color: Red or green rhubarb both bake normally; color doesn’t affect flavor.
- Doneness: Fully baked only when bubbling in the center.
- Cooling: Full 3–4 hours helps the filling set.
MMM
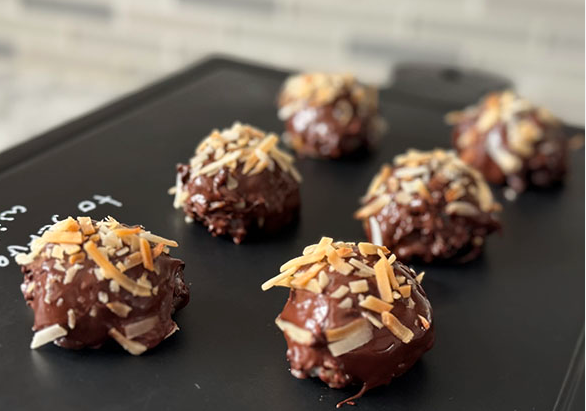
 Does your mom have a sweet tooth? There’s nothing quite like a
  that, it’s all melt‑and‑spread magic:


 I’ve got over 2,100 published posts on Around Dusty Roads. I’ve either had a lot to say… or I just really love the written word. Probably a little of both.
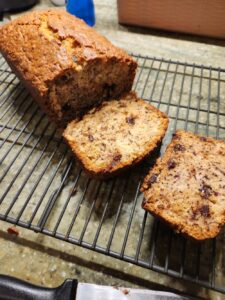
 I’m not talking about artisan sourdough or anything that needs a starter. I mean the little things —
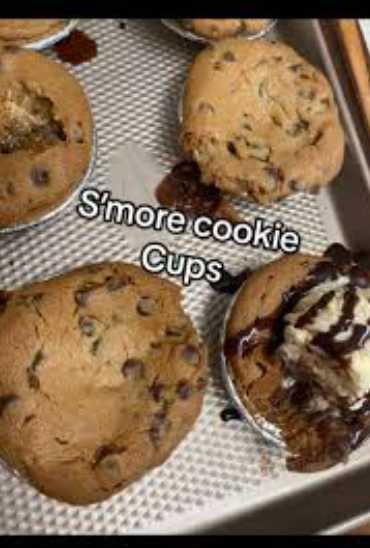
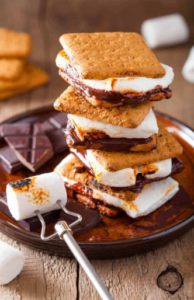
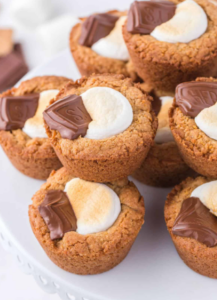
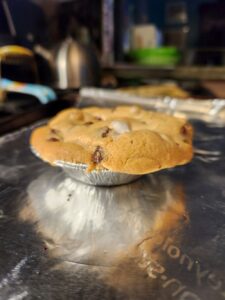 S’mores Mini Cookie Cups
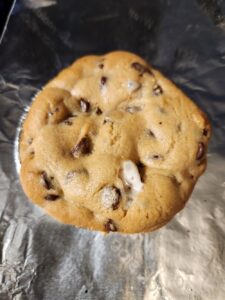
 Then there’s the version that skips the graham cracker crust. Personally, that ruins the s’mores vibe for me, but to each their own.