Crispy, Crunchy Cornflake Chicken

I don’t know about you, but with today’s meat prices, chicken has taken a front seat in my kitchen. I love KFC — truly, deeply — but I can’t afford to order out every day. So I’ve been keeping my eyes open for a good homemade stand‑in. I wanted that crispy, crunchy coating without the fuss (or mess) of deep frying.

This is my compromise.

KFC claims to use 11 herbs and spices. My crispy, crunchy chicken uses just five… and cornflakes. Yup — Corn Flakes. And unlike KFC, who guards their recipe like Fort Knox, I’m more than happy to share mine.

So here it is. Let me know how you like it.

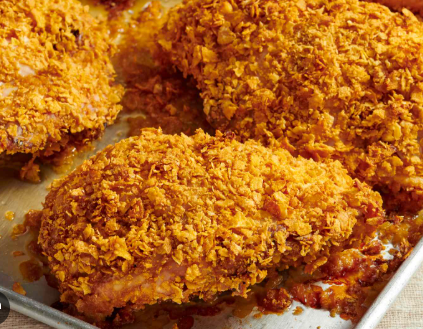
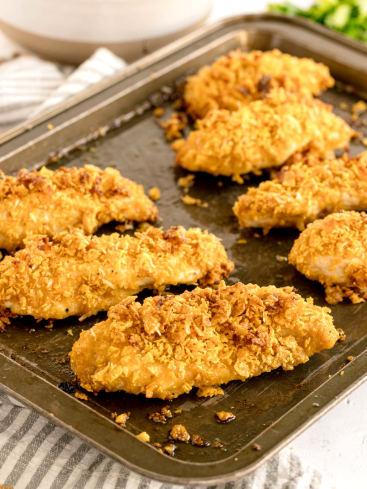
Crispy baked chicken pieces coated in a golden cornflake crust, arranged on a metal baking sheet with an evenly browned, crunchy texture.

Dusty’s Crispy, Crunchy Corn Flake Chicken

Ingredients

  • 2–3 boneless chicken breasts (or thighs), sliced or pounded evenly
  • Seasoning for the chicken:
    • 1 tsp salt
    • ½ tsp black pepper
    • 1 tsp garlic powder
    • 1 tsp paprika (smoked if you like)
  • Dredge:
    • 1 egg
    • ½ cup milk
    • 1 tbsp flour
    • ½–1 tsp garlic powder
    • ½ tsp paprika
    • ¼ tsp onion powder
    • Optional: a splash of hot sauce or Dijon mustard
  • Cornflake coating:
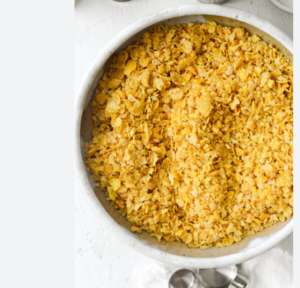
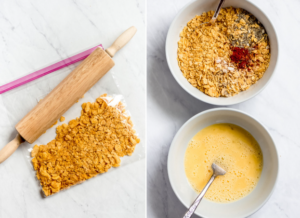
    • 2 cups cornflakes, pulsed in food processor to fine crumbs
    • 1 tsp garlic powder
    • 1 tsp paprika
    • ½ tsp salt
    • ¼ tsp pepper
    • Optional: 2–3 tbsp grated Parmesan
    • Optional: 1 tsp oil or melted butter mixed in for better browning

Instructions

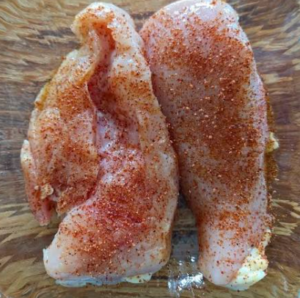
1. Prep the chicken

Pat dry, then season both sides with:

  • Salt
  • Pepper
  • Garlic powder
  • Paprika

This ensures the chicken itself tastes good before the coating even goes on.

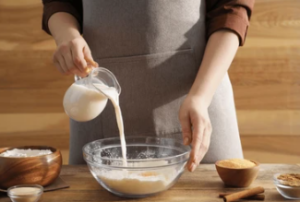
2. Make the dredge

In a bowl, whisk together:

  • Egg
  • Milk
  • Flour
  • Garlic powder
  • Paprika
  • Onion powder
  • Optional hot sauce or Dijon

The flour helps the coating cling, and the extra seasoning boosts flavor.

3. Prepare the cornflake coating

Pulse cornflakes in a food processor until they resemble fine, panko‑like crumbs. Mix in:

  • Garlic powder
  • Paprika
  • Salt
  • Pepper
  • Optional Parmesan
  • Optional drizzle of oil or melted butter

This creates a lighter, crispier, more flavorful crust.

4. Dredge and coat

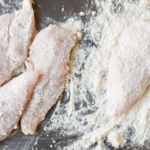
Dip each seasoned chicken piece into the milk‑egg‑flour mixture. Press firmly into the seasoned cornflake crumbs, making sure every surface is coated.

5. Bake

Place on a lightly greased or parchment‑lined baking sheet. Bake at 400°F for 20–25 minutes, flipping halfway if you want extra crispiness. Cook until golden and the internal temp reaches 165°F.

6. Optional finishing touches

  • A sprinkle of paprika or Parmesan right out of the oven
  • A squeeze of lemon
  • Serve with honey mustard, ranch, or a simple garlic‑yogurt dip

Your Turn to Get Crunchy

Now it’s your turn. If you’ve been hunting for a budget‑friendly, crispy chicken that doesn’t require a vat of oil or a secret vault of spices, give this one a try. Grab a box of cornflakes, roll up your sleeves, and see if my five‑seasoning wonder can earn a spot in your own kitchen rotation. Make it, taste it, tweak it — then come back and tell me how yours turned out. I’m genuinely curious to hear if this crispy, crunchy chicken wins you over the way it did me.

Chicken Fried Rice No Takeout Required

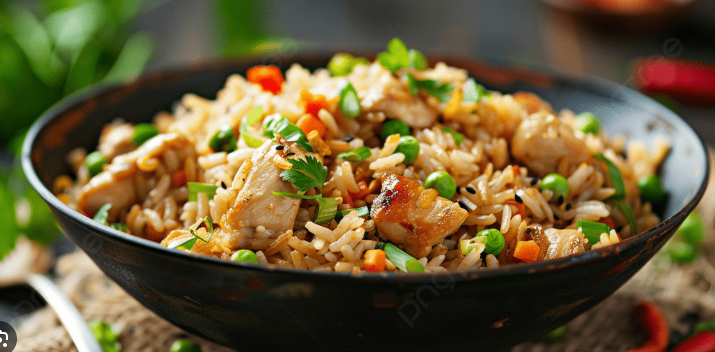
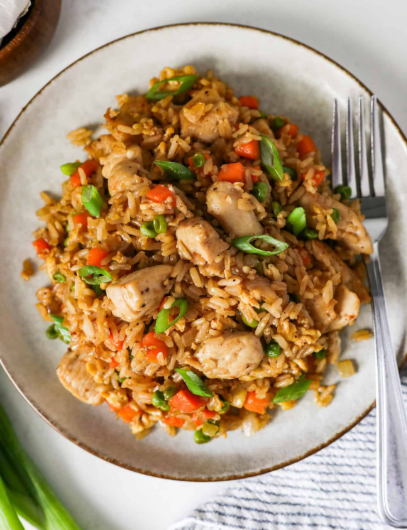
Stir-fried chicken fried rice with peas, carrots, onions, and herbs in a dark serving bowl, resembling classic Chinese takeout fried rice.

I Finally Found It! 

I finally found a fried rice recipe I actually like! It comes close to the takeout fried rice from my favorite Chinese restaurants. All my past attempts have resulted in blah, flat-tasting rice. I’d about given up. Whenever I wanted fried rice to go with one of my homemade dishes — usually chicken and broccoli — I just ordered it and had it delivered. Expensive, and now very unnecessary.

Sorry Golden Dragon, Big Wong, and Lucky Corner. I’ll still call you… but not for fried rice.

I tried this recipe as chicken fried rice because I didn’t have any leftover pork for pork fried rice. You can be sure I’ll be experimenting with that next — maybe chopped pork chop, maybe bacon? I don’t make spare ribs. Love ’em, but I’m still on the takeout wagon for those.

So enough singing praises of this recipe. It’s time to share it with you. And of course, I want to hear all about your luck if you try it.

Chicken Fried Rice

Equipment

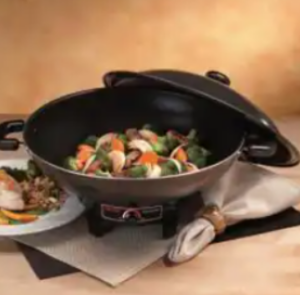
  • Large skillet or wok (I used a wok)

Ingredients

  • 1 tablespoon vegetable oil
  • 1 tablespoon soy sauce
  • 1 pound chicken, cut into bite-sized pieces (I used chicken breast)
  • 2 tablespoons sesame oil
  • 1 cup diced white onion (I only had yellow — they worked fine)
  • 1 cup thawed frozen peas and carrots
  • 2 large eggs, lightly beaten
  • 3 cups cooked rice (I cooked mine the day before)
  • 2–3 tablespoons soy sauce
  • 2 tablespoons sliced green onion for garnish (optional)

Instructions

  1. Add 1 tablespoon vegetable oil and 1 tablespoon soy sauce to your skillet or wok. Heat over medium. Add the chicken and cook until lightly browned and cooked through (about 5–7 minutes). Remove chicken and set aside.
  2. Add 2 tablespoons sesame oil, the diced onion, and the peas and carrots. Fry until tender, about 3–4 minutes.
  3. Push the vegetables to one side and add the beaten eggs to the other. Scramble with a spatula. Once cooked, mix the eggs into the vegetables.
  4. Add the cooked rice and chicken back into the pan. Stir to combine. Add 2–3 tablespoons soy sauce and stir until everything is heated through. Top with sliced green onions if you like, and serve warm.

And that’s it. That’s all there was to it. Boy, was it tasty.

Yes You can Reheat your Leftovers

To reheat individual portions, I warm them on the stovetop with a tiny bit of chicken broth — just enough to create a little steam. I cover the pan so the steam warms the top while the heat warms the bottom. Stir often as you reheat.


I found the basic recipe at The Recipe Critic. Check out all the other yummy recipes they offer.


My Use-It-Up Dinner of Chicken Piccata

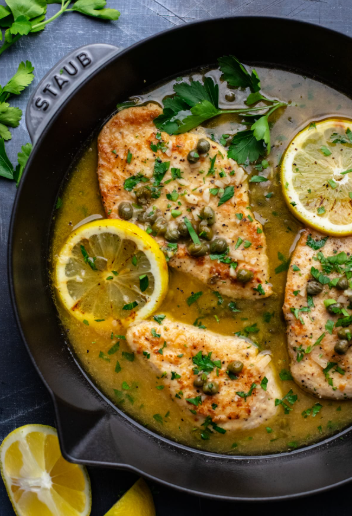
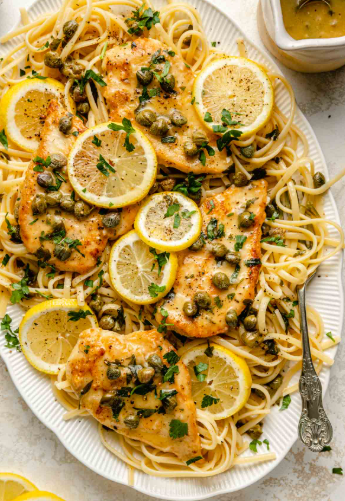
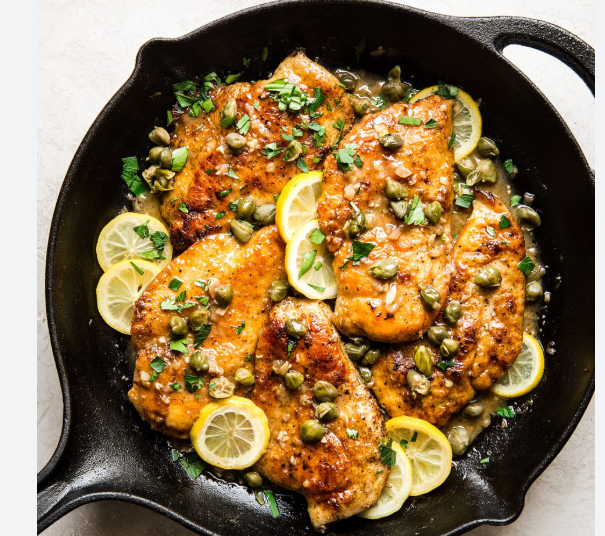
Chicken piccata in a skillet waiting to be served


Back to Basics: My Makeshift Chicken Piccata

I haven’t shared a recipe in a while. It’s not because I haven’t been cooking — I have — but nothing new has been coming out of my kitchen lately. I’ve been in one of those same old, same old phases. I always fall into that after a couple of kitchen failures. When something flops, I retreat to my old standbys for comfort.

A Couple of Cookie Disasters

Recently I had two cookie mishaps in a row.
The first one was my fault — I misread the recipe. The second one? The only explanation I can come up with is that my oven temperature was off. What should have been soft, fluffy, cake‑like molasses cookies came out flat as a pancake. The best way to describe them is a thin, chewy ginger snap.

I’ve got an oven thermometer on the way, so hopefully that mystery gets solved soon. In the meantime, I’ve been keeping things pretty basic.

The Chicken Broth and Lemon Situation
Tonight I found myself staring at a nearly full box of chicken broth and two lemons that were about to give up on life. I needed to use them — but I didn’t have any veggies for a stir fry, and all I had was chicken breast. So… what to make?

I have tons of chicken recipes, but every one I pulled out needed something I didn’t have.
This one wanted white wine.
That one wanted broccoli.
Another wanted asparagus.

And then I saw it: Chicken Piccata.
I haven’t made it in ages. It’s easy, quick, and the leftovers warm up beautifully.

So that’s what I made — my makeshift dinner to use up the broth and lemons.


Chicken Piccata

Ingredients

Chicken:

  • 4 chicken breasts
  • ½ cup flour
  • 1 lemon
  • 2 tablespoons vegetable oil (olive oil recommended)
  • Salt and pepper to taste

For the Sauce:

  • ¼ cup butter
  • 1½ tablespoons flour
  • 1 cup chicken broth
  • ½ cup white wine or additional chicken broth
  • 2 tablespoons capers
  • 2 tablespoons fresh parsley

Instructions

  1. Prep the chicken:
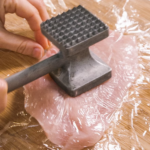
    Place the chicken breasts between two sheets of plastic wrap and pound them to an even ½‑inch thickness.
  2. Dredge:
    Combine flour, lemon zest (zest ½ the lemon), salt, and pepper. Dredge the chicken in the flour mixture and set aside.
  3. Cook the chicken:
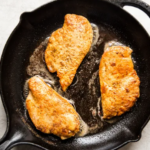
    Heat the oil in a large skillet over medium‑high heat. Cook the chicken 4–5 minutes per side, until just cooked through. Cook in batches if needed. Remove and set aside.
  4. Make the roux:
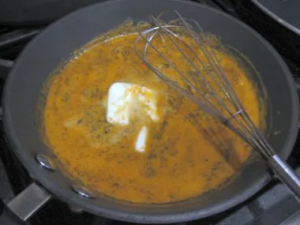
    In the same pan, melt the butter. Add the 1½ tablespoons of flour and whisk until smooth.
  5. Build the sauce:
    Gradually whisk in the chicken broth, a little at a time, until smooth.
  6. Add flavor:
    Add lemon juice, white wine (or more broth), and capers. Simmer for 3 minutes, whisking occasionally.
  7. Finish:
    Return the chicken to the pan and simmer 2–3 minutes more. Stir in parsley and serve over pasta.


And that, my friends, was my “use‑it‑up” dinner — born from leftover chicken broth and two lemons on their last legs. If you try it, let me know how yours turns out.