From Road Trips to Donut Muffins
After weeks of writing about Boston, Cape Cod, whales, candy shops, and national parks, I’ve been thinking about that feeling you get when the traveling finally pauses. The suitcase goes back into its corner, the cats settle in around you, and home wraps itself around your shoulders like a familiar sweater. Exploring is wonderful — but coming home is its own kind of sigh.
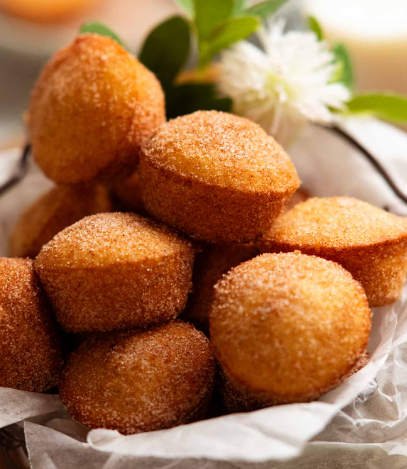
So today, instead of another adventure, let’s step back into the kitchen and savor something warm and nostalgic: old-fashioned homemade donuts… or at least their modern cousin. I made mini donut muffins the other day, and they tasted exactly like cinnamon sugar donut holes — no frying oil required. Sometimes the sweetest part of traveling is the moment you return.
Those homemade donuts have been calling me ever since I had a crispy Old Fashioned from the Colonial Donut Kiosk in the lobby of Morton Hospital. That really took me back. It’s one of my favorite memories: watching my mom drop raw donuts — and the leftover holes — into hot oil. I wasn’t allowed anywhere near the pot (hot oil and kids don’t mix), but we were always ready to start sampling as soon as they were draining on paper towels.
I was almost at the point of trying to make some myself. I just needed to figure out what to do with the used oil.
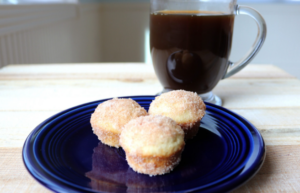
While I pondered that dilemma, I ran across a recipe for mini donut muffins. Honestly, I wasn’t expecting much, but the recipe was simple and I hoped it would satisfy my craving. They turned out surprisingly good — good enough that I want to share them with you. So pull up a chair and pour yourself a cuppa. Imagine a plate of warm, tender mini muffins sitting right in front of you.
Donut Mini Muffins
Servings: 24 mini muffins
Ingredients
Muffins: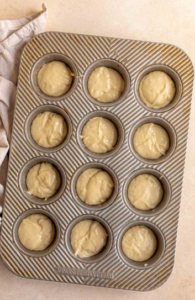
• ½ cup granulated sugar
• ¼ cup margarine, melted
• ¾ teaspoon ground nutmeg
• ½ cup milk
• 1 cup all-purpose flour
• 1 teaspoon baking powder
For Finishing:
• ¼ cup margarine, melted
• ½ cup granulated sugar
• 1 teaspoon ground cinnamon
 Directions
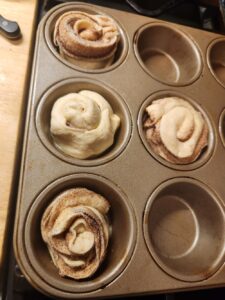
- Preheat oven to 375°. Grease a 24-cup mini muffin tin.
- Make the muffins: Mix sugar, margarine, and nutmeg together in a large bowl. Stir in milk, then mix in flour and baking powder until just combined. Spoon into prepared muffin cups, filling each ½ full.
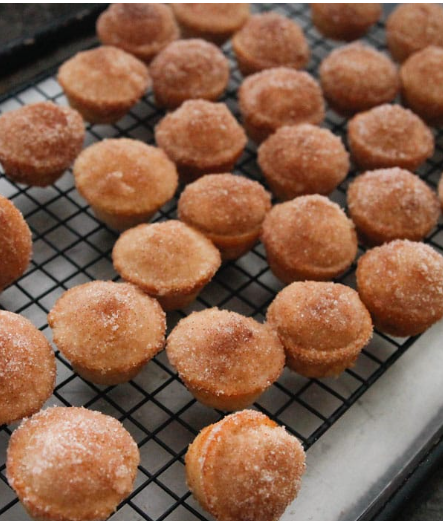
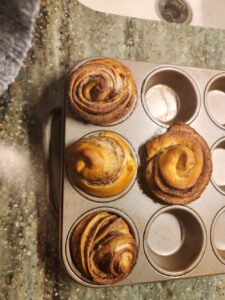
- Bake until the tops are light golden brown, 15–20 minutes. Remove from oven and transfer to a wire rack.
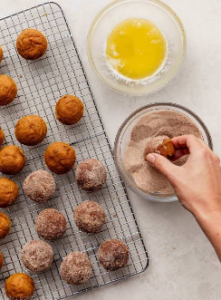
- Immediately place melted margarine in one bowl and mix sugar and cinnamon together in another.
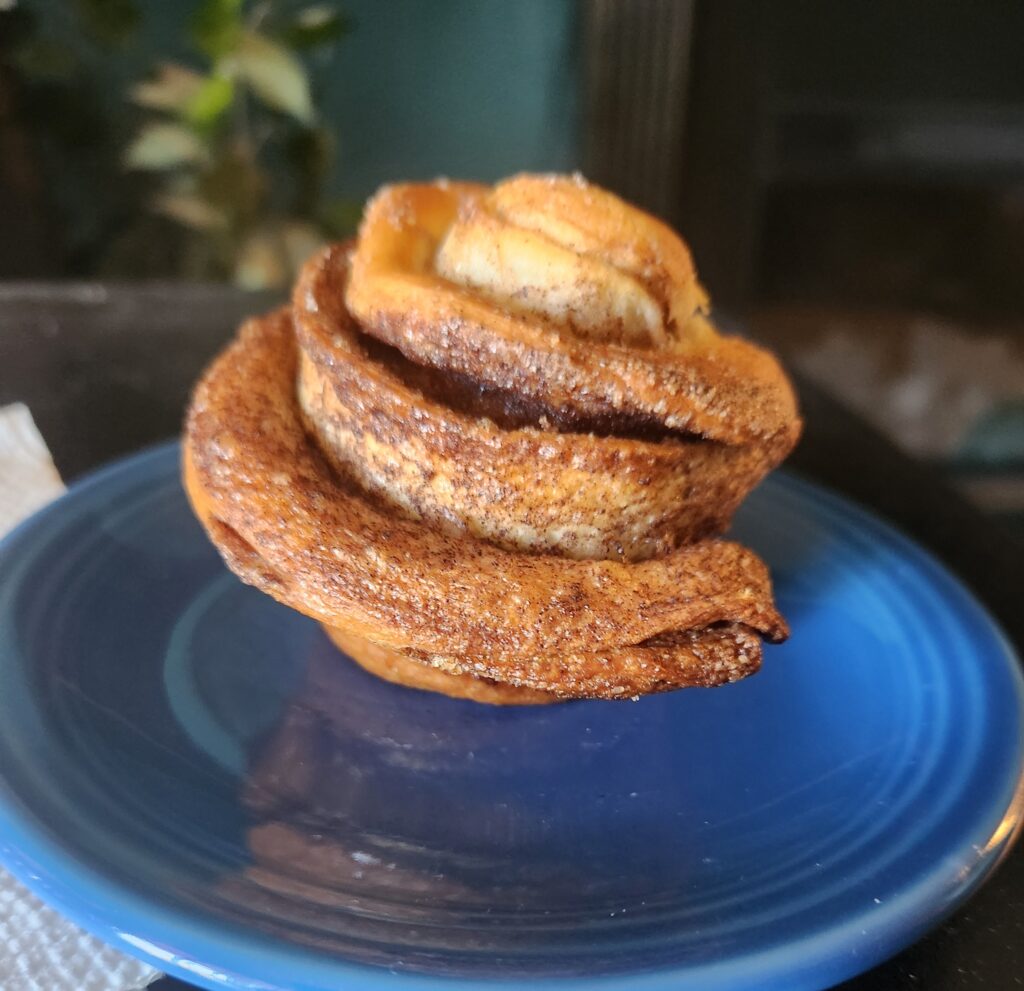
- Dip the top of each warm muffin in melted margarine, then dip in the sugar mixture to coat. Let cool for 10 minutes before serving.
Notes • I used stick butter in place of margarine.
• I tried rolling the whole muffin in the butter and coating, like donut holes. It isn’t necessary — just dipping the tops gives a better balance.
• You won’t get a crispy exterior like deep-fried donuts, but the nutmeg and cinnamon will certainly give you a donut vibe.
Let me know how yours turn out.
Share this:
- Share on Tumblr (Opens in new window) Tumblr
- Print (Opens in new window) Print
- Share on X (Opens in new window) X
- Share on Facebook (Opens in new window) Facebook
- Share on Pinterest (Opens in new window) Pinterest
- Share on Reddit (Opens in new window) Reddit
- Share on LinkedIn (Opens in new window) LinkedIn


 The Universe Sends a Sign


 A Tiny Chef With Big Talent
 The Sizzle Heard ’Round the Kitchen
 Life Before the Condo Rules