A Cautionary Tale of Conversions Gone Wrong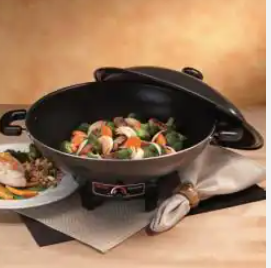
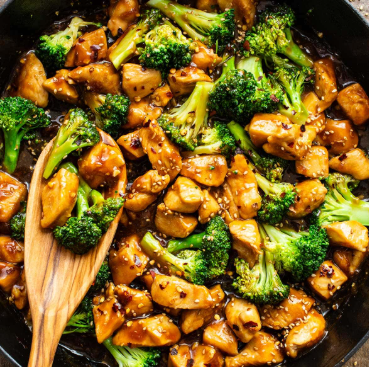
One of my favorite dinners is Chicken and Broccoli. I love the stuff and always order it when I get Chinese takeout. For years I’ve been trying to figure out what makes restaurant versions taste better than my own. I’ve tried over a dozen recipes, and while mine are good — even great — they never quite have that true “Chinese restaurant” vibe.
Recently I found a recipe that used seasonings I don’t normally reach for. I thought, Could this be it? Have I just been missing the right flavors all along? What follows is a tale that perfectly illustrates why I always recommend making a recipe as written the first time. Then — and only then — start tweaking.
Once More Unto the Breach
It’s been bitterly cold, and I hate the cold. Other than venturing out to clear snow off the car, I’ve basically been hibernating. That means I haven’t been to the store, and my spices and staples are running low. Still, I pulled out my wok, determined to give this recipe a try.
Step one: gather all ingredients. This is especially important with a wok — once you start, there’s no slowing down. The process moves fast.
 Ingredients
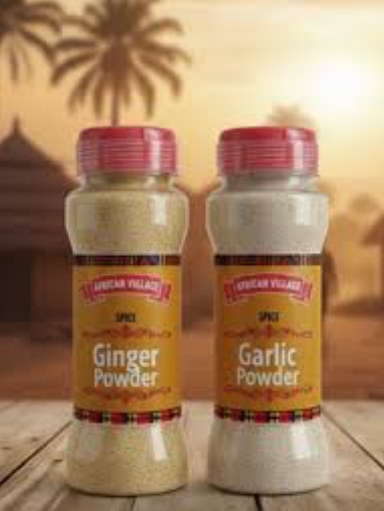
- 3 garlic cloves, finely chopped
(All out. Will substitute garlic powder… what was that conversion again?)
- ½ cup chicken broth
- 1/3 cup soy sauce
- 3 tablespoons honey
- 2 tablespoons cornstarch
- 1 tablespoon finely grated fresh ginger
(Oops. Also out. Only have ginger powder.)
- 2 teaspoons toasted sesame oil
- 1 tablespoon neutral oil
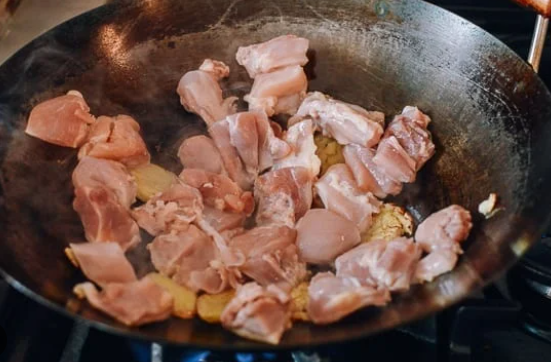
- 1 lb boneless chicken thighs or breasts, cut into ½‑inch pieces
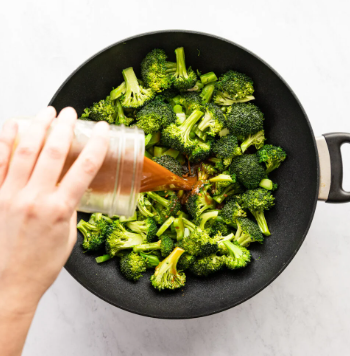
- 2 medium heads broccoli, cut into bite‑sized florets
- Rice and toasted sesame seeds for serving
The problem: I had no idea what the correct conversions were for garlic powder or ginger powder. I could have — should have — taken a minute to look them up. But no. My wok was heating, I was excited, and I forged ahead using a 1:1 swap. In the back of my mind I knew powders are more concentrated, but momentum had taken over.
Directions
- In a small bowl, I whisked together the garlic powder, broth, soy sauce, honey, cornstarch, ginger, and sesame oil until the cornstarch dissolved.
- In my wok over high heat, I added the neutral oil and dumped in the chicken. It sizzled like crazy. After it released, I stirred and cooked it for another 5 minutes until done. Removed it to a plate.
- I lowered the heat to medium‑low and tossed in the broccoli and sauce mixture. The recipe said to cover and steam for 2–3 minutes.
This is where disaster struck.
I’d been uneasy about the 2 tablespoons of cornstarch, but the recipe definitely said tablespoons. The moment the sauce hit the broccoli, it seized into a solid mass. I had to scrape it off the bottom of the wok.
 Too. Much. Cornstarch.
I grabbed a can of chicken broth and started pouring. I ended up using the whole can to thin the sauce — but it worked. Crisis averted.
- I uncovered the wok, returned the chicken and juices, and cooked for another minute or two. I didn’t need to wait for the sauce to thicken — it was already there. Next time I’ll try 2 teaspoons, not tablespoons.
Time to Taste
I skipped the rice and went straight for a bowl. It looked good. It smelled even better.
Then I took a bite.
WHOA.
My mouth exploded. The top of my head blew off.
Spicy!
Even with the extra broth, the flavor was intense. I hate to imagine what it would’ve been like without it.
The next day, I added a little water, microwaved a portion, and served it over egg noodles. Much milder — and honestly delicious. But let’s break down where things went wrong.
The Error of My Ways
1. The Spice Conversions
Garlic Powder Instead of Fresh Garlic
When a recipe calls for 1 clove of fresh garlic, finely chopped, use:
- 1 clove fresh → 1/4 teaspoon garlic powder
| Fresh Garlic |
Garlic Powder |
| 1 clove |
1/4 tsp |
| 2 cloves |
1/2 tsp |
| 3 cloves |
3/4 tsp |
| 4 cloves |
1 tsp |
Ginger Powder Instead of Fresh Ginger
For 1 tablespoon fresh grated ginger, use:
- 1/4 teaspoon ground ginger
Ground ginger is much more concentrated, so a tiny amount goes a long way.
2. The Cornstarch Catastrophe
This one wasn’t my fault — or at least not entirely. The recipe called for 2 tablespoons, which is far too much for a stir fry sauce. My accidental broth rescue probably saved the dish. The next day, after the flavors mellowed, it was actually wonderful.
Was It a Success?
Maybe… in spite of myself.
I’ll definitely try it again once my taste buds recover.
My Best Advice
Be careful with your conversions!
A little powder goes a long, long way.

 A Recipe I Could Make in My Sleep… Until I Couldn’t