🌅 When Breakfast Stops Behaving
I used to love breakfast. It was my favorite meal of the day — easy, low‑mess, and full of the good stuff: bacon, sausage, eggs… or muffins and pancakes if I was feeling decadent.
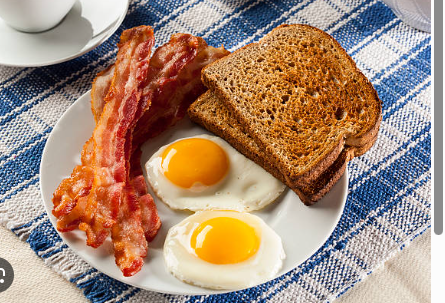
But lately? Breakfast just hasn’t been sitting well, and I’m not sure why. My usual rotation is simple: a basic omelet with bacon or sausage, or two poached eggs on toast with (again) bacon or sausage. Suddenly none of it appeals.
🧁 The Muffin Era
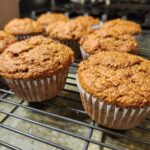 So I pivoted to muffins. Bran muffins, cinnamon muffins, mini donut muffins, even chocolate chip muffins. Fruit muffins are next — blueberry or apple, most likely.
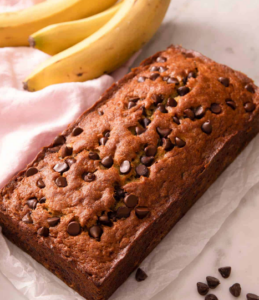
I’ve shared plenty of quick breads too, but even those aren’t calling my name.
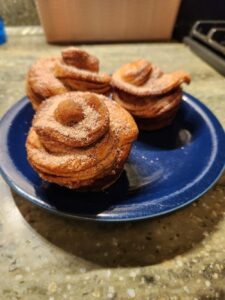
And then there are the cruffins. Quick, fun, small‑batch friendly… but nope. Not in the mood for those either.
🧇 Waffles? Not Today
I don’t have a waffle iron, and I’m not fond of frozen waffles. They’re thin, frosty, and somehow manage to burn on one corner while staying damp on the other. Hard pass.
 🥞 Pancakes to the Rescue
So I finally settled on pancakes. I haven’t made them in a while. I usually have a box mix around somewhere, but I think it may have gone out the door during the Great Pantry Purge.
No problem — pancake mix is easy to whip together and keeps beautifully in an airtight container. Here’s my basic mix in case you get a craving and don’t have a box handy.
🥞 Basic Homemade Pancake Mix (No Box Needed)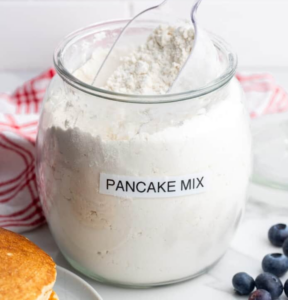
Dry Mix
Whisk together and store in a jar, or make it fresh each time:
- 1 cup all‑purpose flour
- 2 tablespoons sugar
- 2 teaspoons baking powder
- ¼ teaspoon salt
To Make Pancakes From the Mix
Add:
- 1 cup dry mix
- 1 cup milk
- 1 egg
- 2 tablespoons melted butter or oil
- Optional: ½ teaspoon vanilla
Stir until just combined — a few lumps are good. Cook on a lightly greased skillet over medium heat until bubbles form, flip, and finish cooking.
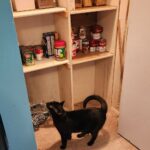
🐾 Banner, the Uninvited Sous‑Chef
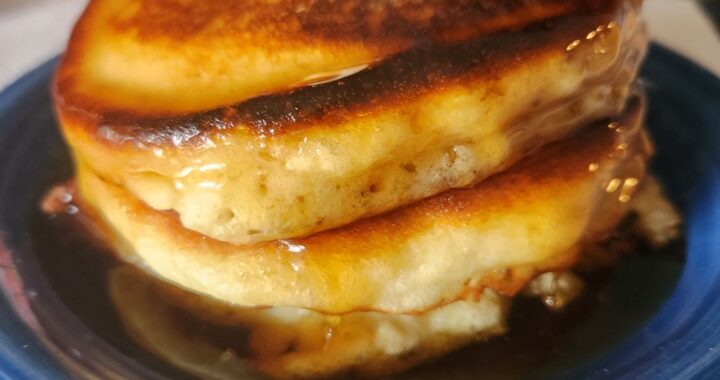
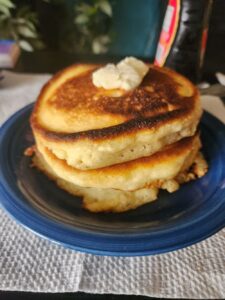
Banner was sitting on the grill offering to “help.” Since I didn’t feel like a battle with him this morning, I pulled out my electric fry pan instead. While I mixed up the batter, I added just enough oil to coat the bottom, and right before pouring the batter, I swiped the surface with butter — a little treat I don’t usually bother with.
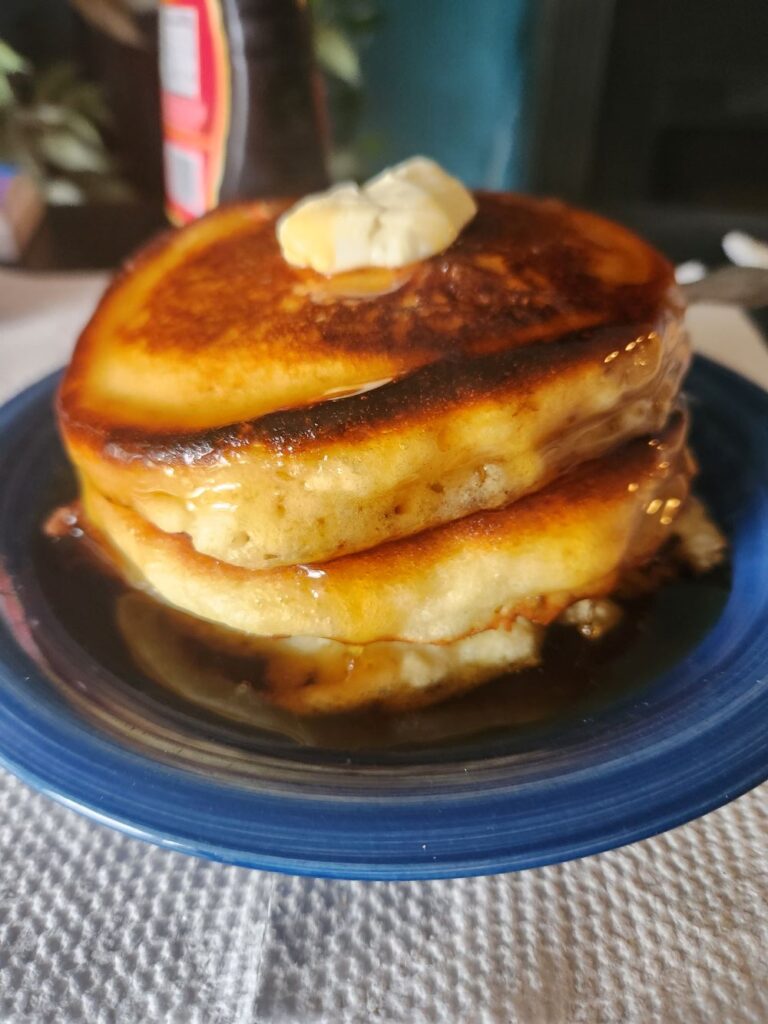
I had room for three small pancakes, and they started to sizzle immediately. The butter gave them a crispy, browned edge, and the controlled heat gave them a lovely rise. Not a bad way to start the day.
🥣 Bonus: Big‑Batch Pantry Mix
If you like having your own homemade pancake mix ready to scoop and go, here’s a larger batch you can keep in a jar.
🥞 Big‑Batch Homemade Pancake Mix
Makes about 7–8 cups of dry mix (enough for ~6–7 breakfasts)
Dry Mix (store in a large jar or canister):
- 6 cups all‑purpose flour
- 12 tablespoons sugar (¾ cup)
- 6 tablespoons baking powder
- 1 tablespoon + 1 teaspoon salt
Whisk thoroughly so the baking powder is evenly distributed. Store airtight.
To Make Pancakes From the Big Batch
For 1 batch (about 8 pancakes):
- 1 cup pancake mix
- 1 cup milk
- 1 egg
- 2 tablespoons melted butter or oil
- Optional: ½ teaspoon vanilla
Mix gently, cook on medium heat, flip when bubbly.
Notes from Dusty’s Test Kitchen
- Fits perfectly in a standard half‑gallon jar or tall canister.
- Shake or stir before scooping if it’s been sitting.
- Double it if you want a “seasonal prepper” stash — keeps 2–3 months in the pantry, 6+ months in the freezer.
- Add cinnamon or nutmeg to the dry mix for a cozy version.
🍓 A Sweet Finish
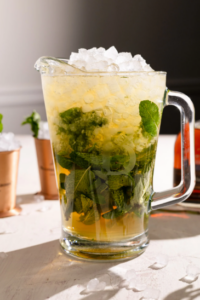
Now you’re all set to make pancakes whenever the mood strikes. This time of year, a dollop of rhubarb sauce instead of maple syrup gives them a sweet‑tart punch.

Enjoy.

 sharp green‑red crunch and the promise of something tart and sweet bubbling on the stove.
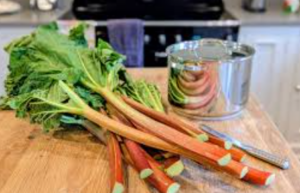
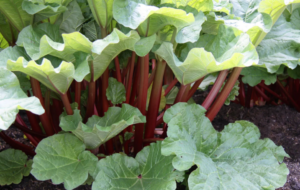 ☠️ Are the leaves really poisonous?
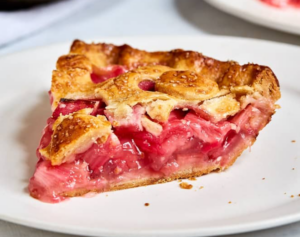
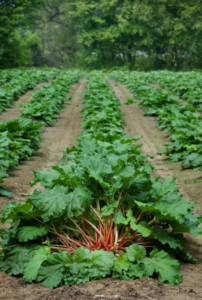 🌱 A Few Fun Rhubarb
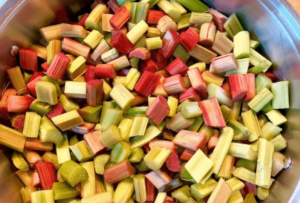
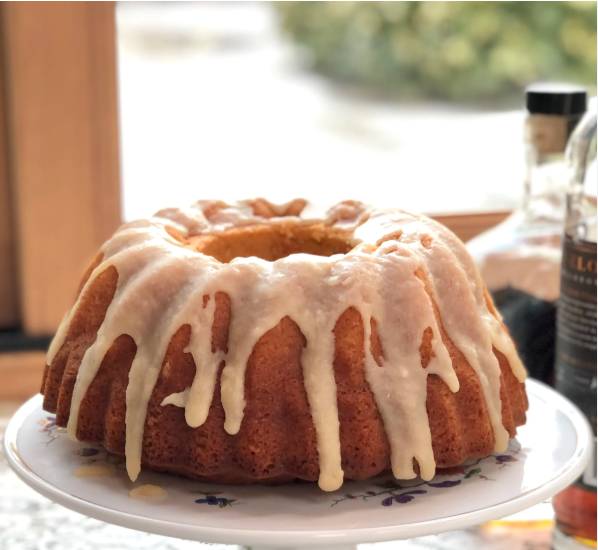
 Does your mom have a sweet tooth? There’s nothing quite like a
  that, it’s all melt‑and‑spread magic:


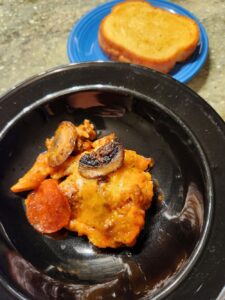
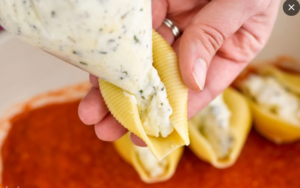 Recently I had some ricotta left over and wanted to try my hand at stuffed shells, but believe it or not, I couldn’t find any big shells to stuff. And if you think I’m going to stand there trying to fill those tiny little shells, you are so wrong. Crazy I’m not — only slightly demented.
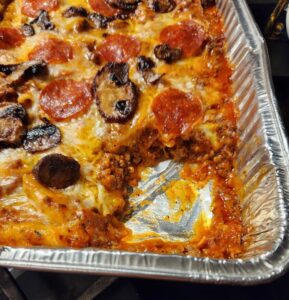
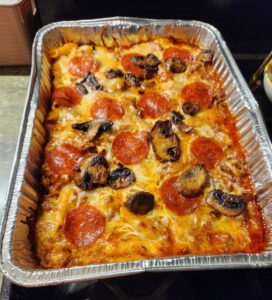
 hamburger.
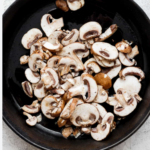 moisture, sauté them first. A tablespoon of oil, a sprinkle of garlic powder, and 5–7 minutes over medium heat will give you perfect, flavorful mushrooms.