Kitchen Tools Part 2
Back in November—just before that big cooking holiday—I shared a few favorite kitchen tools as gift ideas. Since then, I’ve had time to reflect, experiment, and expand my list of must‑haves. Consider this Part 2 of my kitchen essentials journey.
My Must‑Have Kitchen List
-
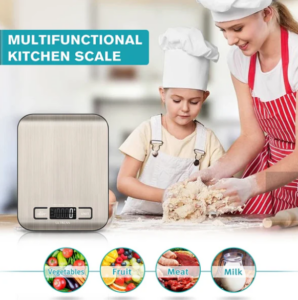
Digital Kitchen Scale
Precision matters. A scale takes the guesswork out of measuring, and in baking, accuracy can be the difference between “good” and “wow.” You can order from Welcoming Haven Here
-
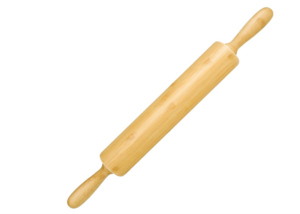
Rolling Pin
I’ve tried patting dough down by hand, even rolling it with a can. Trust me—nothing compares to a well‑balanced rolling pin. My wooden one has become a loyal companion, though marble and silicone versions are out there too. Shop Rolling pins at Amazon here
-
Pastry Brush
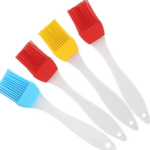
For years I used a bristly brush that looked like it belonged in a shaving kit. Then a silicone pastry brush appeared on my counter—game changer! I use it for egg washes, grilling, glazing, and more. Easy to clean, no bristle drama. order here
-
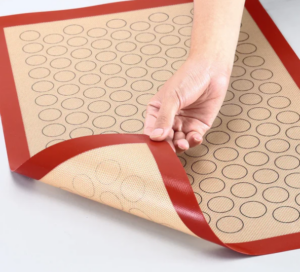
Pastry Mat or Board
Confession: I don’t own one yet, but it’s on my wish list. Rolling dough on parchment paper is a struggle. A pastry mat offers a non‑stick, flat surface that keeps counters clean and dough intact. You can order one here
-
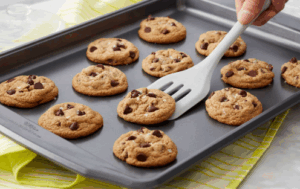
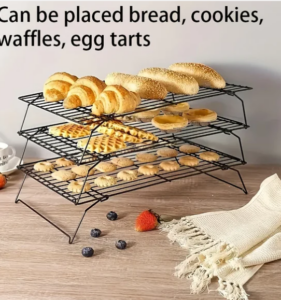
Cooling Racks
I upgraded from flimsy little squares to heavy‑duty racks, and wow—what a difference. Cookies, breads, and cakes cool evenly, with plenty of air circulation. Cleanup is simple, too. Available at Welcoming Haven here
-
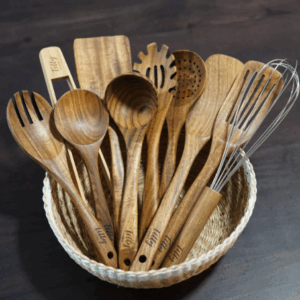
Whisk & Silicone Spatulas…
A sturdy whisk helps you quickly blend batters, whip cream, or
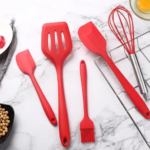 aerate eggs for fluffier cakes and pastries. I have a dozen (at least) of different sizes. Meanwhile, silicone spatulas are perfect for scraping every bit of that delicious batter from bowls or folding in delicate mixtures like foamy egg whites into decadent chocolate for a mousse creation. Find them at Welcoming Haven here.
I’ve got more tools to share, but for now I’m off to bake cookies for the annual cookie exchange. What’s on your own must‑have list?
![]()
Disclosure:
Some of the links on this site are affiliate links. This means that if you click on a link and make a purchase, I may earn a small commission at no extra cost to you. These commissions help support the content I create and keep this site running.
I only recommend products and tools that I believe add value and that I would use myself. Your trust is important, and I strive to provide honest, helpful information.