Turkey Ring


A Cozy Twist on Thanksgiving: The Turkey Ring

I was cruising through Facebook, checking in on my Welcoming Haven ads, when a video caught my eye—something about Thanksgiving leftovers. Intrigued, I paused my scroll and gave it a watch. What unfolded was a delightfully clever idea that instantly sparked my curiosity. Why wait for leftovers? Since it’s just me this year, I thought, why not make my entire Thanksgiving dinner this way?

So without further ado, let me introduce you to the Turkey Ring—a simple, savory, and oh-so-satisfying dish that wraps all the classic flavors of Thanksgiving into one golden-brown bundle.

My first Try


How to Make It

Start by placing a can of cranberry sauce in the center of a sheet pan. The video used a round pizza pan, but I made do with a cookie sheet—use what you have! Then, open a can of Pillsbury crescent rolls and arrange the dough around the cranberry can in a starburst pattern. The wide ends should point inward, overlapping slightly around the center.

the layout

Now comes the fun part: on each triangle, layer a small spoonful of stuffing, a slice of cranberry sauce, and a piece of turkey. Fold the narrow end of the dough over the filling and tuck it underneath to secure. Brush the tops with a light egg wash for that irresistible golden finish.

Bake at 375°F, following the crescent roll instructions, until the ring is puffed and beautifully browned. Be sure you remove the cranberry sauce can before you put the ring in the oven

The Grand Finale

Once it’s out of the oven, place a small bowl of warm gravy in the center. The result? A stunning centerpiece that’s as tasty as it is charming. Just slice, dip, and enjoy!

The Professional


Whether you’re flying solo or feeding a small crowd, this Turkey Ring is a festive way to savor the season—with minimal fuss and maximum flavor.

Need to watch the video? Click here

Credit Home Hacks and Easy Snacks

National Mincemeat Day


🥧 Wait… There’s a National Mincemeat Day?

Who knew National Mincemeat Day was a thing? I certainly didn’t. Honestly, I wasn’t even sure what mincemeat was. Is it meat? Is it fruit? Is it some kind of culinary prank? I vaguely remember my mother making mincemeat pies around the holidays, but I never tried one. (Sorry, Mom.)

Stock photo

🤔 So What Is Mincemeat?

A quick Google search cleared up some of the mystery. Turns out, the original mincemeat recipe dates back over 500 years and was a hearty mix of diced fruit, meat, and distilled alcohol—because apparently, nothing says “festive” like boozy meat-fruit pie. It was used as a pie filling and featured spices like nutmeg and cinnamon, which are more fruitcake than steakhouse. Speaking of fruitcake… I’m not a fan. So maybe that explains my lifelong avoidance of mincemeat.

🕰️ From Preservation to Pie

Back in the day, bakers preserved meat with fruits and spices. Then, sometime around the 5th century, someone had the brilliant idea to toss it all into a pie. Voilà—mincemeat pies were born. Fast forward to the 19th century, and the meat started to disappear, replaced by raisins, apples, and candied lemon peel. By the 20th century, even meatless versions were still called mincemeat. Because why not confuse everyone?

🧪 A Quick Mincemeat Recipe (That I Will Never Make)

Once again, Google came through with a recipe. Full disclosure: I’ve never made mincemeat, and I don’t plan to. But if you’re feeling adventurous—or just want to impress your great-aunt Mildred—here’s a simple version to try. Or skip the kitchen and grab a jar from the store. If you do try it, let me know how it goes. I’ll be cheering you on from a safe, mincemeat-free distance.

Ingredients:

  • 2/3 cup (90g) coarsely chopped raisins (dark or golden)
  • 1/2 cup (60g) chopped candied orange peel
  • 1/4 cup (60ml) brandy, plus more if needed (for the mincemeat, not your nerves)
  • Grated zest of one orange (preferably unsprayed)
  • 1 teaspoon freshly squeezed lemon juice
  • 2 tablespoons light or dark brown sugar
  • 1/2 teaspoon each of ground cinnamon and nutmeg
  • 1/4 teaspoon ground cloves

Directions:

  1. Mix everything together in a bowl, then pack into a jar. Cover.
  2. Let it sit for 1–3 days before using. If it looks dry after day one, add a splash more brandy.
  3. Add to an apple or pear-based fruit filling for a pie or crisp before baking.

🎉 Final Thoughts from a Mincemeat Skeptic

So there you have it—National Mincemeat Day in all its quirky, fruity, slightly boozy glory. Whether you’re a die-hard fan or a curious bystander like me, it’s a fun excuse to explore a centuries-old tradition. Just don’t ask me to taste it. I’ll be over here with my apple pie, living my best life.

Yummy Apple Pie


To Brew or not to Brew – Coffee that is


☕️ Coffee in Chocolate Cake: Bold Move or Bitter Mistake?

There’s a quiet magic that happens when coffee meets chocolate. It’s not about turning your cake into a mocha—it’s about deepening the flavor, adding richness, and coaxing out the darker, more complex notes in cocoa. But like any bold baking choice, it comes with its own set of perks and pitfalls.

If you’ve ever wondered whether to splash a bit of brewed coffee into your batter or stick with the classic approach, here’s a breakdown to help you decide.

✅ The Perks of Adding Coffee

  • Flavor Amplification: Coffee acts like a backstage crew for chocolate—enhancing its richness without stealing the spotlight. Even a small amount can make your cake taste more “chocolatey.”
  • Moisture Boost: Brewed coffee adds liquid and depth, often resulting in a more tender crumb.
  • Bitterness Balance: A touch of coffee can mellow out overly sweet frostings or fillings, creating a more balanced bite.
  • Aromatic Appeal: The scent of coffee mingling with cocoa in the oven? Pure sensory poetry.

⚠️ The Potential Pitfalls

  • Flavor Overload: Too much coffee can overpower the chocolate, especially if you’re using strong espresso or dark roast.
  • Audience Sensitivity: Not everyone loves coffee—or can tolerate caffeine. If you’re baking for kids or sensitive eaters, it’s worth considering.
  • Ingredient Clash: Coffee pairs beautifully with chocolate, but it might clash with other flavors like citrus, certain fruits, or delicate floral notes.

🌿 My Take: Use It Like a Spice

Think of coffee as a seasoning—just enough to enhance, never dominate. A tablespoon or two of brewed coffee or a teaspoon of instant espresso powder can elevate your chocolate cake without turning it into a latte.

Whether you’re baking for a cozy fall gathering in Taunton or just treating yourself to a quiet moment with Banner and Balboa curled nearby, coffee can be your secret weapon for depth and drama in dessert.

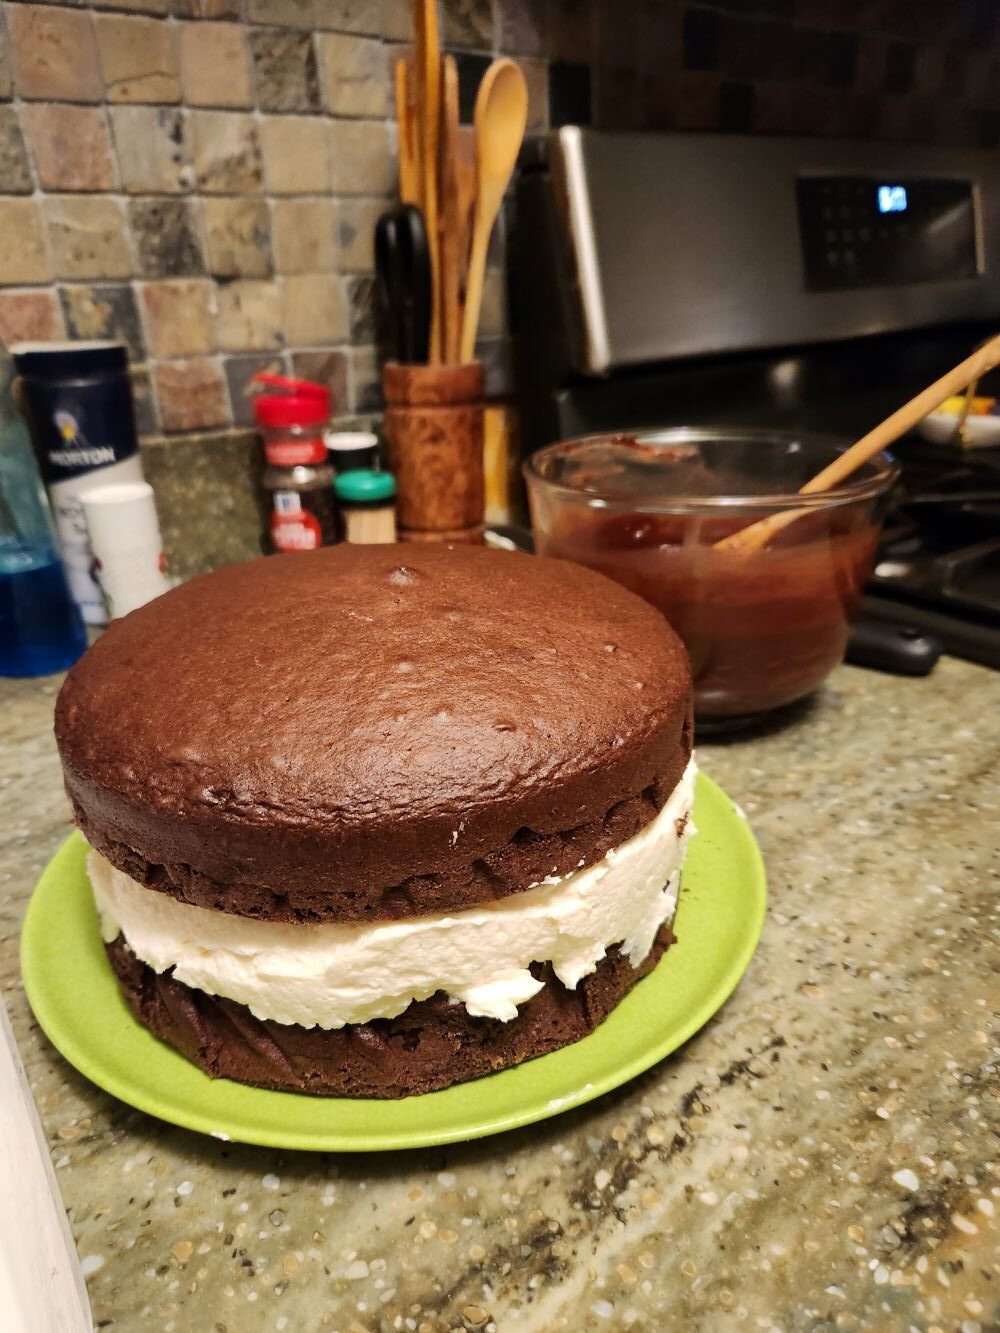
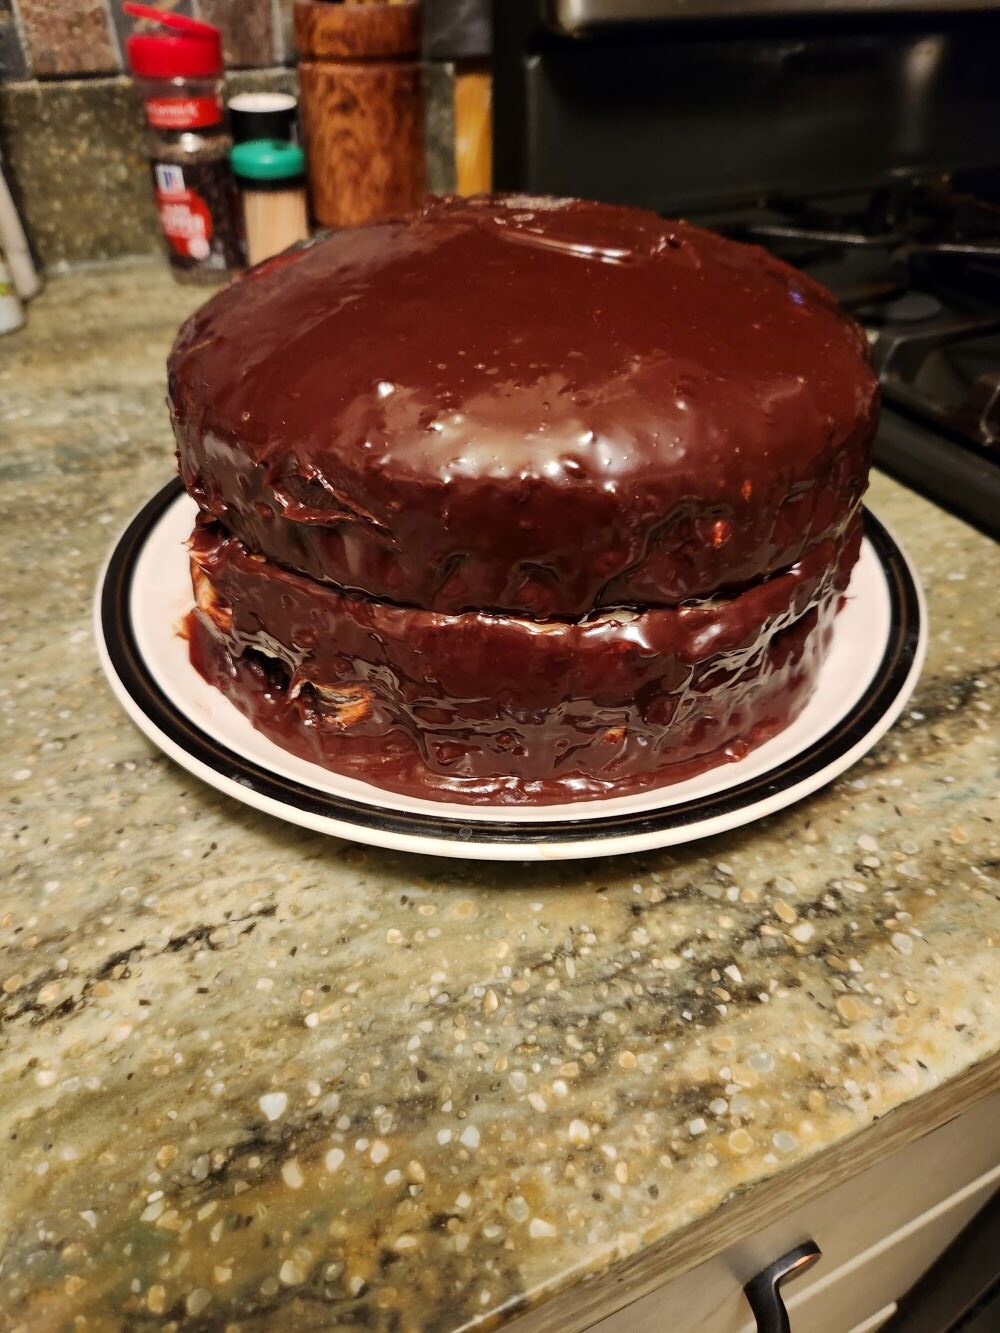
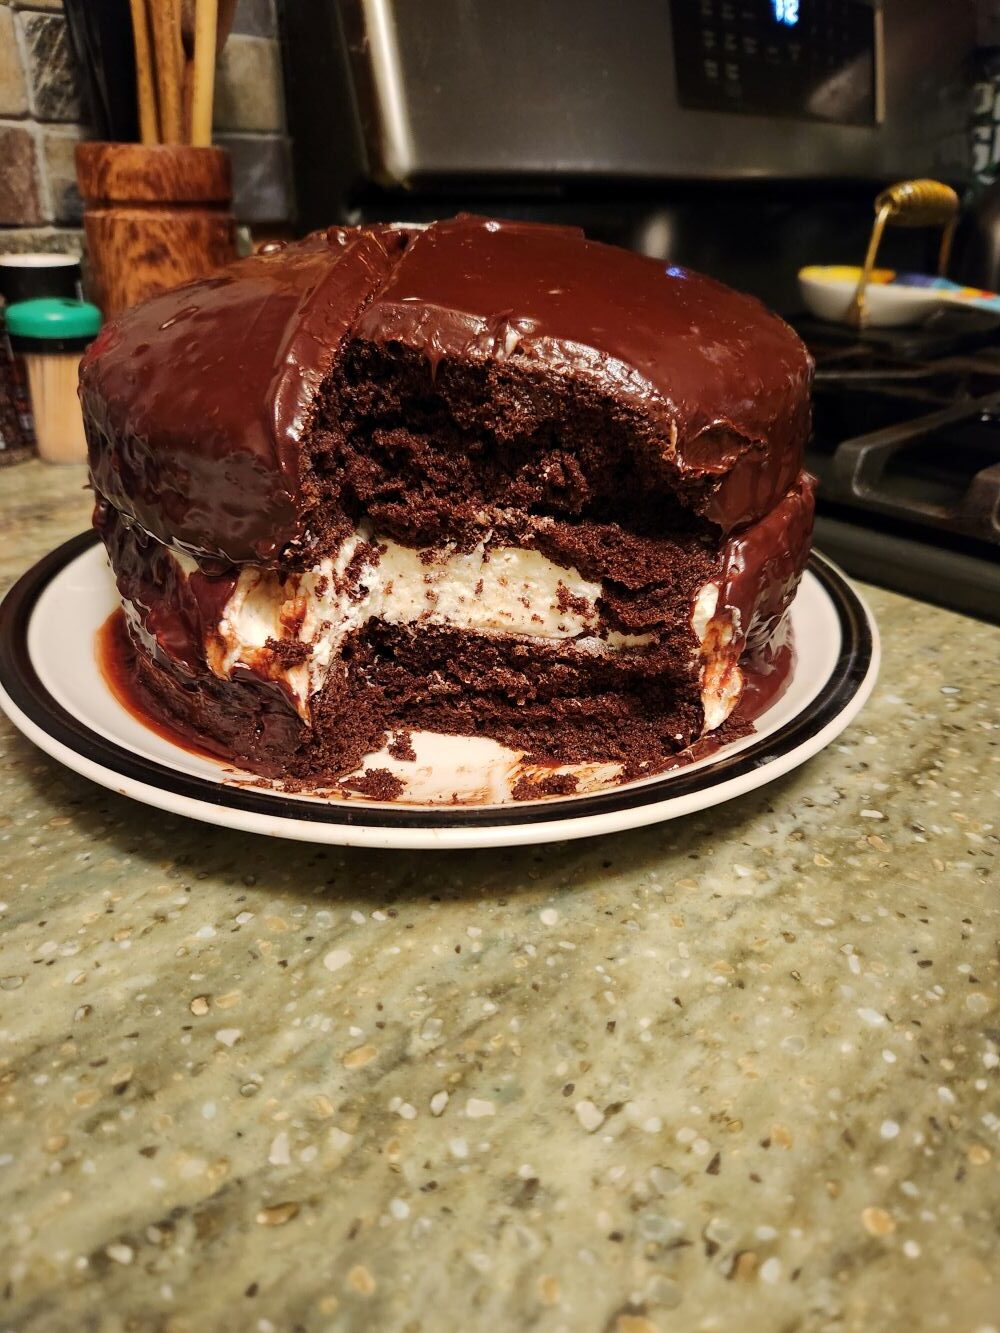
Chocolate Cake recipe ( allrecipes)

Ingredients

  • 2 cups all-purpose flour
  • 2 cups white sugar
  • ¾ cup unsweetened cocoa powder
  • 2 teaspoons baking soda
  • 1 teaspoon baking powder
  • ½ cup vegetable oil
  • 1 cup milk
  • 2 eggs
  • 1 teaspoon vanilla extract
  • 1 cup hot, strong coffee

Directions

  1. Preheat the oven to 350 degrees F (175 degrees C). Grease and flour a 9×13-inch baking pan.

  2. In a large bowl, stir together flour, sugar, cocoa, baking powder, and baking soda. Add oil, milk, eggs, and vanilla; mix until smooth. Stir in hot coffee last. Spread evenly into the prepared pan.

  3. Bake in the preheated oven for 25 to 35 minutes, or until a toothpick inserted into the cake comes out clean.


🛒 Baking Essentials Spotlight

If you’re ready to start baking here are a few baking pans for your cake that I highly recommend—durable, easy to clean, and perfect for your culinary masterpiece

These affiliate links help support Around Dusty Roads at no extra cost to you. I only share products I genuinely love or use myself—especially when they make baking (and cleanup) a breeze.

Iron Skillet Meatloaf

stock photo

Cast Iron Meatloaf: A Cozy Classic from My Kitchen

Yesterday I teased my Cast Iron Meatloaf in the Skillet Lasagna post—so naturally, I had to follow through and share the recipe! If you love hearty comfort food with a rustic twist, this one’s for you.

🍽 The Easy-Peasy Meatloaf

Back in 2023, I shared my go-to meatloaf recipe—simple, satisfying, and perfect for busy nights. If you missed it, [here’s the link to that post]. It’s still a favorite, especially when I want something quick and cozy.

But then I discovered the Iron Skillet version… and I was hooked.

stock photo

🔥 Iron Skillet Meatloaf

This recipe is just as easy, but the cast iron skillet adds a depth of flavor and a beautiful crust. It originally called for bacon on top (because, well, bacon), but my oven didn’t crisp it quite right—so I usually skip it. Feel free to experiment!

Ingredients:

  • 1½ lbs. ground beef
  • 1 lb. roll breakfast sausage (optional)
  • ½ green bell pepper, chopped
  • ½ medium onion, diced
  • 1 small can tomato sauce
  • 1 large egg
  • ½ sleeve saltine crackers (or stovetop stuffing—see Easy-Peasy recipe)
  • ¼ tsp. each salt and pepper
  • Ketchup, for topping
  • 4 slices bacon (optional)

Directions:

  1. Preheat oven to 350°F.
  2. In a large bowl, combine the first eight ingredients.
  3. Line your cast iron skillet with foil for easy cleanup, then press the mixture into a 2-inch deep round.
  4. Top with a generous swirl of ketchup—and bacon, if using.
  5. Bake for 1 hour, uncovered.

The tomato sauce keeps it moist, and the skillet gives it that golden edge. It’s rustic, flavorful, and perfect with mashed potatoes or roasted veggies.

_______________________________________________________________

Amazon photo

Cast iron skillets aren’t just for pros—they’re for anyone who loves flavor, texture, and timeless cookware. I use mine weekly, and it’s never let me down. [Check out this one] if you’re looking to add one to your kitchen.

Affiliate Disclosure:
Some of the links in this post are affiliate links. That means if you click through and make a purchase, I may earn a small commission—at no extra cost to you. I only recommend products I genuinely love and use in my own kitchen. Thanks for supporting Around Dusty Roads and helping me keep the skillet sizzling!


Skillet Lasagna

Affiliate Disclosure: This post contains affiliate links. If you click through and make a purchase, I may earn a small commission—at no extra cost to you. I only recommend products I genuinely use and love in my kitchen.


Time for Another Recipe Review: Skillet Lasagna

I’ve finally tackled a project I’ve been procrastinating on for years: sorting through my mountain of recipes. My pantry closet is bursting with cookbooks, and my desk has become a landing zone for printed recipes I’ve never tried. So I’ve set myself a challenge—test the promising ones, toss the duds, and organize the keepers into a tabbed folder I can actually use.

Some Early Favorites

I’ve already rediscovered a few gems. My cast iron meatloaf recipe? Total keeper. I haven’t made meatloaf any other way since I found it. Bonus points for easy cleanup—just line the pan with aluminum foil and you’re good to go. But I digress…

Let’s talk about a new contender: Skillet Lasagna.

Skillet Lasagna: A Weeknight Wonder?

This recipe promises a quicker, easier version of classic lasagna—no long baking times, no boiling noodles, and minimal mess. Sounds perfect for a busy weeknight, right?

5 Quart Saute pan

Stock pot

The catch? It calls for a deep skillet with a lid. I have plenty of pans with covers, but no deep skillet. And you know how I feel about using the right tool for the job. Still, before I splurge on a $30+ skillet, I wanted to test the recipe. So I reached for my trusty stock pot—and it worked surprisingly well!

The Evolution of Lasagna

I’ve always loved lasagna, but it really earned a spot in my regular rotation when “no-boil” noodles came on the scene. No more wrestling with limp, slippery pasta. Barilla even makes shorter noodles that fit perfectly in a lasagna pan—no snapping required. Life-changing.

But stovetop lasagna? That’s a twist I had to try.

Skillet Lasagna Recipe

Ingredients

  • 1 Tbs Olive Oil
  • 1/2 lb. of hamburger or Italian Sausage
  • 2 cloves of garlic
  • 24 oz. pasta sauce
  • 1 Cup water
  • 1/2 tsp. Italian Seasoning
  • 9 Lasagna Noodles  (regular not no boil)
  • 1 Cup Ricotta Cheese
  • 1/4 cup Grated Parmesan
  • 1/4 tsp salt
  • 1/4 tsp black pepper
  • 1 Cup shredded  mozzarella

Instructions

  1. Add meat and olive oil to large deep skillet. Cook over medium heat until meat is cooked through
  2. Mince Garlic and add to skillet with meat. Continue to sauté over medium heat for one more minute
  3. Add pasta sauce, Italian seasoning and water . Stir to combine
  4. Break Lasagna noodles into 1-2 inch pieces. Stir into the sauce in the skillet.
  5. Place lid on skillet. Turn heat up to medium high and allow sauce to come to a boil.
  6. Once boiling give the skillet a brief stir, replace the lid and turn the heat down to medium low. Let the noodles simmer in the sauce , stirring occasionally, until tender (about 15 minutes) If the sauce becomes too dry before the noodles are cooked through just add more water.
  7. While noodles are simmering, stir together the ricotta, Parmesan, salt and pepper in a separate bowl.
  8. Once the noodles have cooked , add the ricotta mixture  on top of the noodles in small dollops. Sprinkle the shredded mozzarella over the top.
  9. Place the skillet under your broiler for a few minutes  until cheese is melted and slightly browned. Make sure your skillet is oven safe and no lid.  Or (and this is what I did) place the lid on the skillet and cook over medium low heat until the cheese is melted.

Final Thoughts

Skillet Lasagna definitely delivers on flavor—it has that comforting lasagna vibe. But it’s more of a rustic mash-up than a tidy, layered square. Personally, I prefer the classic presentation, but if you’re craving lasagna and short on time, this version is a solid shortcut.

Stock photo

Would I make it again? Maybe. Will I keep the recipe? Yes. You be the judge. Let me know if you try it and what you think. Would you make it a “Keeper”?

photo credit Deb Neumann