Celebrating National Cookie Exchange Day: Sweet Treats & Sweeter Traditions
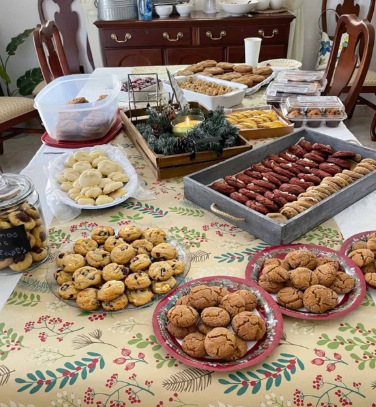
There’s something extra special about December 22nd—National Cookie Exchange Day. It’s the unofficial kickoff to that delightful moment when kitchens everywhere turn into flour‑dusted wonderlands, ovens hum like old friends, and neighbors appear at your door with tins full of sugary surprises. Around Dusty Roads, we’re all about celebrating the small joys that make a season feel special, and a cookie exchange is one of those traditions that warms the heart as much as the home.
Why Cookie Exchanges Are Pure Holiday Joy
Cookie exchanges aren’t just about the treats—though let’s be honest, that’s a pretty big perk. They’re about community, creativity, and the simple pleasure of sharing something homemade. Whether you’re a seasoned baker with a signature cookie or someone who relies on the “add water and stir” method (no judgment here), there’s room for everyone at the cookie table.
Plus, you walk away with a variety of cookies without having to bake a dozen different recipes. Efficiency and sugar? A winning combination.
Mom’s Recipe Corner: A Cookie Worth Exchanging
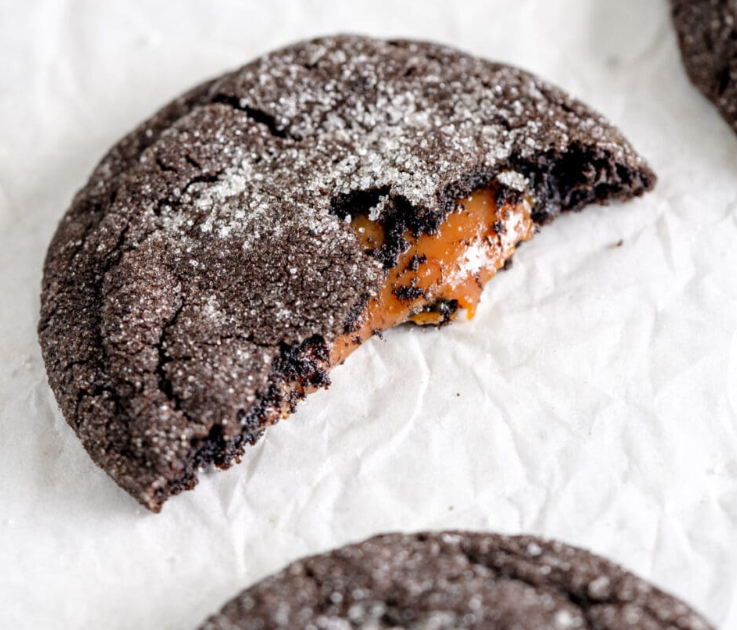
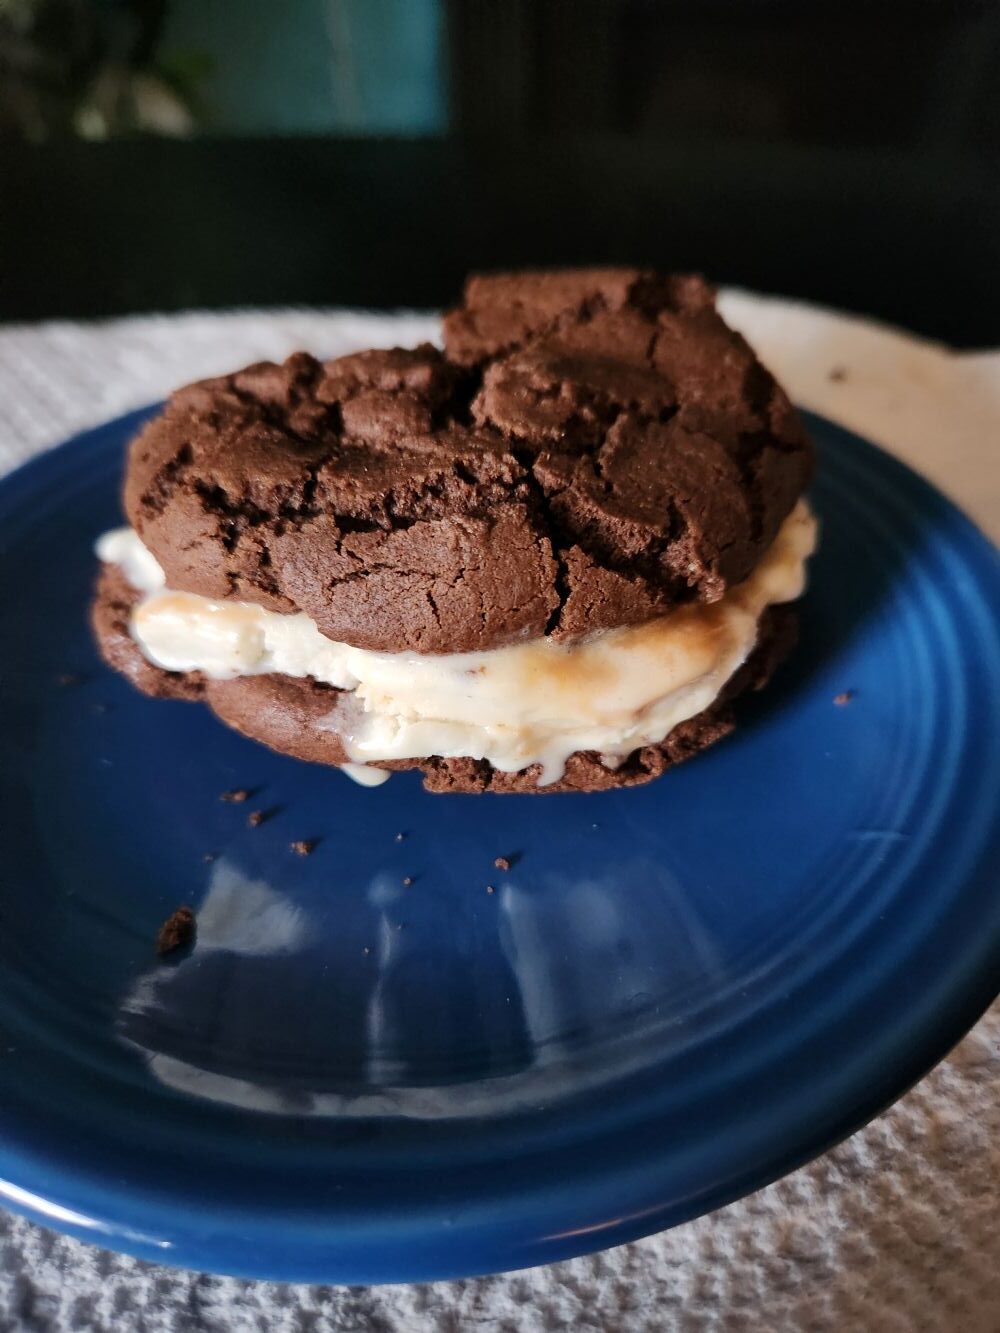
Of course, no cookie exchange is complete without a recipe that earns a few “Who made these?” whispers. So we’re dipping into Mom’s Recipe Corner for a tried‑and‑true classic: Chocolate Peppermint Pinwheel Cookies—a soft, spiced, crowd‑pleasing cookie that looks festive without requiring a culinary degree.
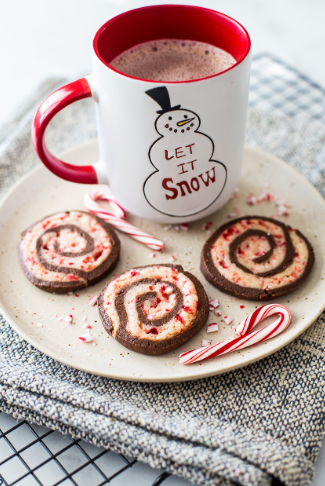
This cookie is a version of the classic Chocolate and Vanilla Icebox cookie. It was a staple of my youth. I admit it took more than a few tries to get the peppermint right. If the candy isn’t crushed enough your cookies are going to spread in the oven. But they still will taste good.

I found this recipe fun to play with. Sometimes I’d use white chocolate and 3 layers of dough so you got more swirls.
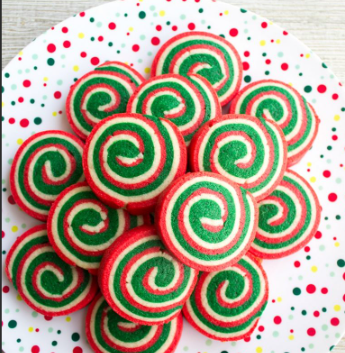
Let your imagination rule the day! Then , of course, share the bounty.
Share the Sweetness
Whether you’re hosting a cookie exchange, joining one, or simply gifting a plate to a neighbor, today is all about spreading joy one bite at a time. So preheat that oven, put on your coziest playlist, and let the holiday spirit rise—just like your cookies.

If you want more recipes for your exchange, Mom’s Recipe Corner is always cooking up something delicious.

 Cookie Season Shenanigans

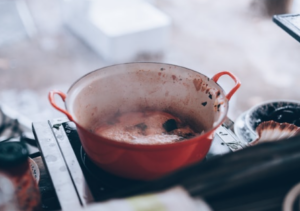 🍲 Plum Broth: Sweet Meets Savory