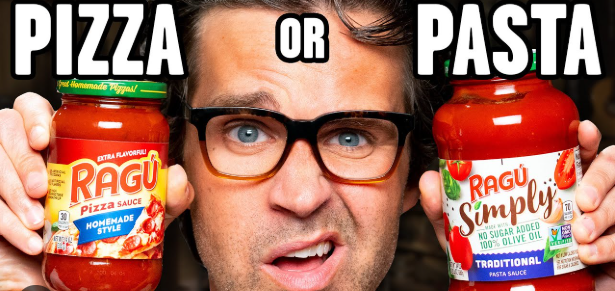
What’s the Real Difference?
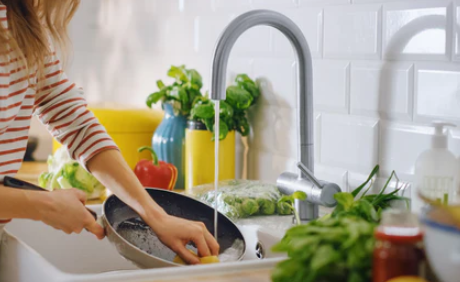
You’re in the grocery store planning a simple pizza night. As you scan the shelves, you see rows and rows of pasta sauces… and then a tiny little section labeled Pizza Sauce. Why so many options for one and barely any for the other? And what actually makes them different?
I wondered the same thing, so I asked. Here’s what I learned from my conversation with AI.
(And no—I haven’t tried this tweak yet, but it certainly makes sense.)
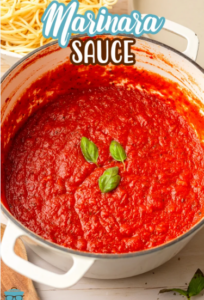 🍅 Marinara Sauce
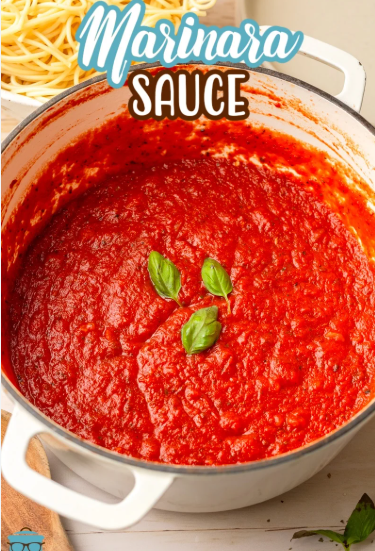
Think: bright, chunky, quick‑cooked tomato goodness.
- Made with crushed tomatoes, garlic, olive oil, and herbs
- Cooked briefly, giving it a fresh, tangy, lighter flavor
- Thinner consistency
- Great for pasta, dipping, chicken parm, and more
- Simple seasoning—no sugar, nothing heavy
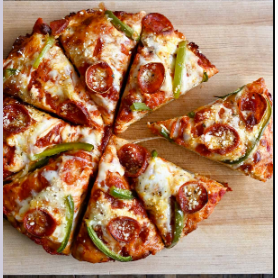
🍕 Pizza Sauce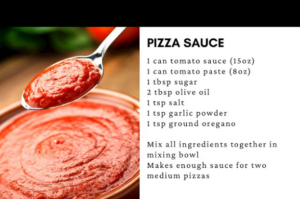

Think: thicker, richer, and built to handle high heat.
- Often made from uncooked or lightly cooked tomatoes (many pizzerias use raw purée)
- Seasoned more boldly: oregano, basil, garlic, onion powder, sometimes a touch of sugar
- Thicker so it won’t make the dough soggy
- Designed to hold up under high oven heat and melt right into the cheese
The Easiest Way to Remember
- Marinara = pasta
- Pizza sauce = dough + cheese + high heat
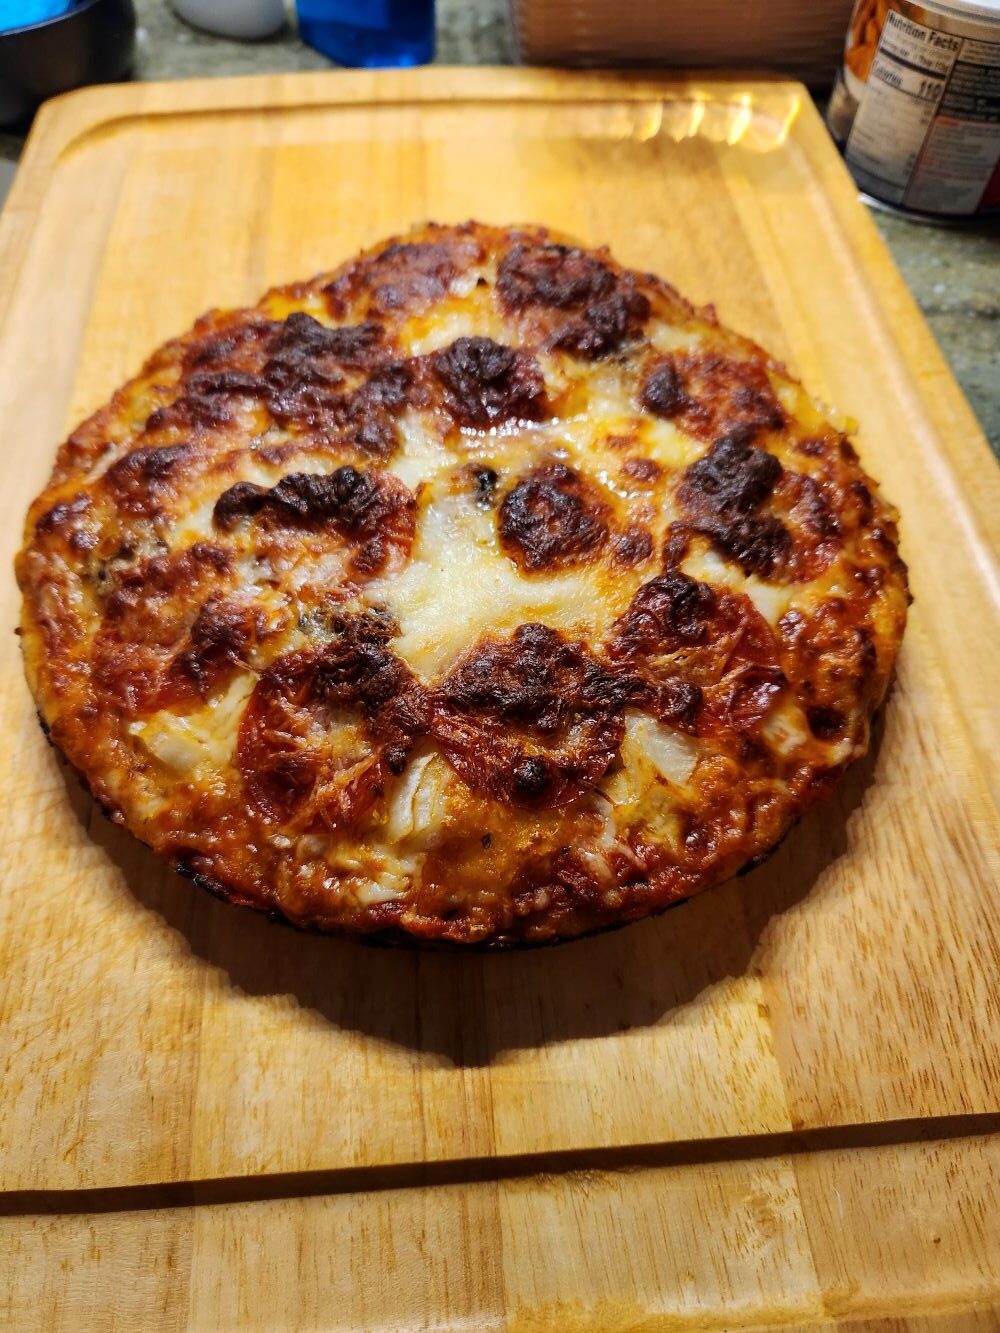
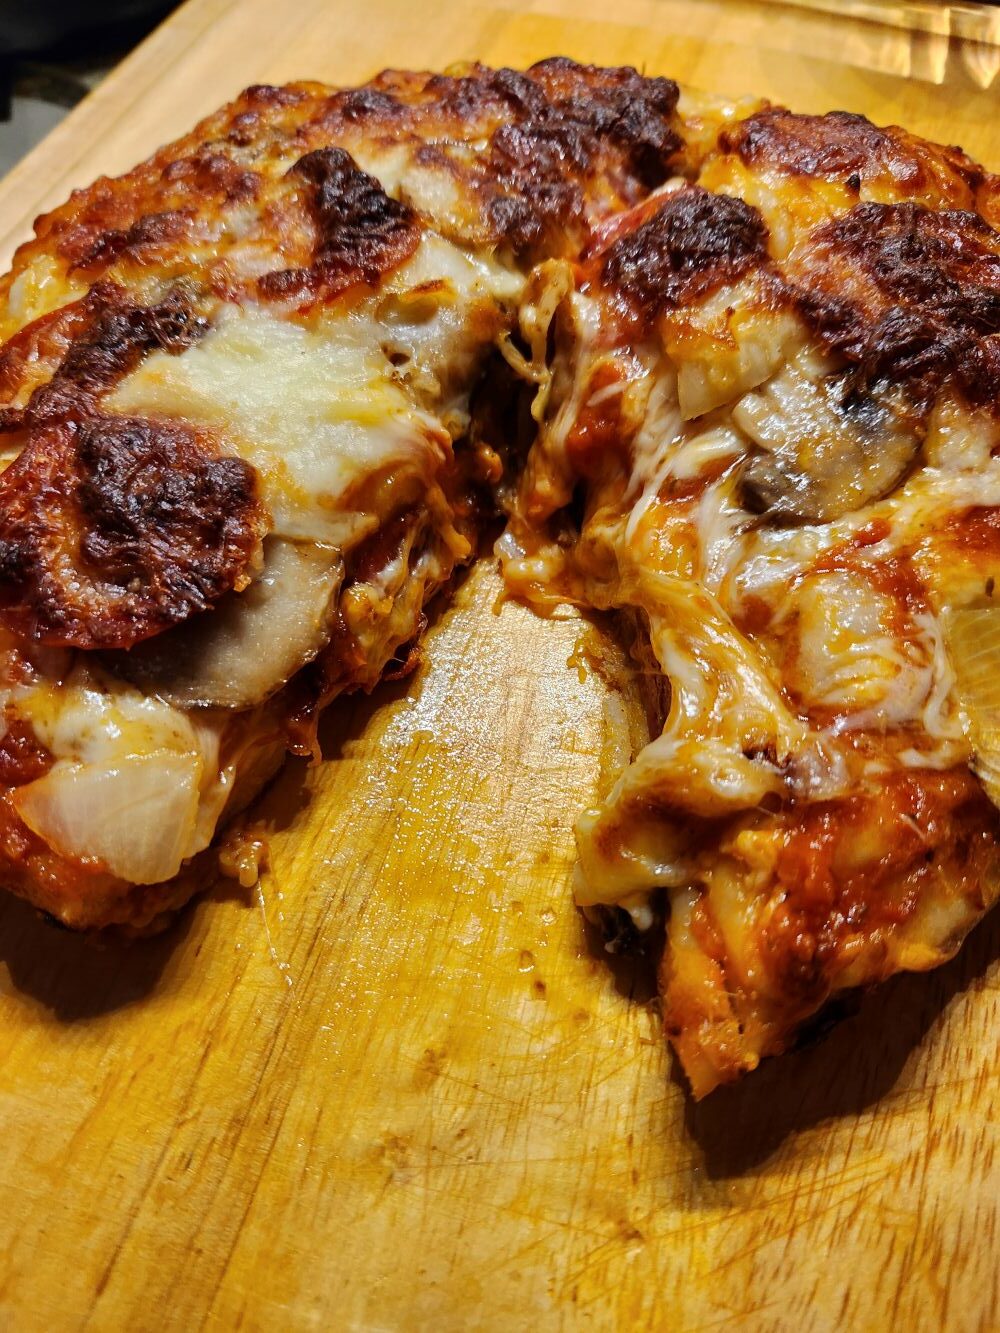
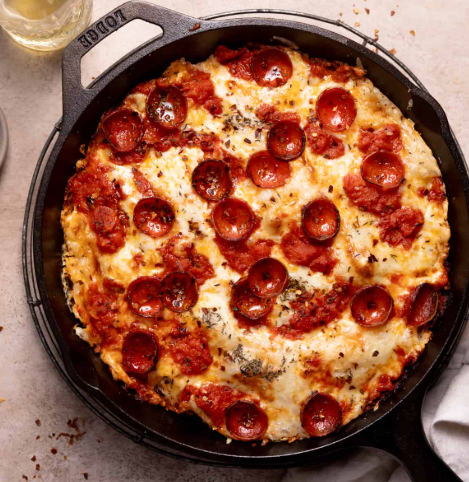
You can swap them if you’re in a pinch. If you’re making one of your skillet pizzas, marinara will work—just simmer it a bit longer so it thickens and doesn’t soak into the crust.
🍕 The 5‑Minute Tweak to Turn Marinara Into Pizza Sauce
If all you have is marinara but you want that classic pizzeria flavor, this quick fix does the trick.
🔥 What to Do
Warm your marinara in a small pan and let it gently simmer to thicken. Then add:
- A pinch of oregano
- A pinch of garlic powder (yes, even if there’s fresh garlic already)
- A tiny pinch of onion powder
- A small pinch of sugar if the sauce tastes too acidic
- Optional: a spoonful of tomato paste for extra body
🎯 What You Get
- A thicker sauce that won’t soak into your crust
- A deeper, more concentrated flavor
- That unmistakable “pizza sauce” aroma
It’s a tiny tweak, but it makes a noticeable difference—especially for skillet pizzas, where the sauce needs to stay put and let the crust crisp up beautifully.