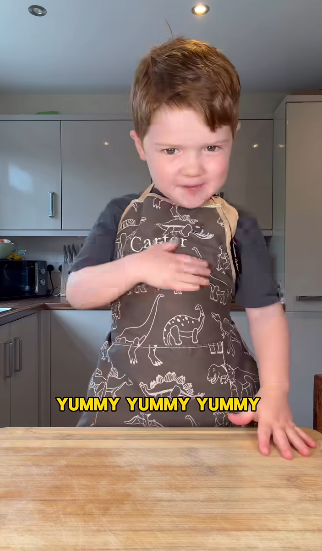
 A Tiny Chef With Big Talent
I’ve made a wonderful discovery! If you like cooking, children, and British accents, have I got a treat for you. You know those kids’ baking shows where the contestants are 10 or 12 and already more skilled than most adults? Well, move over, junior chefs — I’ve fallen head‑over‑heels for a little five‑year‑old who could give the Pillsbury Doughboy a run for his money.
His name is Carter, and you have to watch his cooking videos.
Confidence, Charm, and “Yummy, Yummy, Yummy”
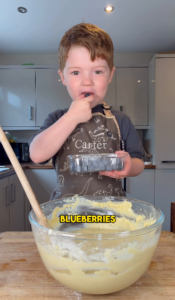
This tiny chef has confidence, presence, and technique that seem impossible for someone who still probably needs help tying his shoes. His signature phrase — delivered in the sweetest little British accent — is “Yummy, yummy, yummy.” And trust me, when he says it, you believe him.
He’s basically the Gordon Ramsay of the toddler set, minus the yelling. He narrates his steps like a pro, glances off‑camera to his dad for the occasional assist, and announces things like, “My Dad’s going to place this tray in the oven now,” as a pair of adult hands swoops in. It’s adorable and impressive all at once.
 The Sizzle Heard ’Round the Kitchen
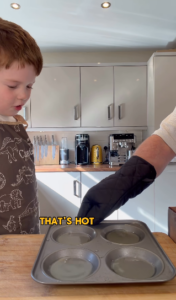
One of my favorite moments was when his dad poured batter into the hot tins and Carter leaned in with pure wonder and said something like:
“Ooooh, listen to that sizzle!”
It was such a small moment, but it captured everything that makes him so delightful — the curiosity, the excitement, the joy of discovery. You can’t watch him without smiling.
A Lesson in Yorkshire Pudding (From a Five‑Year‑Old!)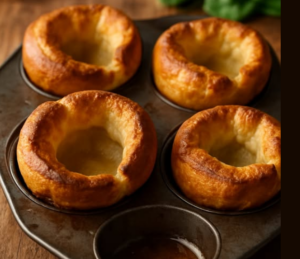
Believe it or not, I even learned something from him.
As you may know from previous posts, popovers are my thing. In the U.S., popover recipes often say “for popovers or Yorkshire pudding,” and I always assumed they were basically the same. Well, Little Carter set me straight. The difference isn’t the batter — it’s the pan.
In the U.S., popover pans are deep and cylindrical.
In the UK, a Yorkshire pudding tin is shallow and wide — more like a flattened muffin tin.
Carter showed how you pour the batter into smoking hot fat (his dad handled that part — safety first!) and the heat makes the batter sputter and climb the sides, forming that classic bowl shape. Same batter, different pan, totally different result.
Why You Need to Watch Him
I honestly don’t have the right words to fully describe this little chef. I’m amazed by his skill, his knowledge, and his on‑camera charm. You don’t have to like cooking shows to get a kick out of him — he’s pure joy in a tiny apron.
Do yourself a favor and check him out on Facebook.
Cooking With Carter.
You’ll be smiling before the video even ends.
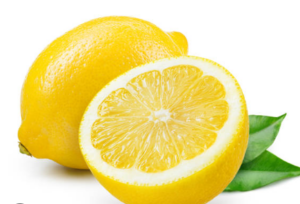 The Chicken Broth and Lemon Situation
 Life Before the Condo Rules

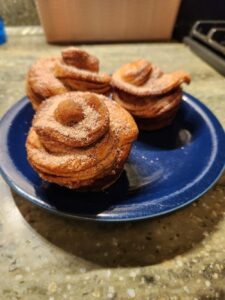
 So I pivoted to muffins. Bran muffins, cinnamon muffins, mini donut muffins, even chocolate chip muffins. Fruit muffins are next — blueberry or apple, most likely.
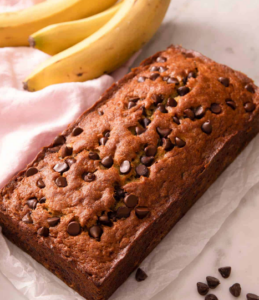
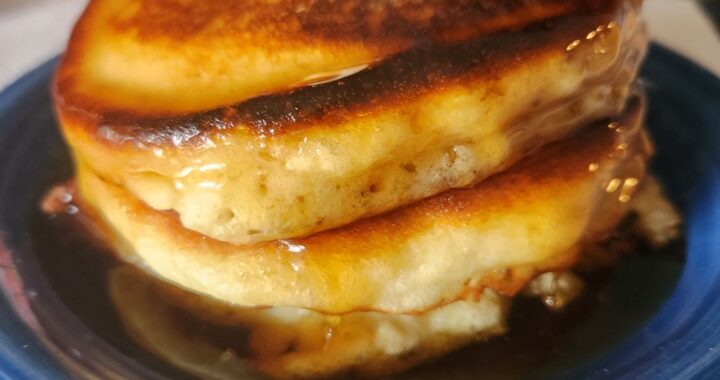
 🥞 Pancakes to the Rescue
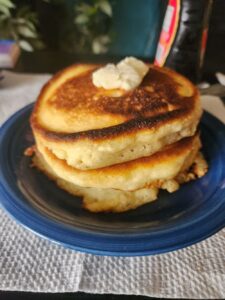
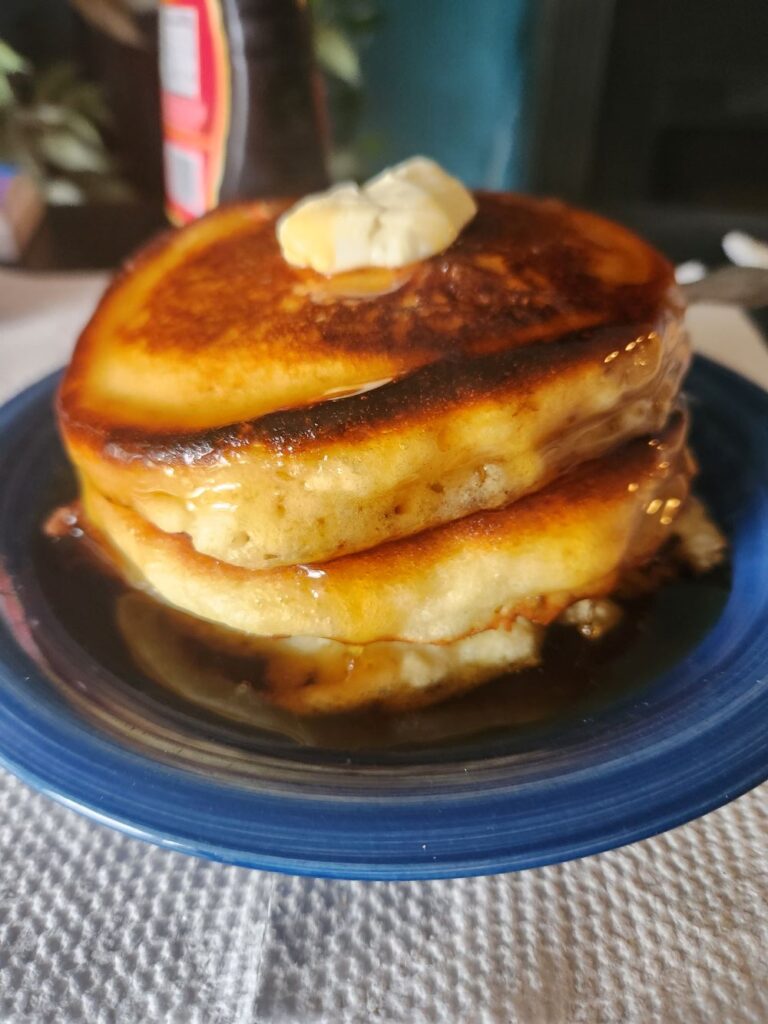


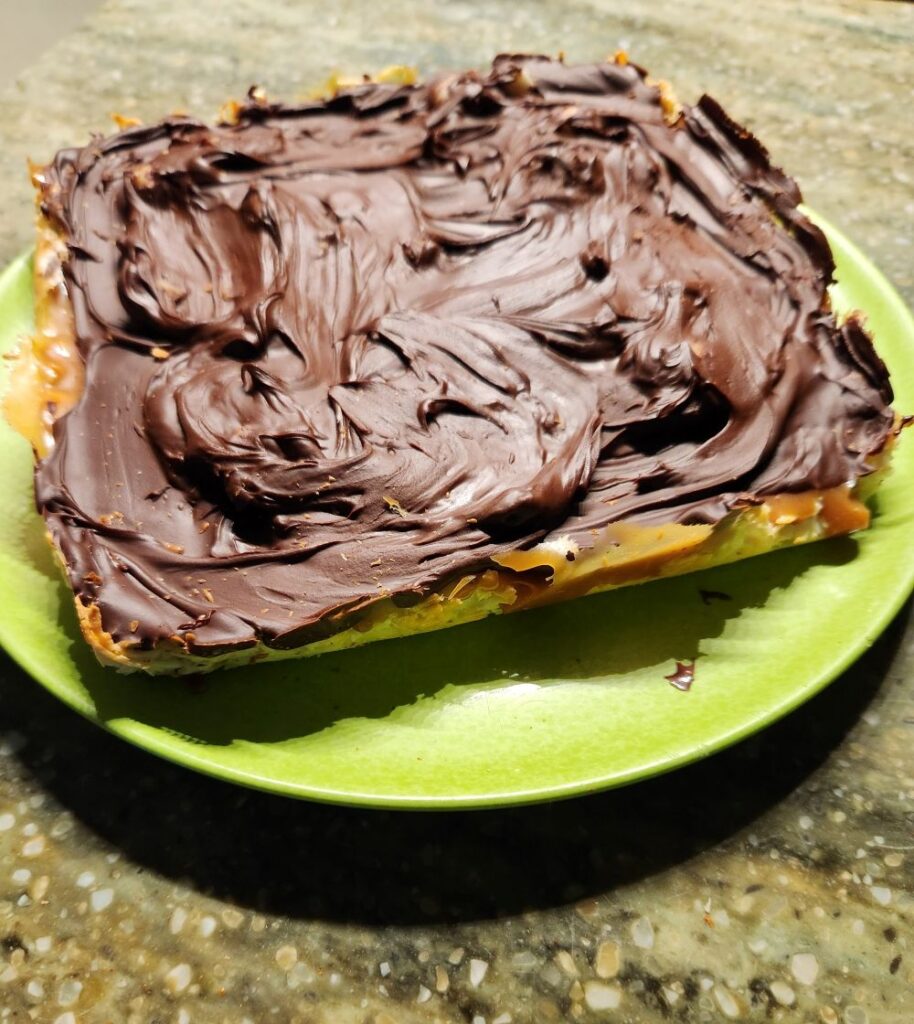
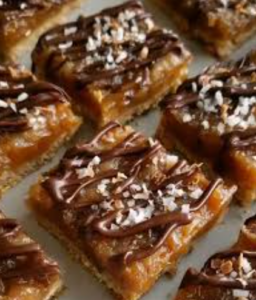
 Does your mom have a sweet tooth? There’s nothing quite like a
  that, it’s all melt‑and‑spread magic: