 S’mores Mini Cookie Cups
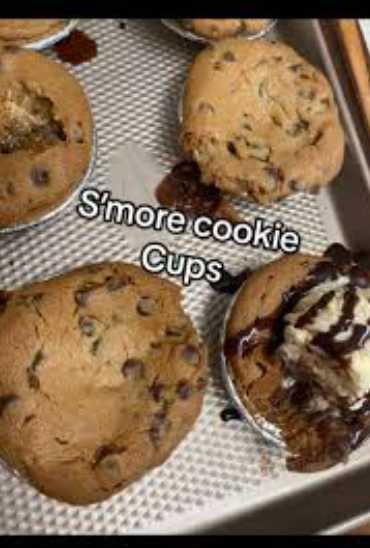
Aren’t these the cutest little pies? Once again, I’m falling for a world in miniature. These don’t require any real baking skill—at least not much—and honestly, I only got caught up in them because they were adorable. Turns out they’re pretty tasty too.
These little beauties are S’mores Mini Cookie Cups. There are a couple of versions floating around out there, so let me share mine first. Then we can talk about the alternative.
My Version
All you need are:
- Mini graham cracker shells
- Mini marshmallows
- A Hershey bar
- Refrigerated chocolate chip cookie dough
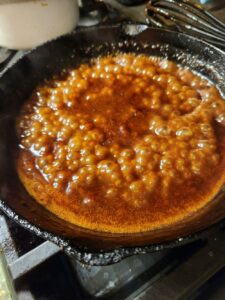
Start with a layer of mini marshmallows in the graham cracker shell.
Add a couple pieces of chocolate.
Squish a small ball of cookie dough flat and place it over the top to make a little “crust.”
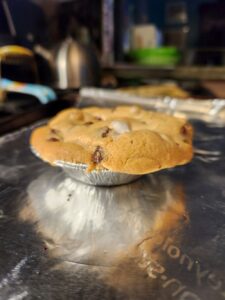
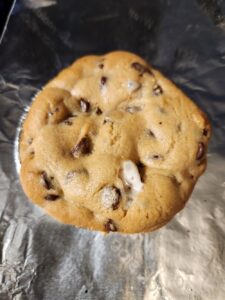
Bake in a 350° oven for 15–18 minutes, and voilà—a mini s’mores cookie cup.
Tip: Place them on a sheet of foil. Marshmallows can leak out the sides, and if they do, you’ll have a sticky mess. The foil makes cleanup a breeze.
The Alternative Version
 Then there’s the version that skips the graham cracker crust. Personally, that ruins the s’mores vibe for me, but to each their own.
For this one, press enough cookie dough into a mini muffin cup to form a little “cup.” Add marshmallows and chocolate, leaving the top open. Bake at 350° until the cookie cup is done. When they come out, top with another marshmallow and pop them under the broiler for 1–2 minutes to toast.
A Word of Warning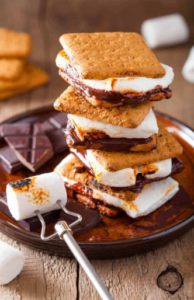
The only real stipulation for either variation is that you have to like sweet. These are sweet. I’ve always avoided traditional s’mores because they’re too sugary for me, but these were so cute I had to try them. They’re easy to put together and definitely satisfy a craving for something indulgent.
Your Turn
Okay, s’mores fans, time to sound off. Are you Team Graham Crust or waving the flag for Team Cookie Cup today?


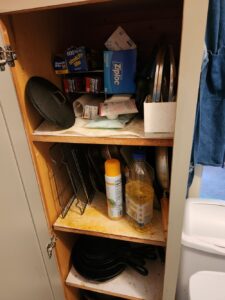
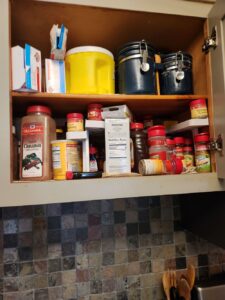
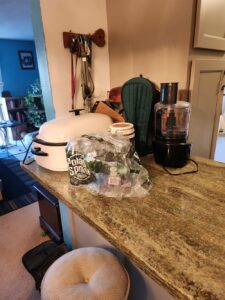
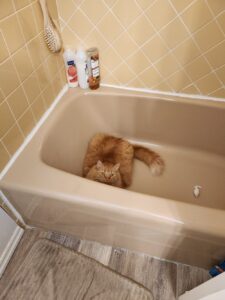 As you may recall, AARP claims you can declutter your entire home in 30 days. I’m testing that theory, one week at a time. Week 1 went surprisingly well — and yes, it really did take less than 30 minutes a day. It helped that I redecorated the bathroom a couple of years ago, so I wasn’t dealing with 20 years of fossilized lotions. Plus, I had Banner’s “help” with the medicine cabinet and Balboa’s supervision from the over‑the‑toilet storage shelves.
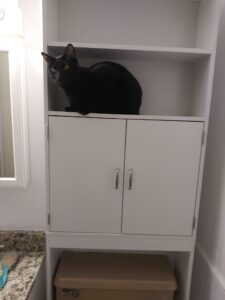


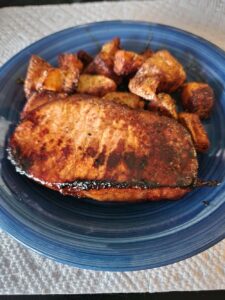
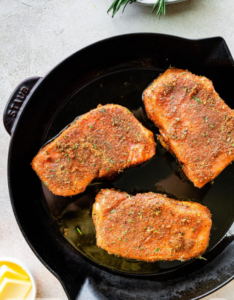
 My Complicated History with Pork Chops