The 1950s Kitchen Rulebook
Every now and then, the internet serves up a list that makes you stop and say, “Thank goodness times have changed.” Recently I stumbled across a set of 20 rules women were supposedly expected to follow in the 1950s kitchen. Now, we all know that if it’s on the internet it must be true — but even if only half of these were real, it was quite an era to learn to cook in.
I grew up in the 1950s, so I couldn’t resist taking a walk down memory lane to see how I measure up to some of these old expectations. Here are the twenty rules, along with my own modern‑day scorecard.
Dinner on the Table and Meat Every Night
The first rule insisted dinner be ready the moment the husband walked in. I dodged that one — no husband, and I worked outside the home for years. If I’d tried to meet that rule, takeout would’ve been my best friend.
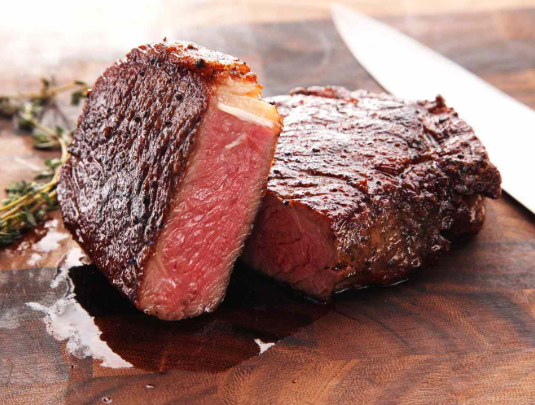
As for meat at every meal? That one stuck. I grew up with it, and to this day I’m a committed carnivore. A vegetarian life is not in my future.
Canned Goods, Perfect Presentation, and Mild Spices
We had an entire basement wall lined with canned goods, even though we had a garden. I still keep a few cans around, but fresh has definitely taken over.

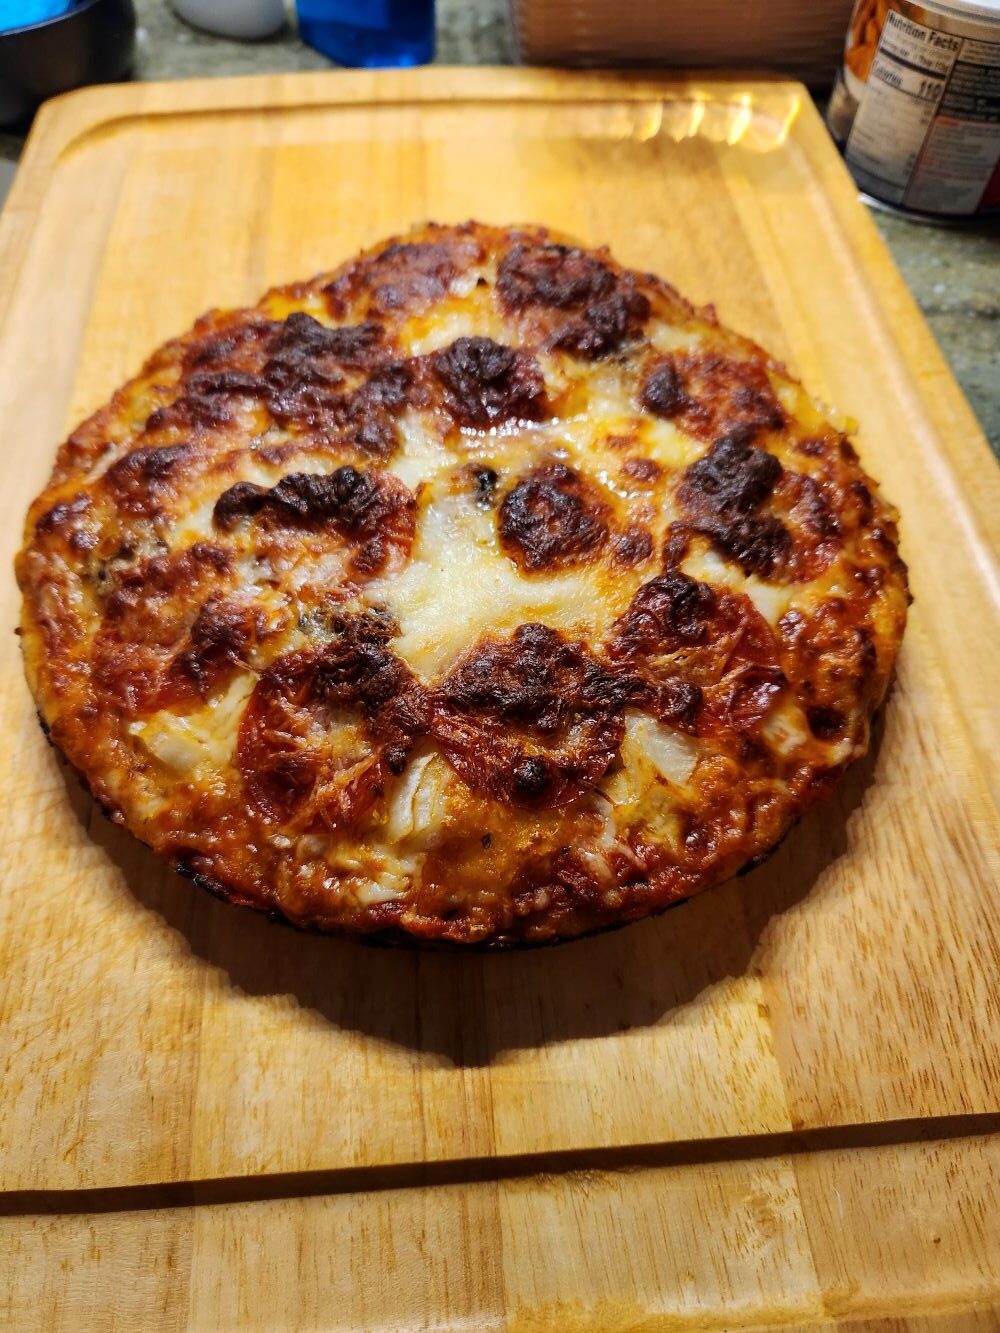
Presentation, though? That 1950s standard lives on in me. After putting effort into a meal, I want it to look good. Maybe that’s a throwback, maybe it’s just pride.

Spices were simple back then — salt, pepper, paprika, garlic. Honestly, those are still my kitchen staples, though I’m slowly branching out.
Leftovers, Dessert, and the Clean‑As‑You‑Go Kitchen
Leftovers were never disguised in our house — they were celebrated. When I was working, I planned weekend meals specifically to create leftovers for the week.
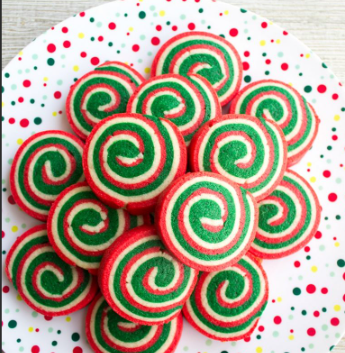
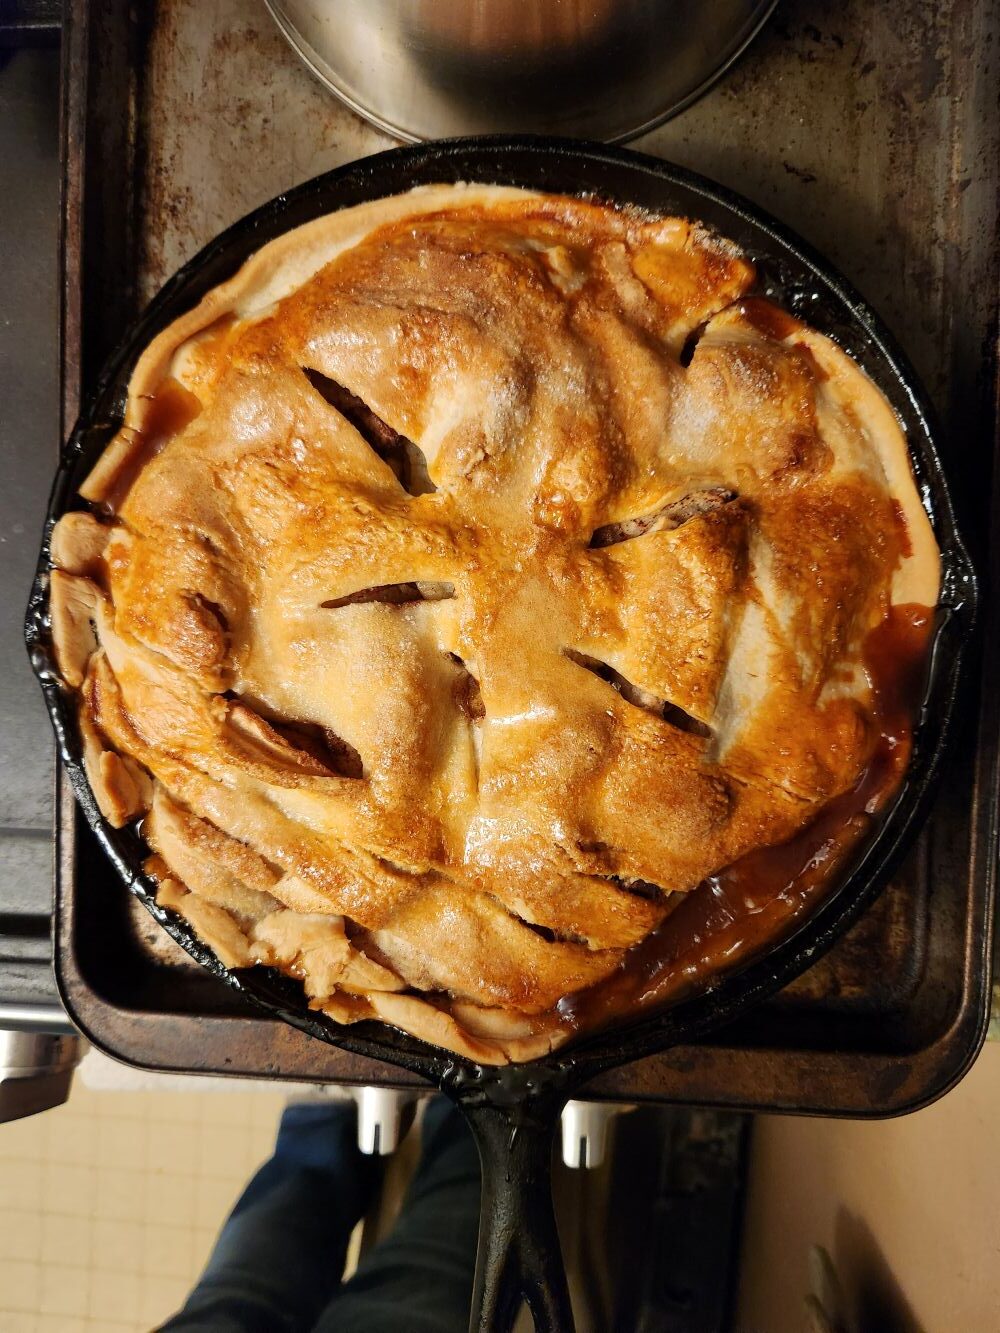
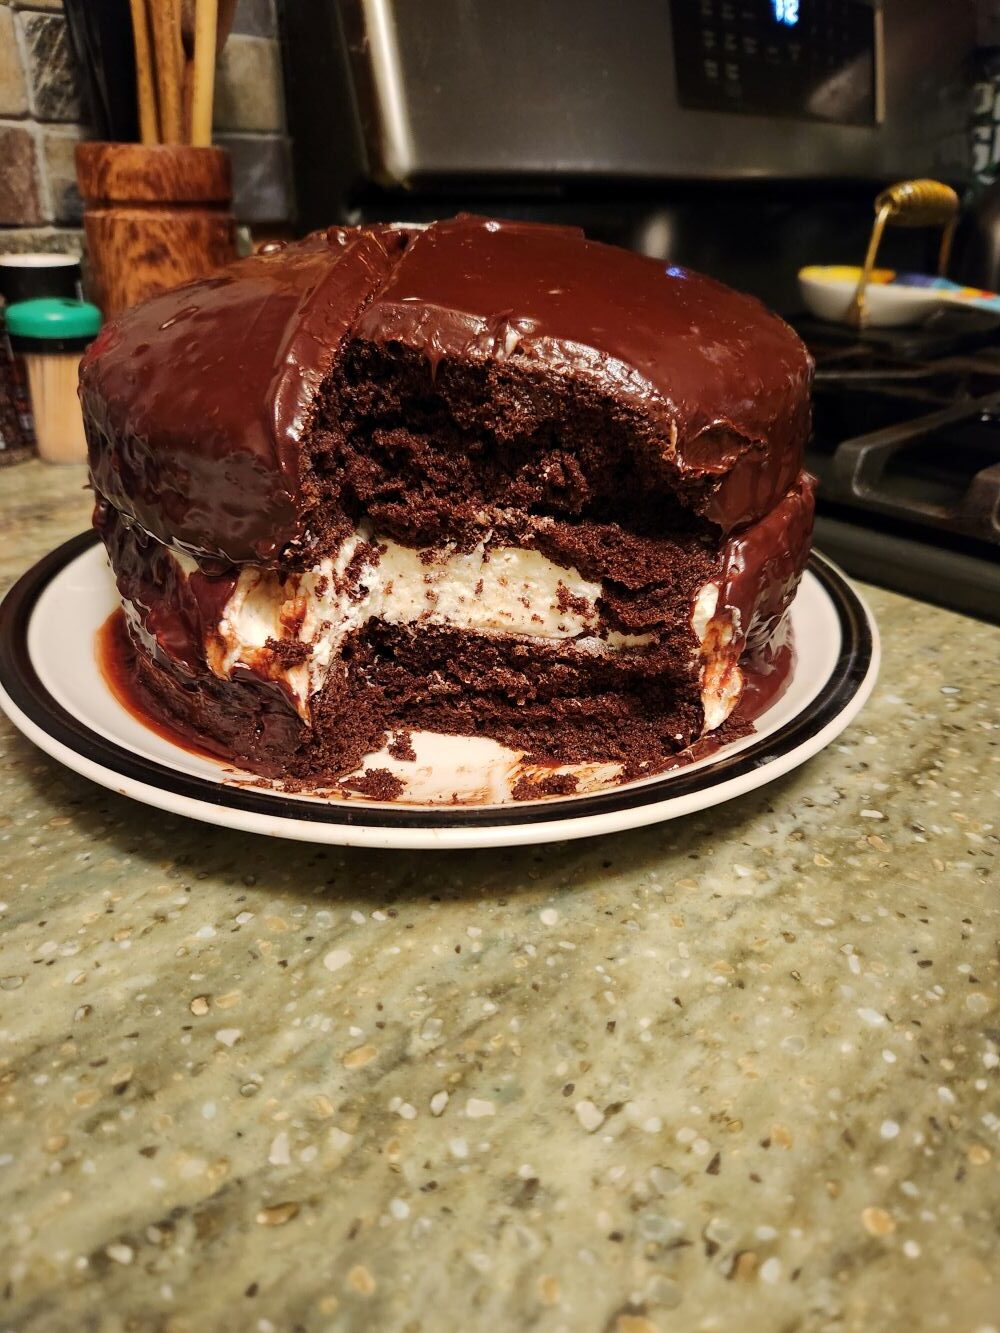
Dessert every night was also the norm. Sometimes it was just pudding or Jell‑O, but it was something sweet. I still like a little treat, though these days it’s more likely berries or an orange.
And the clean kitchen rule? That one I follow religiously. With a tiny kitchen, cleaning as I go keeps me sane.

Recipes, Meal Structure, and Children at the Table
I still follow new recipes exactly the first time, then tweak them later. And yes, the old “meat, starch, vegetable, bread, dessert” structure is still in my bones — though I happily skip the starch if I’m in the mood for two veggies instead.
Kids were expected to eat what was served. That was true in my childhood home, and I doubt I’d ever be the type to cook two separate meals.
No One Sees the Effort — and Cooking Was “Women’s Work”
I admit it: I prefer to cook alone. “Help” usually slows me down.
Cooking being a woman’s responsibility? That was the norm then, but thankfully not now. Just look at all the men dominating the cooking channels.

The idea that a woman’s morals were reflected in her meals? That one feels downright silly today. I never felt that kind of pressure — and I wish I could ask my mother what she thought of it.
Entertaining, Brand Names, and the Noise at the Table
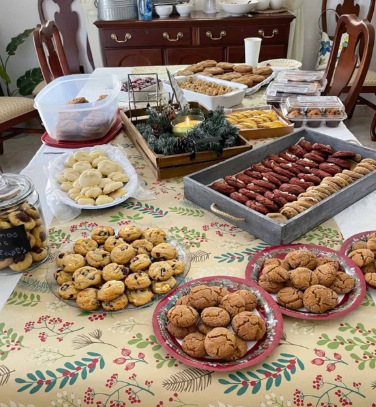
Entertaining meant elaborate menus, and I confess I still fall into that habit. I always made sure there was plenty of food — no tiny portions at my gatherings.
Brand loyalty was huge in the 50s. I’m slowly breaking that habit, even though my brain still insists the name brand “tastes better,” even when it probably doesn’t.
As for quiet meals? Not in our house. Dinner was loud, lively, and full of overlapping conversations.

Repeating Meals, Waste Not, and the Cook Eats Last
Repeating meals was frowned upon, but leftovers took care of that. I repeat meals simply because I like them.
Throwing food away because it wasn’t pretty? Absolutely not. Presentation matters, but not that much.
And yes — the cook eating last was a real thing, especially on holidays. Mom always made sure every dish made it to the table before she sat down.
A 1950s Kid’s Takeaway
So there you have it — my rundown of the 1950s kitchen rulebook. Some habits stuck, some faded, and some never made sense in the first place.
What about you — did you grow up with any of these rules, or do you still follow a few without even realizing it?