Dusty’s Smothered Pork Chops


My Long‑Time Favorite Pork Chop Recipe

Smothered pork chops surrounded by gravy. Of course it's in a cast iron skillet

A Little Backstory

Recently I shared two new pork chop recipes — Rediscovering Pork Chops and Pork Chops Take 2.
Now I’m down to the last of the chops, which means there’s room for one more recipe before I take a break. I actually have another new one waiting in the wings, but that will have to wait for my next pork chop run.

Today’s recipe is my long‑time favorite. It goes all the way back to the 1970s, when I’d just gotten my first professional (non‑waitress!) job. One of my coworkers told me he always made his pork chops in a skillet with Campbell’s Golden Mushroom soup. He insisted it had to be Golden Mushroom — not Cream of Mushroom.

I tried it, loved it, and over the years it evolved into the version I make today. It’s still simple, still comforting, and still one of my go‑to meals.


Dusty’s Smothered Chops

Ingredients

  • 4 thick‑cut, boneless center‑cut pork chops
  • 2 cans Campbell’s Golden Mushroom Soup
  • 2 cans sliced potatoes
  • 1 small can sliced mushrooms (optional)
  • Salt and pepper to taste

Directions

  1. Heat a large skillet over medium‑high heat and add a light skim of oil (about 2 Tbsp).

    (I love a cast iron skillet for this.)
  2. Generously salt and pepper both sides of the chops. Add them to the hot pan and sear for color — about 2 minutes per side.
    Do not cook through.
  3. Transfer the chops to your slow cooker and pour in the soup. Add the sliced potatoes and the optional mushrooms, then stir gently to combine.
  4. Set to Low and cook for 6–8 hours.

Notes

  • Your chops will come out melt‑in‑your‑mouth tender.
  • The Golden Mushroom soup makes a wonderful gravy.
  • Add the optional mushrooms if you like a little extra.

Golden Mushroom vs. Cream of Mushroom
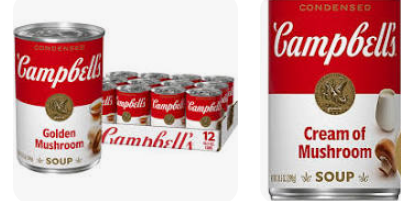
Why Golden Mushroom?

Golden Mushroom soup acts more like a flavor concentrate than a creamy base.
It melts into the pan juices and creates a rich, savory gravy that clings beautifully to pork chops — especially when you brown them first.

Can You Substitute Cream of Mushroom?

Not unless you want an entirely different vibe.

  • Cream of Mushroom makes the dish creamy and mild.
  • Golden Mushroom makes it bold, savory, and deeply seasoned.

In my own words… Yummy!


Wrapping Up

So that’s it — the last of this pork chop run. I’m all out for now, but I’m sure we’ll circle back another time.

How do you cook pork chops in your home? I’d love to know.

 

The Kitchen Declutter Adventure , Week 2

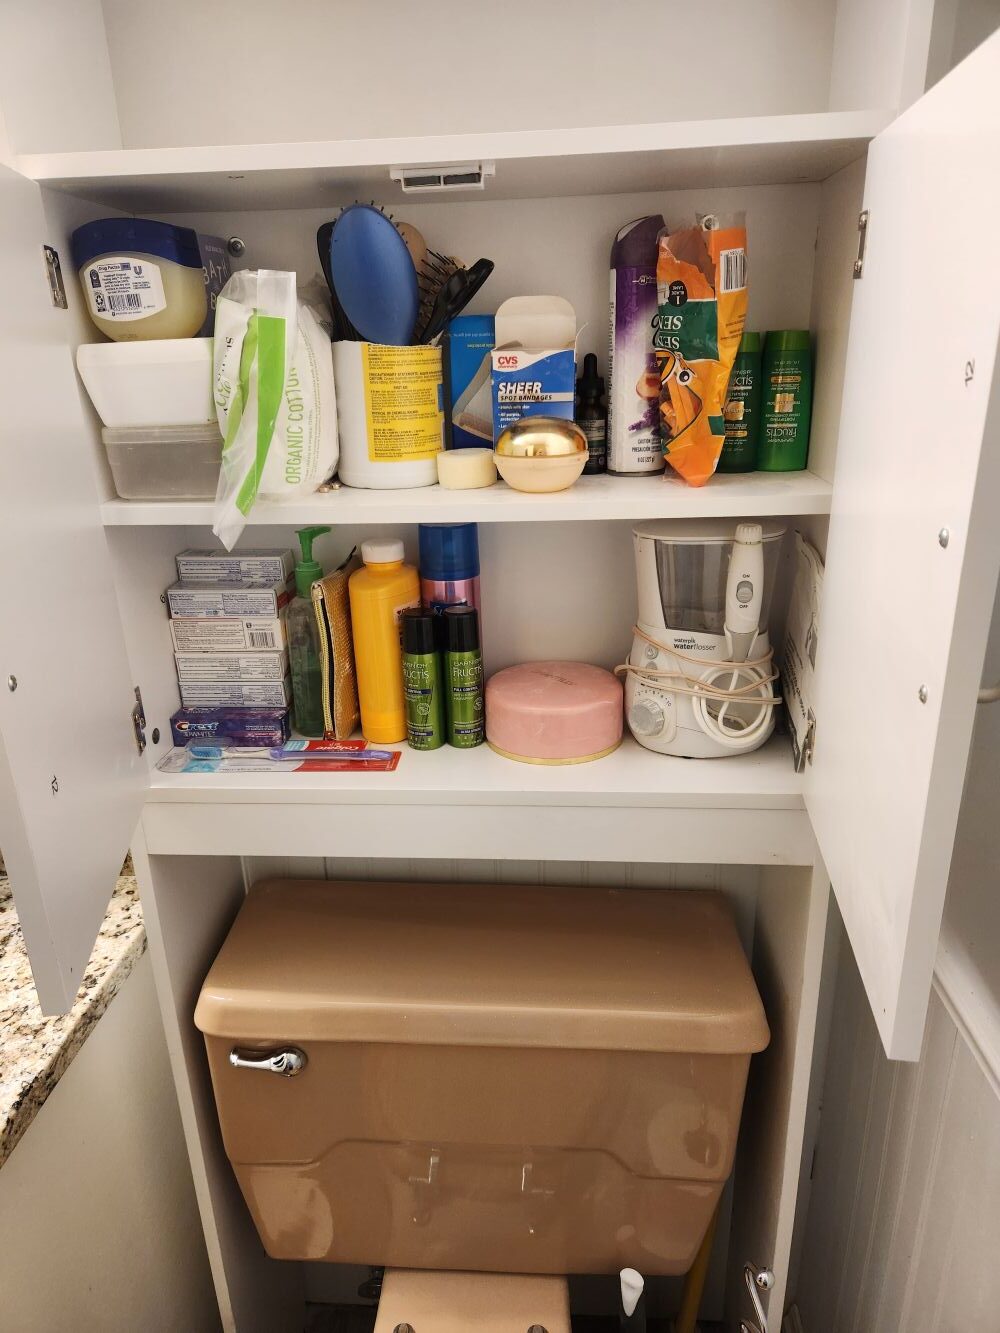
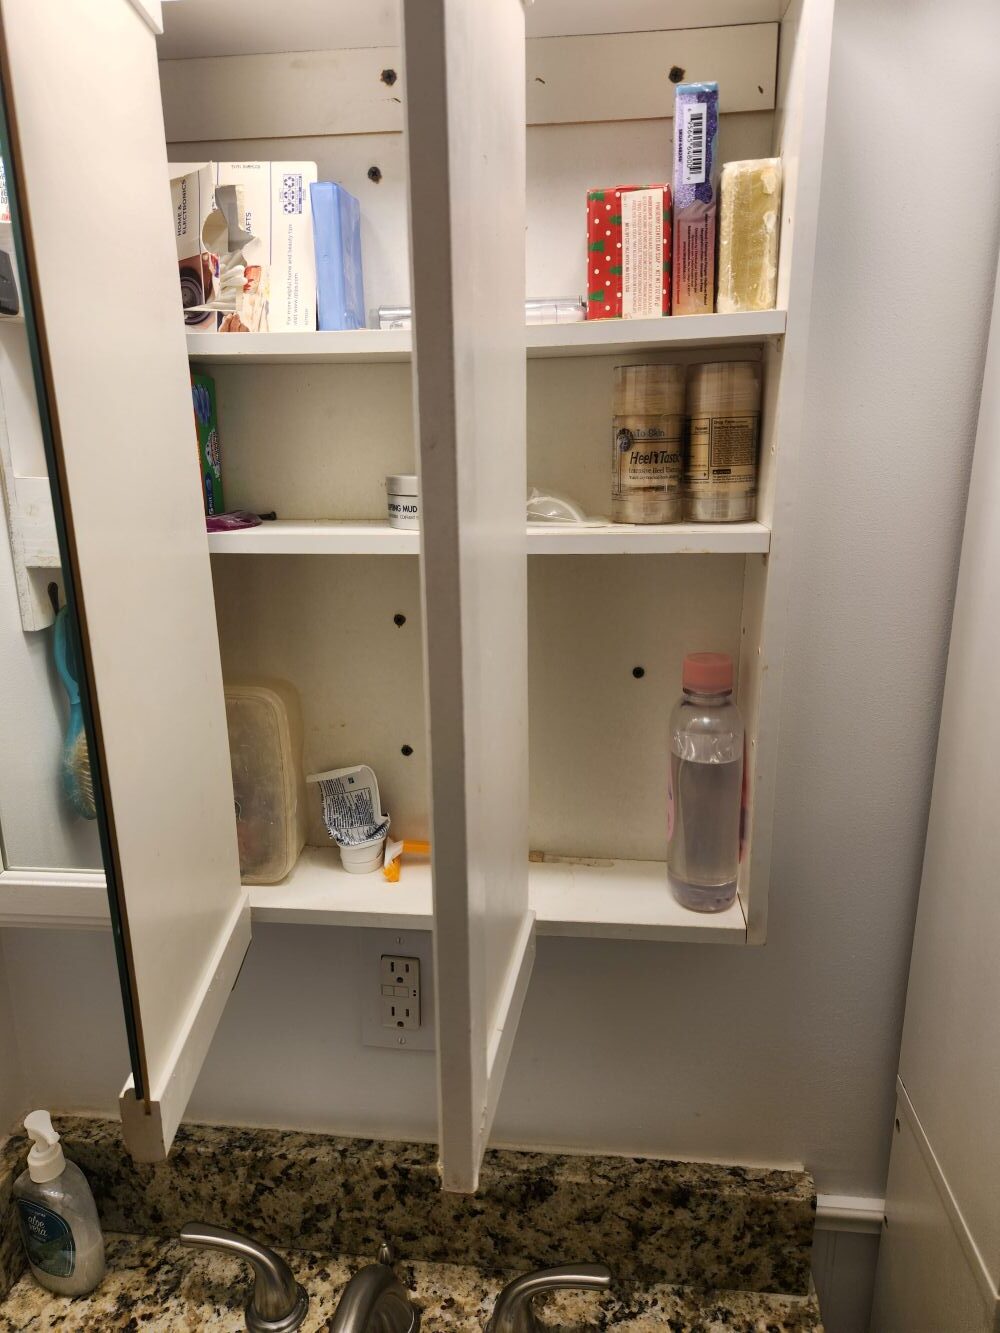
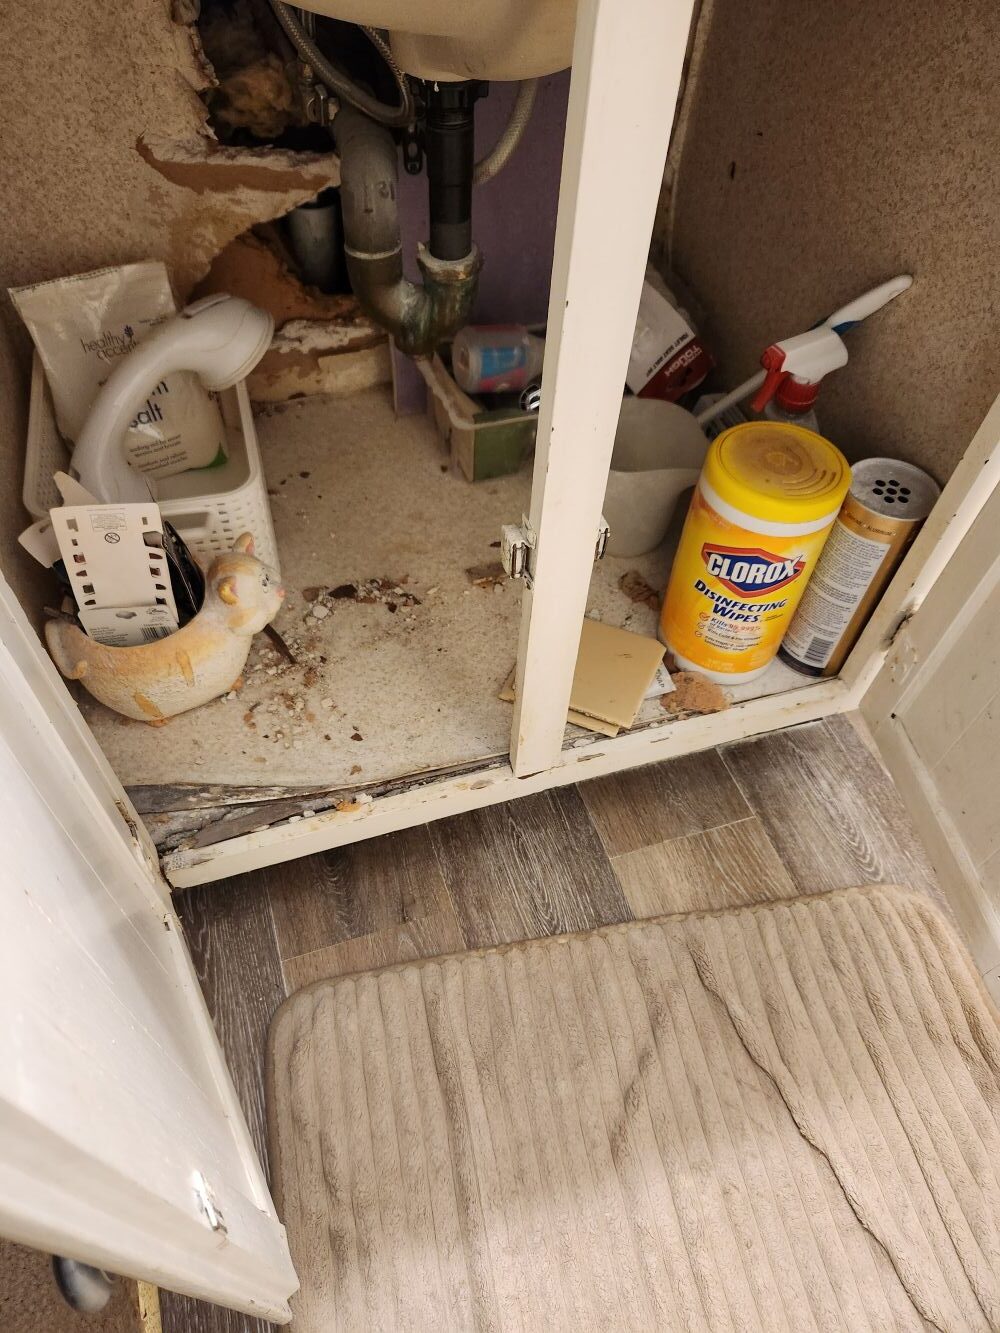
Excellent progress on the bathroom. It truly took just 30 minutes a day — even with Banner and Balboa “helping.” All that’s left is to sweep out the bottom of the vanity and I can call Week 1 wrapped.


  • The Vanity Corner

Week 2: Kitchen & Pantry — The Real Test Begins

My decluttering adventure continues.

As you may recall, AARP claims you can declutter your entire home in 30 days. I’m testing that theory, one week at a time. Week 1 went surprisingly well — and yes, it really did take less than 30 minutes a day. It helped that I redecorated the bathroom a couple of years ago, so I wasn’t dealing with 20 years of fossilized lotions. Plus, I had Banner’s “help” with the medicine cabinet and Balboa’s supervision from the over‑the‑toilet storage shelves.



Somewhere in the middle of all this, my browser crashed. Not the computer — just the browser — but it slowed me down enough that I ended up “decluttering” my hard drive instead of my home. That saga deserves its own post.

But onward. Week 2 is Kitchen and Pantry, and the rules remain the same: no more than 30 minutes a day.

My tiny kitchen where culinary magic happens

My tiny kitchen where culinary magic happens

AARP suggests tackling the junk drawer on a weekday and getting rid of duplicates. Cabinets are also weekday tasks, except for the “big ones.” In my tiny kitchen, I’m not entirely sure what qualifies as a big cabinet, but the bottom line is clear: declutter them all.

Not a junk drawer, mostly confused

This is where things get emotional.

The mugs.

The Mug Cabinet

I have souvenir mugs from trips, funny mugs, mugs with pictures, mugs that remind me of people, places, and moments. One of the tasks this week is to thin those out and make room on the shelf. The rule is simple: if you don’t use it, out it goes. The rule is also cruel.

At least I can say one cabinet is already in good shape. The under‑sink cabinet is practically a showpiece at this point — I’ve been cleaning it out for the past year. Can I count that as “one down”? I’m counting it.

Pots, pans and baking essentials, all necessary for my culinary adventures

Pots, pans and baking essentials

Of course, Banner and Balboa will be deeply involved in this week’s work. They love the under‑sink cabinet. They’ve both figured out how to open the door even though it’s on a spring. I always know when they’re in there because I hear the rhythmic thud… thud… thud of the door swinging shut behind them.

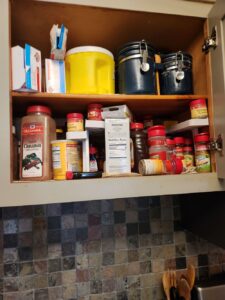
The spice cabinet

So here we go. The clock is ticking, the mugs are trembling, and Week 2 begins. Can we get the kitchen back to it’s former glory? Let’s find out.

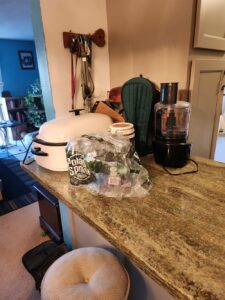
Counter Clutter


100% Mulberry Silk


Spring Sale: 20% Off Promeed Silk Sheets

If you’ve been thinking about refreshing your bedding for spring, Promeed just launched a Spring Sale on their premium 100% Mulberry Silk Sheets (23mm–30mm) — and it’s a good one.

For a limited time, you can enjoy 20% off your purchase with the exclusive code PM20 at checkout.

Silk sheets are naturally cooling, gentle on skin and hair, and add a touch of luxury to your everyday routine. If you’ve been curious about upgrading, this is the perfect moment to try them.

You can shop the sale here

Starts 3/27/26 ends 4/10/26

(This post contains an affiliate link. If you make a purchase, I may earn a small commission at no extra cost to you.)


The Great Cupcake Caper

The Great Cupcake Caper


 Or, How I Learned I’m Officially One of the “Old People”

Elderly "Florida" squirrel returns from shoppingOk, I admit it. I’ve crossed over. I am now officially one of the “elderly,” and as one of the Old People, I tend to be a little forgetful. But I still make lists — real lists — written on actual paper with a pen or pencil. I use my phone for plenty of things, but grocery lists are sacred. I want the satisfaction of crossing things off as they go into the cart. It’s a ritual.

So last Tuesday I headed to Hannaford for my weekly grocery run. Back in the day I’d pop in whenever I needed something, but now I try to do it all in one trip. Why Tuesday? Because Tuesday is Senior Discount Day, and I am absolutely here for saving a few pennies.

Right there on my list, bold as can be: flour.

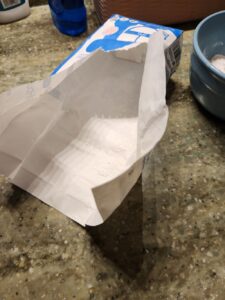
My mother always bought the giant bag, but since it’s just me, I stick to the small ones. Easier to store, less likely to go stale, and it forces me to keep an eye on how much is left. Well… it finally happened. Hannaford only had the big bags, so I skipped it. I wasn’t planning any baking anyway. What could go wrong?

Oops.

Fast‑forward to dinner. After all the pork‑chop experimenting I’ve been doing, I wanted something sweet to finish the meal. I had a cat on my lap, so I figured the urge to bake would pass. But no. An hour later, I still wanted cupcakes.
I remembered I had a box of white cake mix in the cupboard. Easy peasy. Except… the “Best By” date was 8/20/2020. Not months old. Years. I’ll use things past their date, but even I have limits. That mix was basically an archaeological artifact.

Fine. I’d make cupcakes from scratch. Mini ones, so I wouldn’t overindulge. I pulled out my favorite yellow cake recipe — it’s so good.

Who needs a box anyway!


Soft Buttery Yellow Cake (Perfect for Mini Cupcakes)

Ingredients

  • 1 ¼ cups all‑purpose flour
  • 1 cup granulated sugar
  • ½ cup unsalted butter, softened
  • 2 large eggs
  • ½ cup whole milk
  • 1 ½ teaspoons baking powder
  • ½ teaspoon vanilla extract
  • ¼ teaspoon salt

Instructions

  1. Preheat oven to 350°F and line your mini muffin pan.
  2. Cream butter and sugar until light and fluffy.
  3. Add eggs one at a time, mixing well.
  4. Stir in vanilla.
  5. In a separate bowl, whisk flour, baking powder, and salt.
  6. Add dry ingredients alternately with milk, mixing just until combined.
  7. Fill mini cups about ⅔ full.
  8. Bake 10–12 minutes or until tops spring back.
  9. Cool completely before frosting.

As I gathered ingredients, I noticed the flour bag felt suspiciously light. A quick check confirmed I had just under one cup left. But by then I was committed. I wanted cupcakes. I was emotionally invested.


So I did some questionable math, cut the recipe in half, and created:


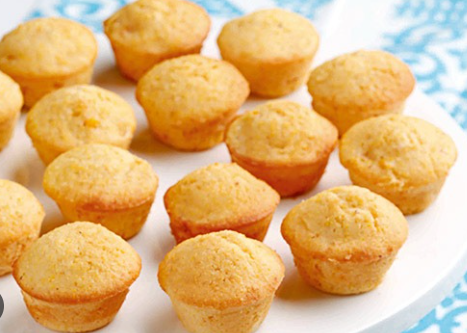
Half‑Batch Yellow Cake (Perfect for 18 Mini Cupcakes)

Ingredients

  • ⅔ cup all‑purpose flour
  • ½ cup granulated sugar
  • ¼ cup unsalted butter, softened
  • 1 large egg
  • ¼ cup + 2 tablespoons whole milk
  • ¾ teaspoon baking powder
  • ¼ teaspoon vanilla extract
  • Pinch of salt

Instructions

  1. Preheat oven to 350°F.
  2. Cream butter and sugar until fluffy.
  3. Add egg and vanilla; mix well.
  4. Whisk flour, baking powder, and salt in a separate bowl.
  5. Add dry ingredients alternately with milk.
  6. Fill mini muffin cups ⅔ full.
  7. Bake 10–11 minutes.
  8. Cool before frosting.

These bite‑sized morsels are a treasure for your taste buds. Honestly, you don’t even need frosting — but if you decide to go all in, that’s when the real adventure begins. Now came the frosting. Have you tried frosting mini cupcakes lately? I’m fine with full‑size cakes, but minis usually end with frosting all over my thumbs, the counter, and sometimes the cat.

So I tried piping it on. I didn’t have any tips, so I cut the corner off a plastic bag and hoped for the best.

Here they are — not the prettiest, but absolutely delicious. Maybe even better because of all the drama.


My Favorite Chocolate Frosting (Buttercream Style)

Ingredients

  • ½ cup unsalted butter, softened
  • 2 ½ cups powdered sugar
  • ¼ cup cocoa powder
  • 2–3 tablespoons milk
  • ½ teaspoon vanilla extract
  • Pinch of salt

Instructions

  1. Beat butter until creamy.
  2. Add powdered sugar and cocoa gradually.
  3. Add milk a tablespoon at a time until smooth and spreadable.
  4. Mix in vanilla and salt.
  5. Pipe or spread onto cooled cupcakes.

Enjoy!
And remember: sometimes the best desserts come from a little chaos, a little improvising, and a cat who refuses to move from your lap.


Pork Chops, Take Two: The Marinade Edition

Pork Chop experiments continue in Dusty's test kitchen


Overnight Soy & Worcestershire Pork Chops

Can success strike twice in Dusty’s Test Kitchen? Let’s find out.

It was another busy day in Dusty’s Test Kitchen, and yes — the pork‑chop experiments continue. My first attempt, Rediscovering Pork Chops: A Cast Iron Success Story, turned out so well that I had to try again. Could I repeat the magic?

This recipe is a little more involved than the last one, mostly because it needs an overnight marinade. But once the cooking starts, everything moves fast and easy.


Ingredients

Marinade

  • ½ cup soy sauce
  • ¼ cup Worcestershire sauce
  • 2 tbsp olive oil
  • 1 tsp paprika
  • 1 tsp garlic powder
  • 1 tsp onion powder
  • ½ tsp black pepper
  • ½ tsp salt (optional, depending on your soy sauce)
  • Optional: 1 tbsp brown sugar
  • Optional: ½ tsp ginger powder

Finishing

  • 3–4 tbsp butter, cut into pats
  • Optional: 2 smashed garlic cloves or a few thyme sprigs

Instructions

1. Marinate Overnight

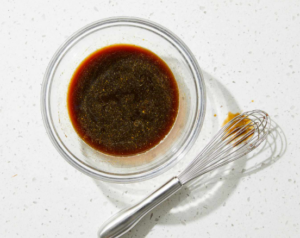
  1. Whisk all marinade ingredients together.
  2. Add pork chops and coat well.
  3. Refrigerate 8–24 hours.
  4. Remove from the fridge 20–30 minutes before cooking.

2. Pan‑Sear

  1. Preheat oven to 400°F.
  2. Heat a cast‑iron or heavy skillet over medium‑high until very hot.
  3. Add a thin layer of oil.
  4. Sear chops 2 minutes per side to develop color.
    • Do not cook through during this step.

3. Oven Finish with Butter

  1. Turn off the stovetop heat.
  2. Add the pats of butter to the bottom of the pan.
  3. Place the seared chops on top of the butter.
  4. Transfer the pan to the oven.
  5. Bake 5–8 minutes, depending on thickness.
  6. Remove when internal temperature reaches 140–145°F.
  7. Let rest 5 minutes before serving.


Notes

  • This method keeps thinner chops tender by combining a moisture‑boosting marinade, a quick sear, and a gentle oven finish.
  • The butter melts underneath the chops and bastes them as they finish, giving a glossy, savory finish.
  • Works with bone‑in chops too — just add 2–4 minutes to the oven time.
  • I served mine with oven‑roasted potatoes. I started the potatoes when I took the chops out of the refrigerator, so they had a 30‑minute head start.


My Rating

I’m giving this one 4 stars. Very flavorful, very tender — just shy of that 5‑star wow factor for me. But you can be the judge.