
Massachusetts: The Unsuspecting Cookie Capital
Ah, food. Is it any wonder I write about eating so often? Sure, we all need food to live, but that’s not the real reason. The real reason is simple: I love sharing recipes and little bits of cooking lore.
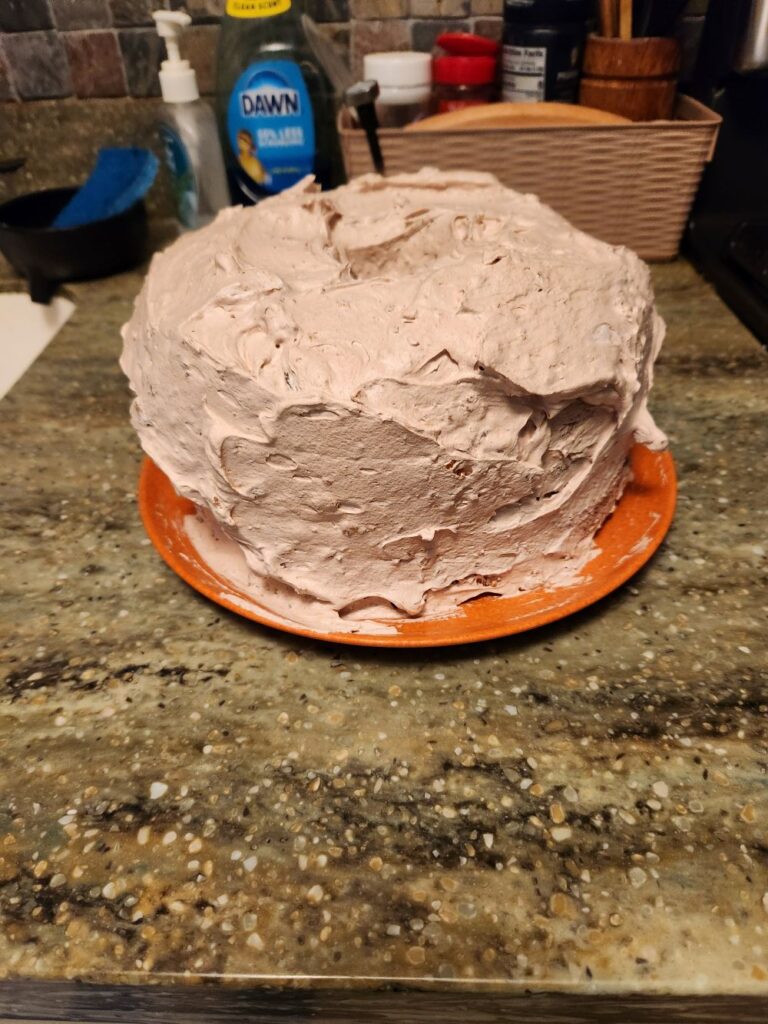
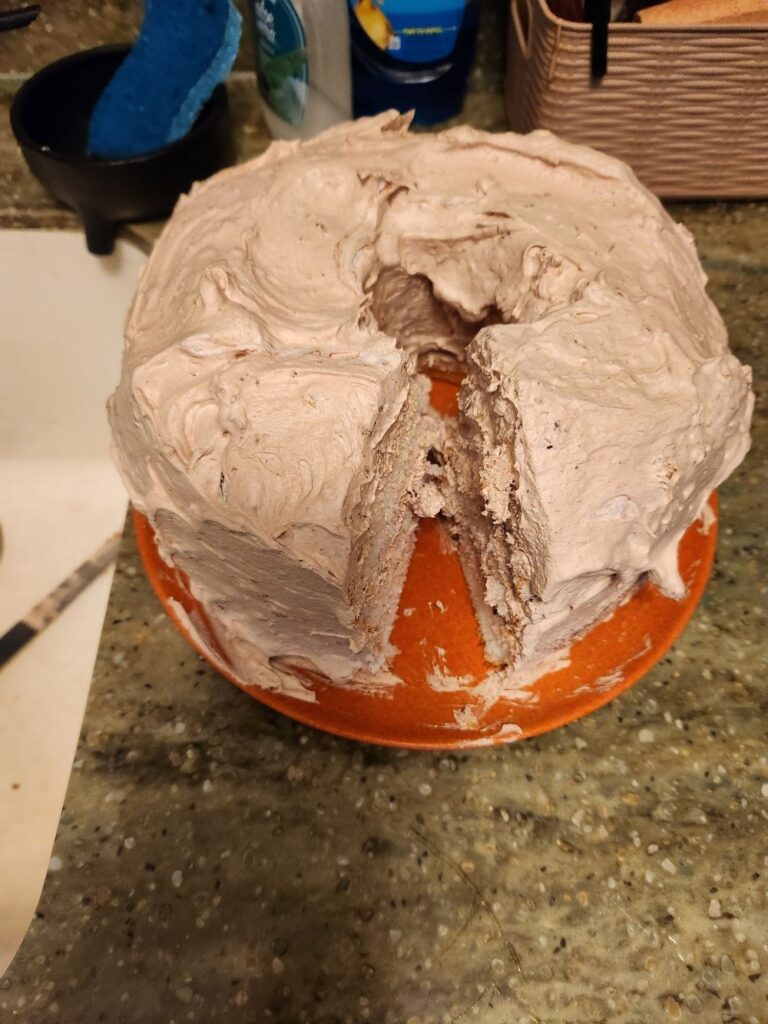
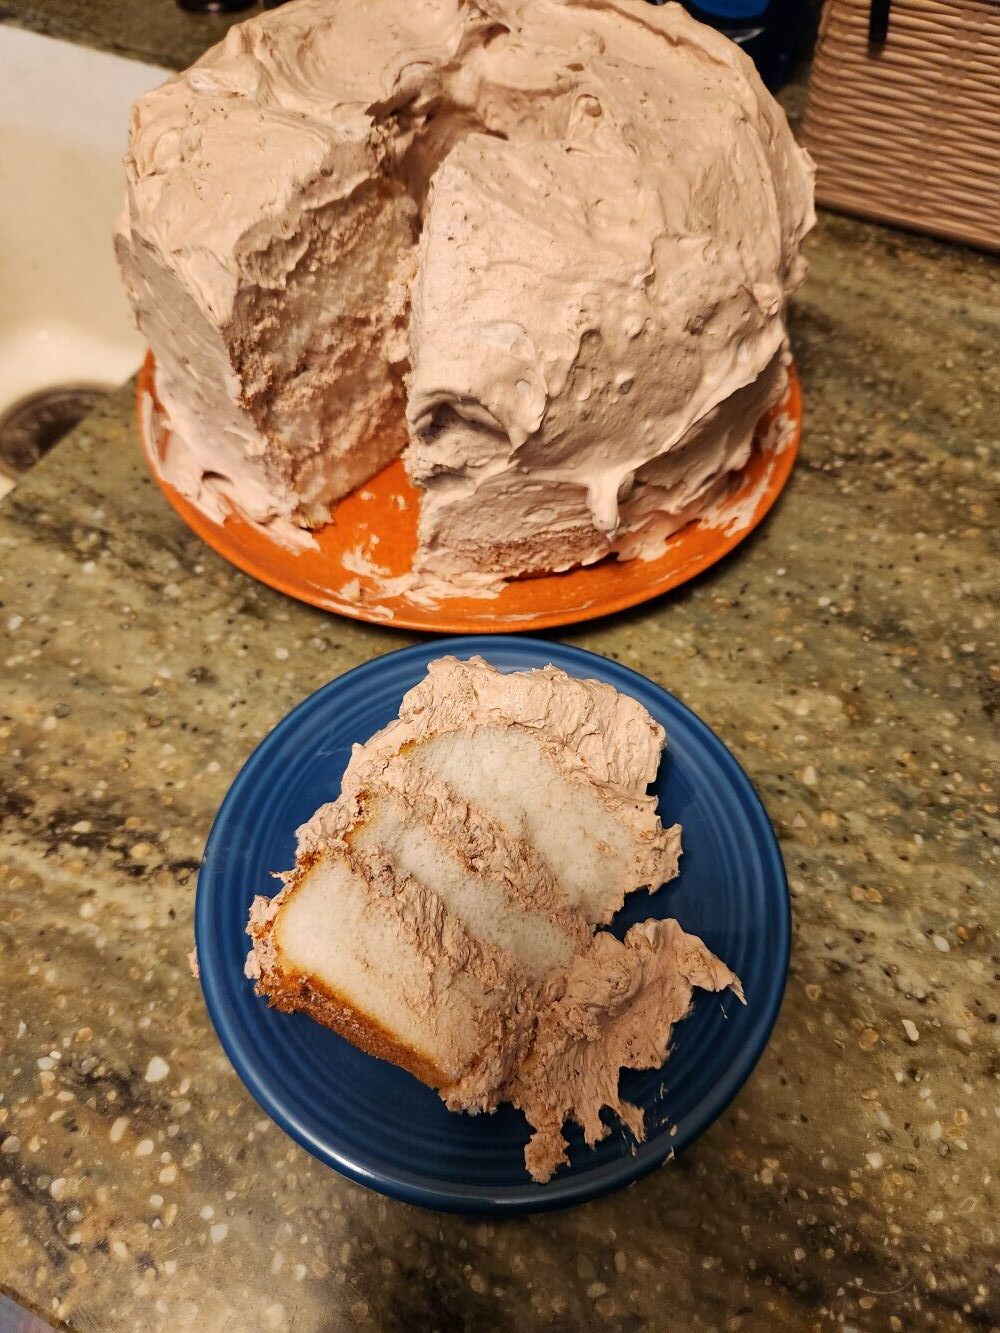
I’m not turning Around Dusty Roads into a cooking blog — don’t worry — but while I’m enjoying a slice of my angel food cake (it’s pretty yummy), I want to share a little tasty Massachusetts baking history.
Because believe it or not, this state didn’t just give the world one iconic cookie.
It gave us two.
 The Toll House Cookie: A Massachusetts Original
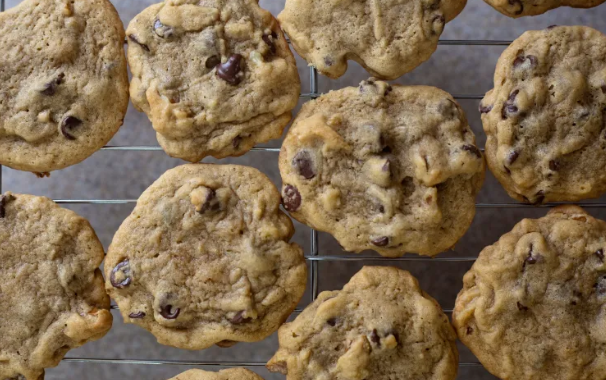
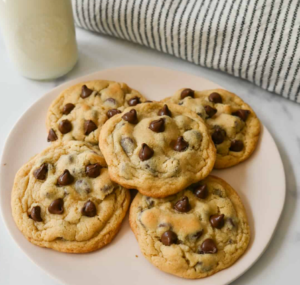
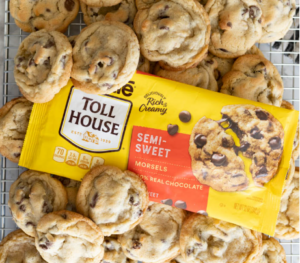
Let’s start with the queen of cookies: the classic chocolate chip — or as we call it around here, the Toll House Cookie.
We can thank Ruth Wakefield for this masterpiece. People have tried every variation under the sun — M&M’s, butterscotch, pretzels, sea salt — but nothing beats the original. Warm, melty, simple perfection.
I haven’t been to Faneuil Hall lately, but they used to have an entire kiosk devoted to chocolate chip cookies. Warm from the oven, wildly overpriced, and absolutely irresistible. It was always my first stop.
Where it all began
The Toll House Inn in Whitman, Massachusetts opened in 1930, run by Ruth and her husband Kenneth Wakefield. The building itself dated back to 1817, but Ruth’s cooking was what made the place famous.
One day she served a butter‑drop cookie studded with chopped chocolate. Customers went wild. Ruth, being a smart cookie herself, realized she had something special.
So she struck a deal with Nestlé — a lifetime supply of chocolate in exchange for printing her recipe on their semi‑sweet chocolate chip bags.
A sweet deal indeed.
The original Toll House Inn sadly burned down in 1984, but you can still visit the historical marker at 362 Bedford Street, Whitman, MA, where the world’s favorite cookie was born.

The Fig Newton: Massachusetts’ Other Claim to Cookie Fame
So what’s the second cookie?
That would be the humble, beloved Fig Newton.
You don’t usually find people casually baking Fig Newtons at home — these are very much a commercial cookie. Maybe not as universally adored as the chocolate chip, but they’ve earned their place in the cookie hall of fame.
A cookie named after Newton
The Fig Newton was created in 1891 at the Kennedy Biscuit Works in Cambridgeport, and named after the nearby town of Newton. It was one of the very first mass‑produced baked goods in the United States.
Originally, Fig Newtons were made of a soft, cake‑like dough wrapped around a thick fig jam. They were so popular that the brand eventually shortened the name to simply Newtons, and added flavors like strawberry and raspberry.
Still, the fig version remains the classic.
If you’re a truly determined baker, you can find recipes for homemade Fig Newtons. And if you ever make them, I want the full report.
Final Crumb
Massachusetts may be famous for its history, its coastline, and its questionable driving habits, but it deserves a little credit for its contributions to the cookie world too.
Two iconic treats — one homemade, one commercial — both born right here.
Now if you’ll excuse me, I’m going back to my angel food cake.

 Life Before the Condo Rules


 sharp green‑red crunch and the promise of something tart and sweet bubbling on the stove.
 ☠️ Are the leaves really poisonous?
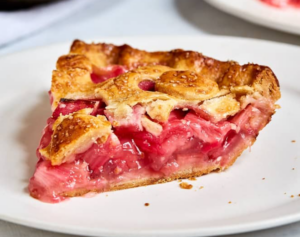
 🌱 A Few Fun Rhubarb
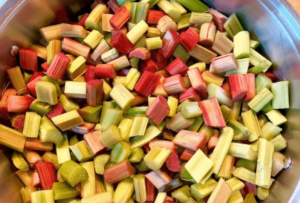
 I stumbled across this recipe, and it immediately caught my eye — interesting, a little nostalgic, and just begging to be tried. And before the purists clutch their pearls, let me offer a pre‑emptive apology. Yes, it calls for Cool Whip. No, you don’t have to use it. If whipped cream is more your style (or your conscience), swap away.