My Long‑Time Favorite Pork Chop Recipe
A Little Backstory
Recently I shared two new pork chop recipes — Rediscovering Pork Chops and Pork Chops Take 2.
Now I’m down to the last of the chops, which means there’s room for one more recipe before I take a break. I actually have another new one waiting in the wings, but that will have to wait for my next pork chop run.
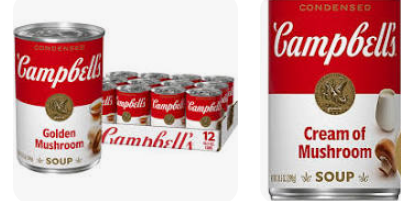
Today’s recipe is my long‑time favorite. It goes all the way back to the 1970s, when I’d just gotten my first professional (non‑waitress!) job. One of my coworkers told me he always made his pork chops in a skillet with Campbell’s Golden Mushroom soup. He insisted it had to be Golden Mushroom — not Cream of Mushroom.
I tried it, loved it, and over the years it evolved into the version I make today. It’s still simple, still comforting, and still one of my go‑to meals.

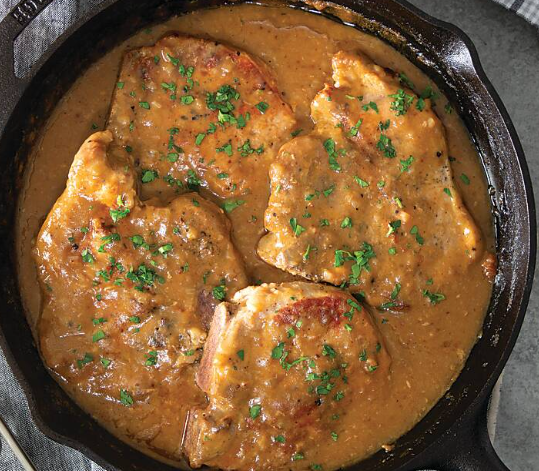
Dusty’s Smothered Chops
Ingredients
- 4 thick‑cut, boneless center‑cut pork chops
- 2 cans Campbell’s Golden Mushroom Soup
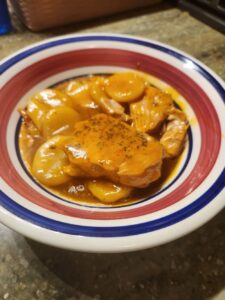
- 2 cans sliced potatoes
- 1 small can sliced mushrooms (optional)
- Salt and pepper to taste
Directions
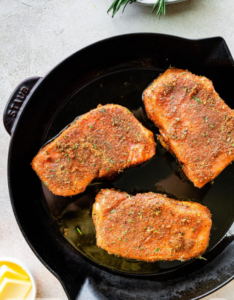
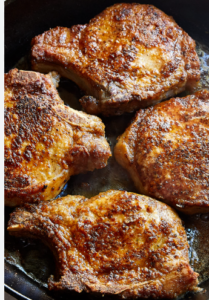
- Heat a large skillet over medium‑high heat and add a light skim of oil (about 2 Tbsp).
(I love a cast iron skillet for this.) - Generously salt and pepper both sides of the chops. Add them to the hot pan and sear for color — about 2 minutes per side.
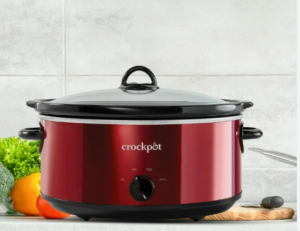
Do not cook through. - Transfer the chops to your slow cooker and pour in the soup. Add the sliced potatoes and the optional mushrooms, then stir gently to combine.
- Set to Low and cook for 6–8 hours.
Notes
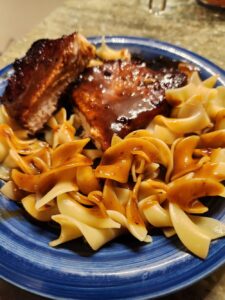
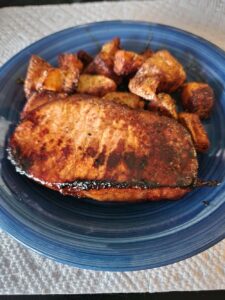
- Your chops will come out melt‑in‑your‑mouth tender.
- The Golden Mushroom soup makes a wonderful gravy.
- Add the optional mushrooms if you like a little extra.
Golden Mushroom vs. Cream of Mushroom
Why Golden Mushroom?
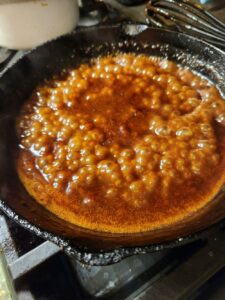
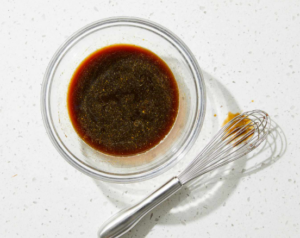
Golden Mushroom soup acts more like a flavor concentrate than a creamy base.
It melts into the pan juices and creates a rich, savory gravy that clings beautifully to pork chops — especially when you brown them first.
Can You Substitute Cream of Mushroom?
Not unless you want an entirely different vibe.
- Cream of Mushroom makes the dish creamy and mild.
- Golden Mushroom makes it bold, savory, and deeply seasoned.
In my own words… Yummy!
Wrapping Up
So that’s it — the last of this pork chop run. I’m all out for now, but I’m sure we’ll circle back another time.
How do you cook pork chops in your home? I’d love to know.

 Ok, I admit it. I’ve crossed over. I am now officially one of the “elderly,” and as one of the Old People, I tend to be a little forgetful. But I still make lists — real lists — written on actual paper with a pen or pencil. I use my phone for plenty of things, but grocery lists are sacred. I want the satisfaction of crossing things off as they go into the cart. It’s a ritual.
 to finish the meal. I had a cat on my lap, so I figured the urge to bake would pass. But no. An hour later, I still wanted


 My Complicated History with Pork Chops