What Is This Dish, Anyway?
I’ve been making a simple mix of tomatoes, hamburger, and macaroni for years, and for the longest time I never knew what to call it. I watched my mother make it more times than I can count, and she always called it Goulash. So naturally, I did too.
Then I moved to Massachusetts — and suddenly people looked at me like I had three heads when I said “Goulash.”
The Massachusetts Goulash Confusion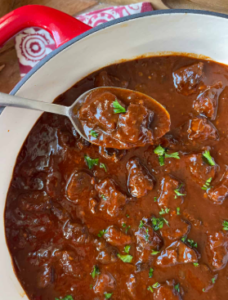

Here in southeastern Massachusetts, I kept running into versions made with stew beef and mountains of paprika. Hearty, rich, and often described to me as a Hungarian dish. Hungarian goulash is a slow-cooked, rich broth-based dish
A dear friend of mine made yet another version. Hers was closer to mine but still not quite the same. She called it American Chop Suey, and it used tomato soup and tomato paste for thickness. Delicious — but not what I make.
My Version: Simple, Light, and Definitely Not Paprika‑Heavy
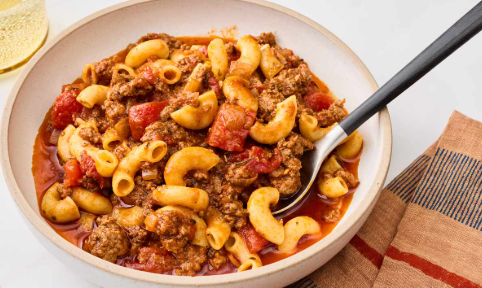
My own dish is SIMPLE. No cheese, no tomato paste, no baking. It ends up with a thinner sauce — almost soup‑like — but not quite a soup either. (Yes, I checked. There are actual “Hamburger Soup” recipes online, and nope, that’s not it.)
Then I stumbled across something called Old Fashioned Goulash, a Midwest classic. And finally — finally — I found something close to what I’ve been making all along.
So here’s a comparison. Maybe one of these versions will become a favorite in your kitchen too.
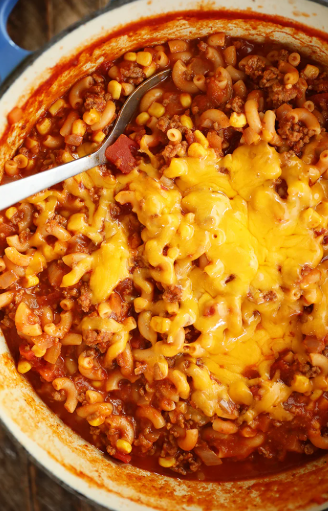
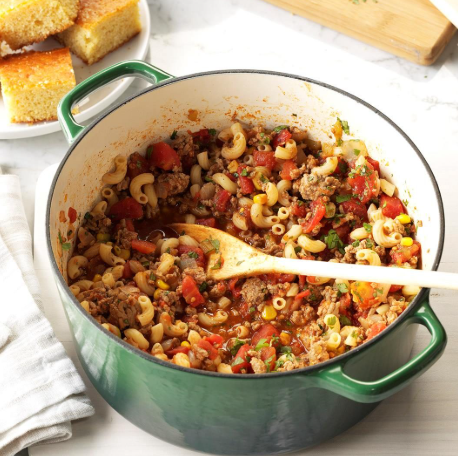
Old Fashioned Goulash (Midwest Style)
 Ingredients
- 1 pound elbow macaroni
- 2 pounds ground beef
- 1 onion, chopped
- 3 cloves garlic, minced
- 1 tablespoon Worcestershire sauce
- 2 (15 oz) cans tomato sauce
- 2 (14.5 oz) cans petite diced tomatoes
- 1 ½ tablespoons Italian seasoning
- 2 teaspoons salt
- ½ teaspoon black pepper
- 1 cup shredded cheddar cheese
Directions
- Preheat oven to 350°.
- Bring a large pot of water to a boil. Cook macaroni for 3 minutes, then drain.
- Heat a large skillet over high heat. Add ground beef and onions. Cook 6–7 minutes until browned; drain fat.
- Add garlic and cook 1 minute until fragrant.
- Stir in Worcestershire sauce, tomato sauce, and diced tomatoes.
- Add Italian seasoning, salt, and pepper. Taste and adjust.
- Mix in the cooked macaroni and cheddar cheese.
- If your skillet is oven‑safe, bake 20–25 minutes until bubbly. Otherwise, transfer to a casserole dish and bake.
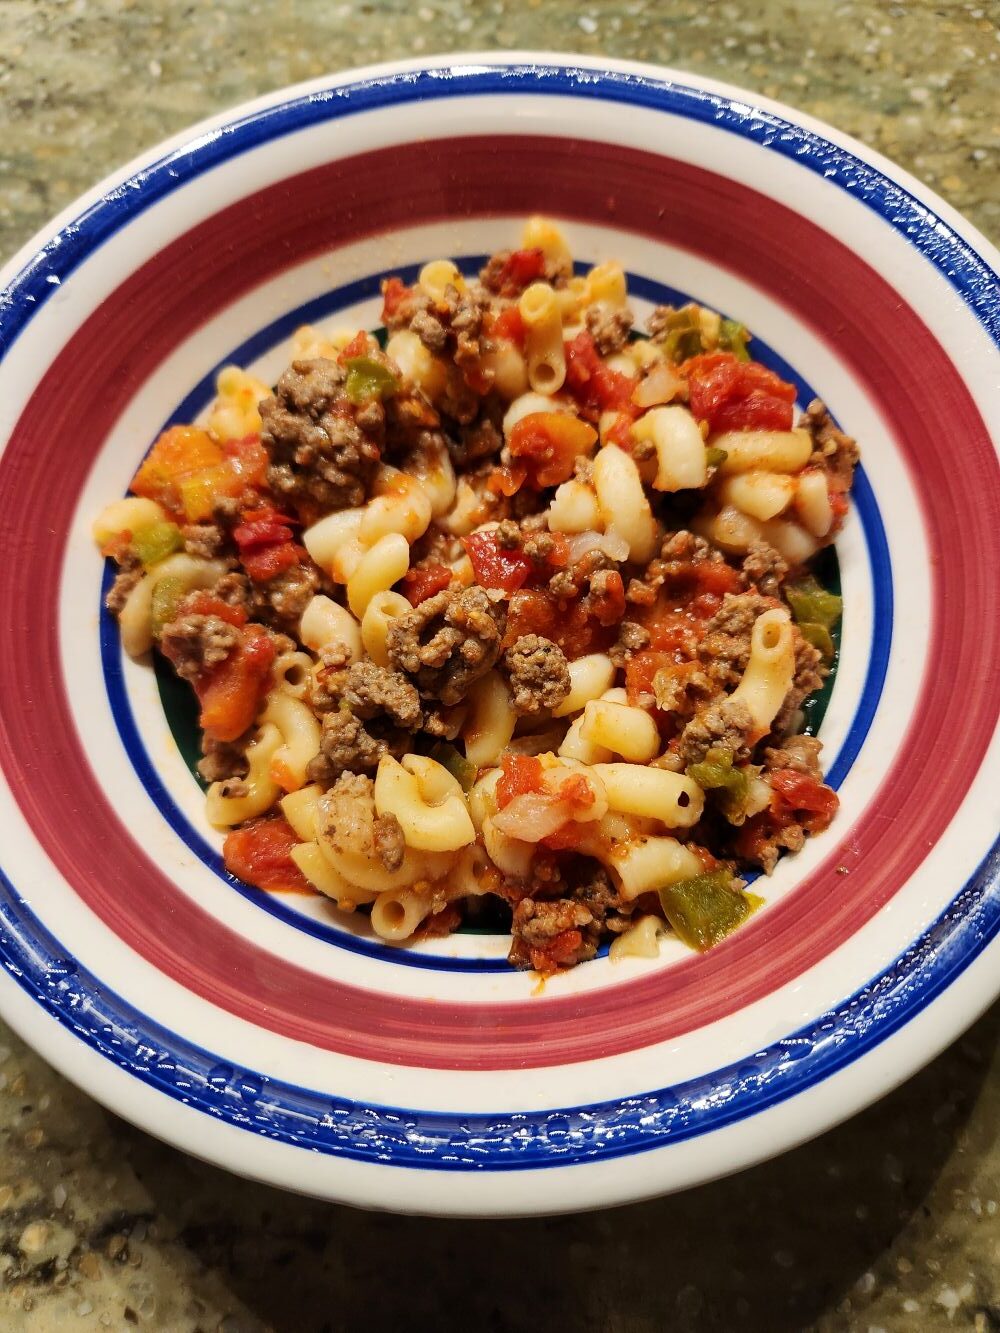
My Simple Version of Old Fashioned Goulash
Ingredients
- 1 small onion, chopped
- 1 small green bell pepper, chopped
- 2 tablespoons vegetable oil
- 1 pound hamburger
- 1 cup elbow macaroni
- 1 (26 oz) can diced tomatoes
- Salt and pepper to taste
 Directions
- Bring a large pot of water to a boil. Cook macaroni according to package directions, using the shorter cook time.
- Heat a Dutch oven over medium heat. Add oil, onions, and green peppers.
- Add hamburger, breaking it up as it cooks. Season with salt and pepper. Cook 7–8 minutes until browned.
- Add diced tomatoes and stir well.
- Let the mixture simmer. When it’s hot, add the cooked macaroni and combine. Simmer about 5 minutes.
- Serve with garlic bread or Texas toast.
Final Thoughts
Without the cheese, you’ll get a very different dish — but that’s the fun of cooking. Every family has its own version, its own name, and its own memories tied to it.
I’d love to hear what you call this dish and how you make it.